Gear Essentials
Stay informed on the cameras, lenses, and accessories that can enhance your photography. Whether you’re choosing your first camera or upgrading your kit, find honest advice and recommendations to gear up for success.

Photography Gear For Your First Event/Wedding Shoot – Part III
Last Updated On
It is part III about the photography gear for your first event/wedding shoot. I will talk about the accessories (what and why) I always bring for events/wedding photoshoots. If you have not read the part I and II, feel free to check them out through the links below: 1. Camera Straps A camera strap is…
Photography Gear For Your First Event/Wedding Shoot – Part II
Last Updated On
It is Part II about the photography gear for your first event/wedding shoot. I will discuss the lenses I use and explain why I chose them for my event/wedding photoshoot. Please feel free to check out Part I (The Cameras – Read here) if you have not read it yet. 1. Lenses Most modern lenses…
Photography Gear For Your First Event/Wedding Shoot – Part I
Last Updated On
Are you curious about what photography gear to bring for your first paid event or wedding shoot? And the worst, you are the sole photographer for the whole photoshoot. You might hear that the essence of shooting solely is backup. You must ensure you can carry out the photoshoot even if any part of your…
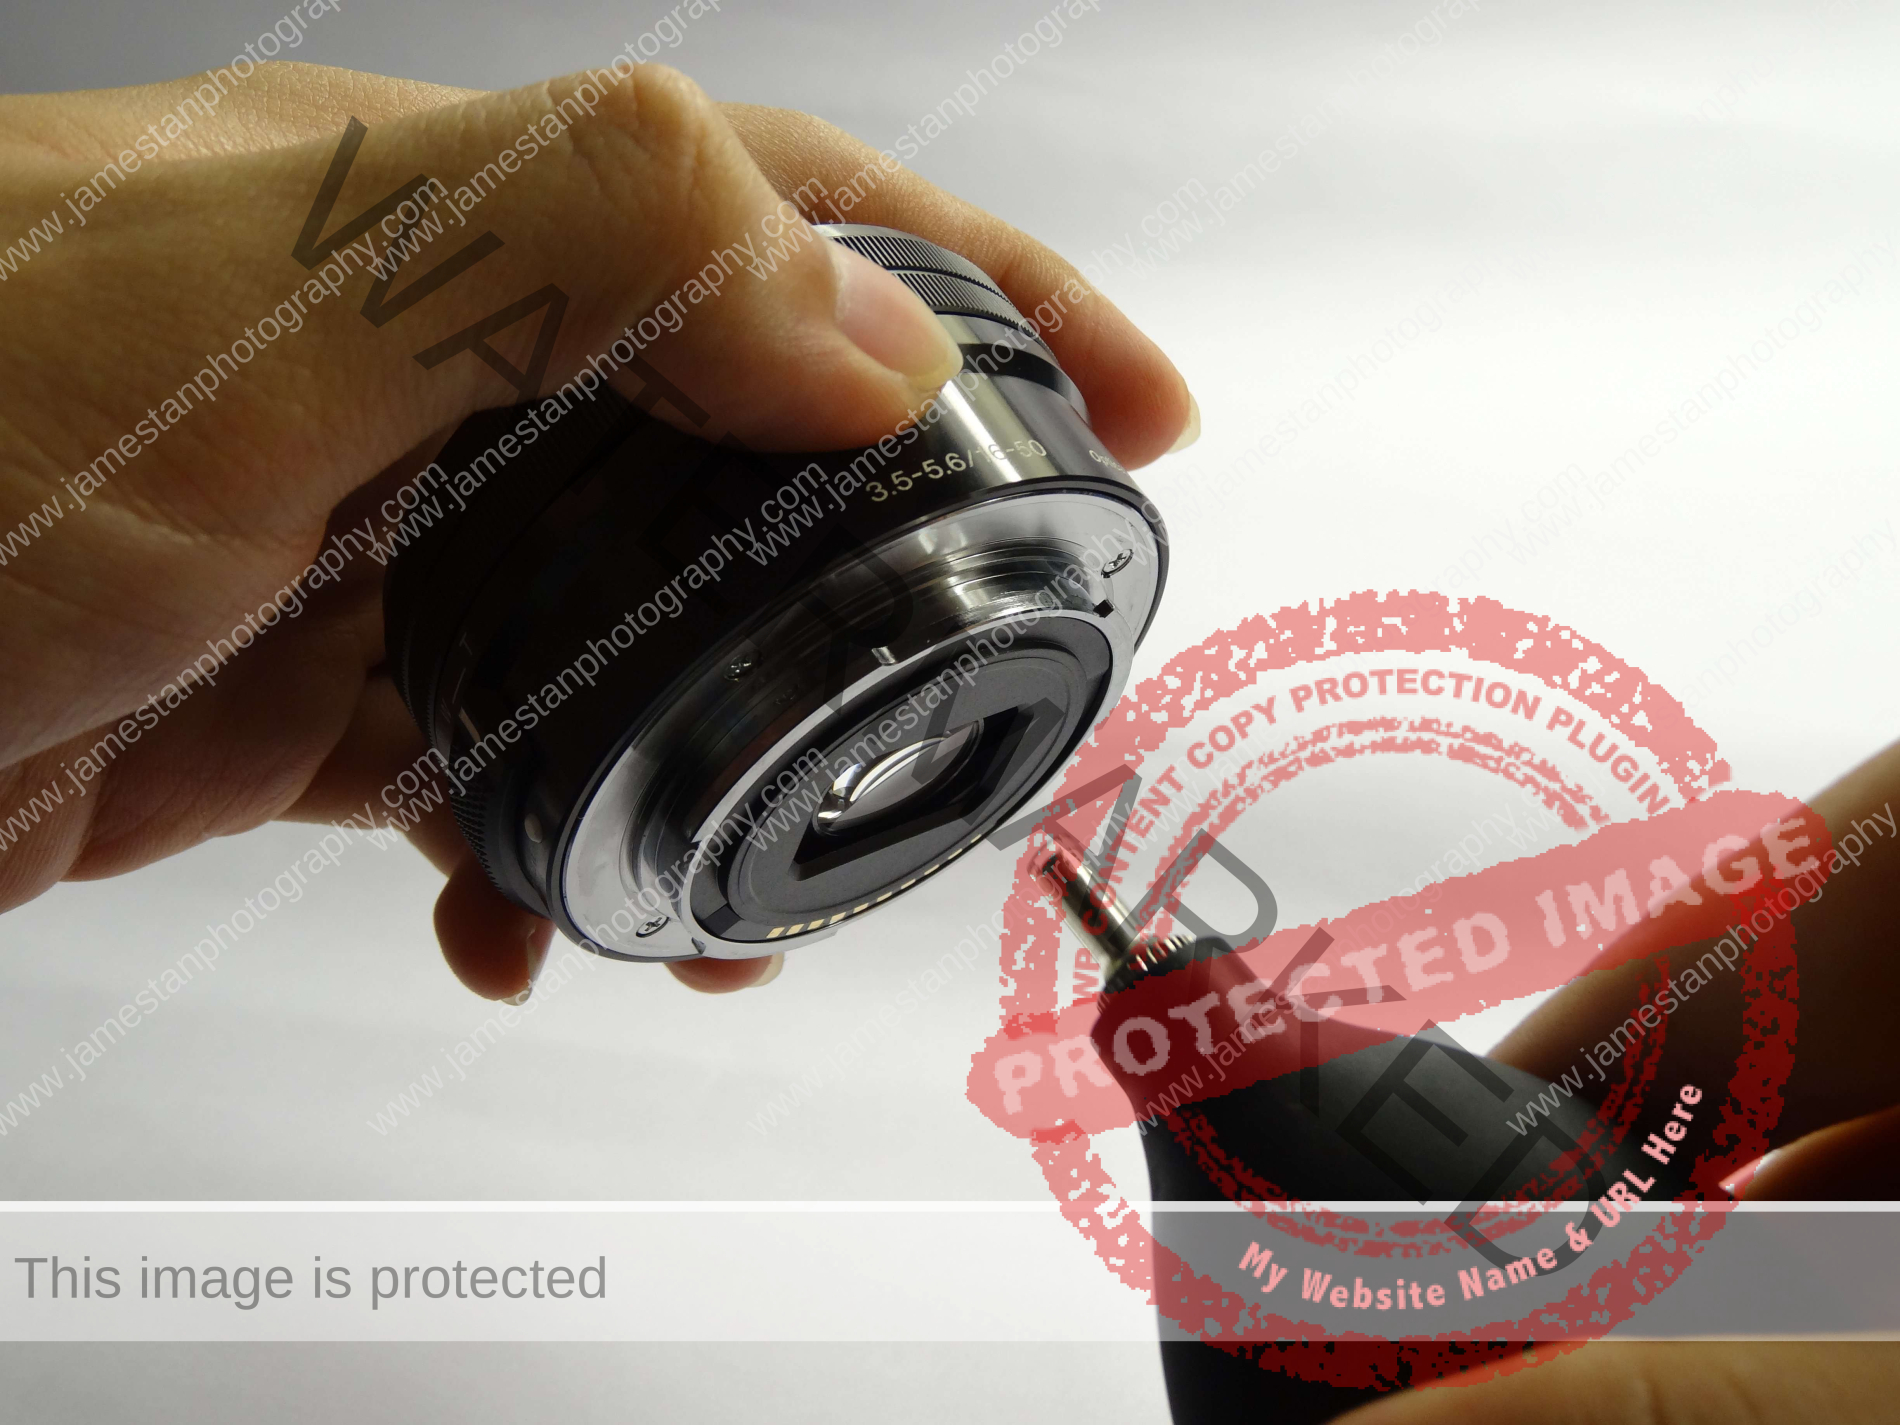
How To Deal With Camera Sensor Dust
Last Updated On
Do you ever wonder why there are some little grey spots in your beautiful photos and how you could prevent them in the future? Let’s find out how to clean the annoying dust on your camera sensor and lenses!
10 Consideration Before Buy a Lens
Last Updated On
You might be overwhelmed by the sea of lenses when you have just started your photography journey. Let’s check out what you should consider before you buy a lens!