Category: Shooting Techniques

Explore creative and technical photography tips to elevate your skills. Learn about composition, lighting, posing, and camera settings that bring your vision to life — perfect for beginners and seasoned photographers alike.
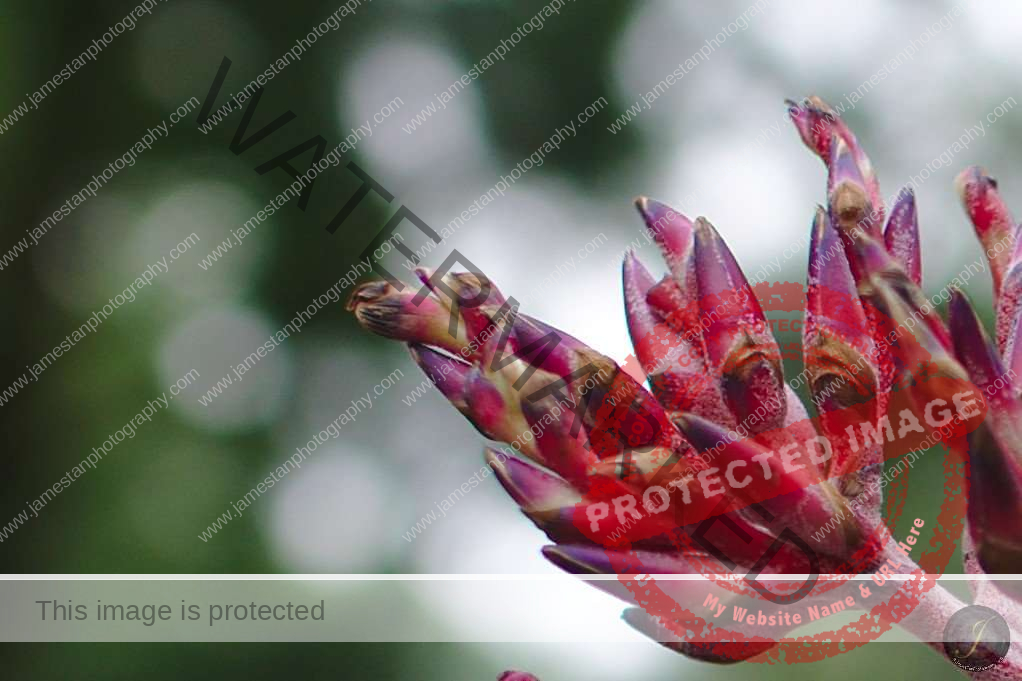
  • Photography Tips: 5 Essentials to Get Bokeh

    Photography Tips: 5 Essentials to Get Bokeh

    Bokeh! A special optical effect that almost every photographer is pursuing. It is pronounced as “boh-kay”, which originated from Japanese that means something blurry. In the photography world, Bokeh is defined as how the lens renders the out-of-focus region. The Bokeh can be the background with a circular out-of-focus effect or smooth blur out-of-focus rendering background. There is some debating for the definition, but we treat both of them as Bokeh here.

    Circular Bokeh Effect
    Circular Bokeh Effect
    Bokeh
    Smooth Bokeh Rendering

    Bokeh is always one of the key difference between the interchangeable lens camera (ILC) and compact camera because it is challenging to get this smooth-rendered background from the compact camera. However, some people are using ILC but do not get the Bokeh effect as well. So we will have a look at what is essential to get the Bokeh in our shots.

    (more…)
  • Photography Tips: Shooting in Aquarium

    Photography Tips: Shooting in Aquarium

    After visiting the SEA Aquarium and having an extensive collection of shootings (over 500+), I have some thoughts about shooting in the aquarium to share with you guys.

    1. Bring an Extra Battery or Two

    If you never or rarely visit the aquarium, it is very easy to over-shoot. You may have multiples shots for each scene to ensure that you have at least one or few good shots for that scene. I almost used up two fully charged batteries throughout the tour. Each of them lasts for around 300 shots.

    2. Use a Lens with Wide-Angle Focal Length and Large Aperture

    Focal length between 24 and 50 mm (in 35 mm equivalence) is recommended because they have a wider angle of view and allow you to shoot closer to your subject. A larger aperture allows more light so that you do not need to bump up too much ISO. Be careful here, large apertures like F2, F1.8, and any smaller F values, will have a tiny part of the subject in focus. I used the Sony SEL24F18Z and kept my aperture between F2.8 and F5.6 to get enough DoF while having a large enough aperture to maintain a lower ISO.

    (more…)
  • Photography Tips: Shooting at the Wedding Banquet

    Photography Tips: Shooting at the Wedding Banquet

    This is my first post for the photography tips series. Although I’m not a professional wedding photographer, the tips below are what I learned and sorted from various online resources and applied during the wedding banquet. In addition, by sharing my experience with all of you here, I hope you will share yours with me to help each other improve.

    Tips

    1. Be Ready and Well Prepared

    Check your camera condition, ensure all the settings like exposure, white balance, ISO, flash mode, or any other settings are set up correctly. Ensure the battery is fully charged and the memory card is formatted.

    2. Have Extra Backup Equipment

    Having multiple batteries and memory cards is a plus. I highly recommend you to bring an extra camera as backup (yea I know the it costs more $$). Ensure you are familiar with it and the settings are identical/similar to your primary gear. A zoom lens is good enough and convenient. But if you prefer to use a prime lens on your primary camera, attach another lens with different focal lengths on the backup camera as you do not have extra time to change your lens carefully.

    3. Shoot in RAW

    It is another highly recommended tip. It is critical and easy to overexpose the bride’s white dress or underexpose the groom’s dark suit. You will need the capability of RAW to get them right.

    (more…)