Digital Workflow
Explore the tools, software, and techniques that streamline a photographer’s post-shoot process. From editing and culling to firmware updates and gallery delivery, this category offers insights into building an efficient and reliable digital workflow.

Good Bye Capture One Pro 23?
Last Updated On
On 6 Dec 2022, Capture One announced a shocking change to its perpetual license and a new “Loyalty Program” to replace the existing upgrading pricing. The effective date is 14 Feb 2023 (originally scheduled on 1 Feb 2023). I pre-ordered the COP v23 in Oct 2022 and have to decide by 30 Sep 2023 whether…
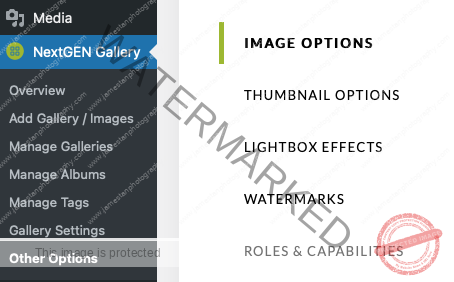
How To Fix NextGen Gallery Pro Thumbnail Sharpness?
Last Updated On
Update 2025 JUN #1 – The bug that affects the gallery thumbnail sharpness on retina screen devices has been fixed. NextGen Pro users, you may download the latest NGG Pro plugin from your Imagely profile, the latest version shall be 3.31.8. Update 2025 JAN #1 – There is a reported bug that affects the gallery…
Update Viltrox Lens Firmware On Mac
Last Updated On
Viltrox lens firmware update is effortless and straightforward. You only have to drag and drop the downloaded firmware into the connected lens. Done! Well, I’m so lucky to experience once that the drag and drop doesn’t work in the new Mac OS (Yea, Mac OS broke the firmware update process when it was first released).…
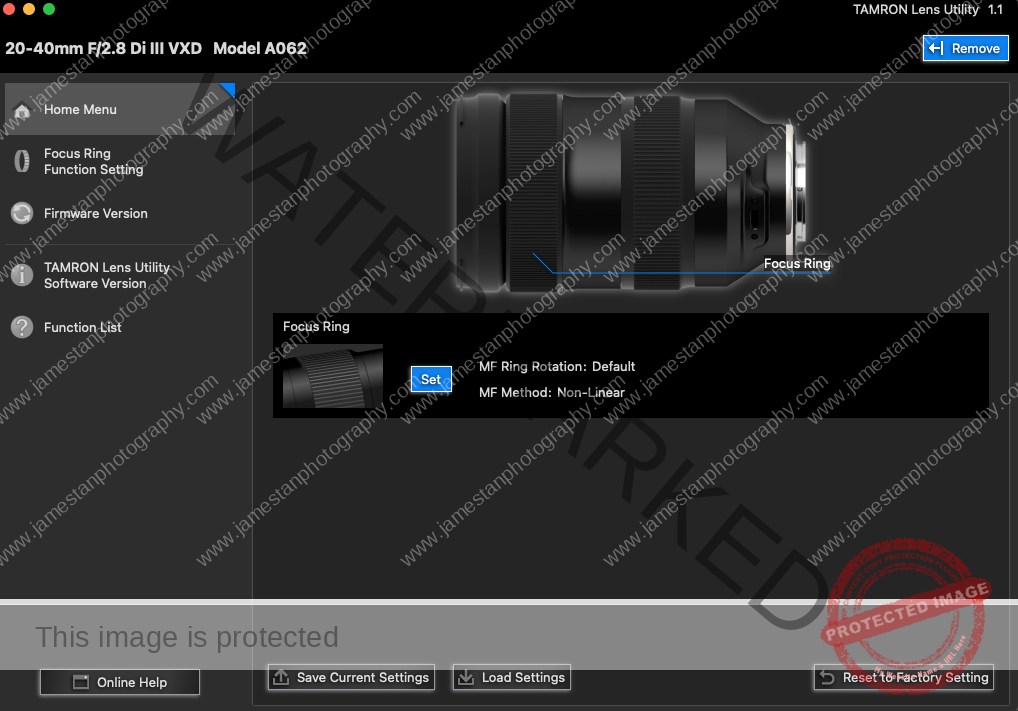
Tamron Lens Utility On Apple M1 Mac
Last Updated On
A new firmware v2 is available a few days after receiving my new Tamron 20-40mm F2.8 in Dec 2022. I am aware that I have to install the Tamron Lens Utility on my M1 Max MacBook Pro to update the lens firmware. So I download the installer from Tamron’s official site and read the DO’s…