Update Viltrox Lens Firmware On Mac
Last Updated On
Viltrox lens firmware update is effortless and straightforward. You only have to drag and drop the downloaded firmware into the connected lens. Done! Well, I’m so lucky to experience once that the drag and drop doesn’t work in the new Mac OS (Yea, Mac OS broke the firmware update process when it was first released).…
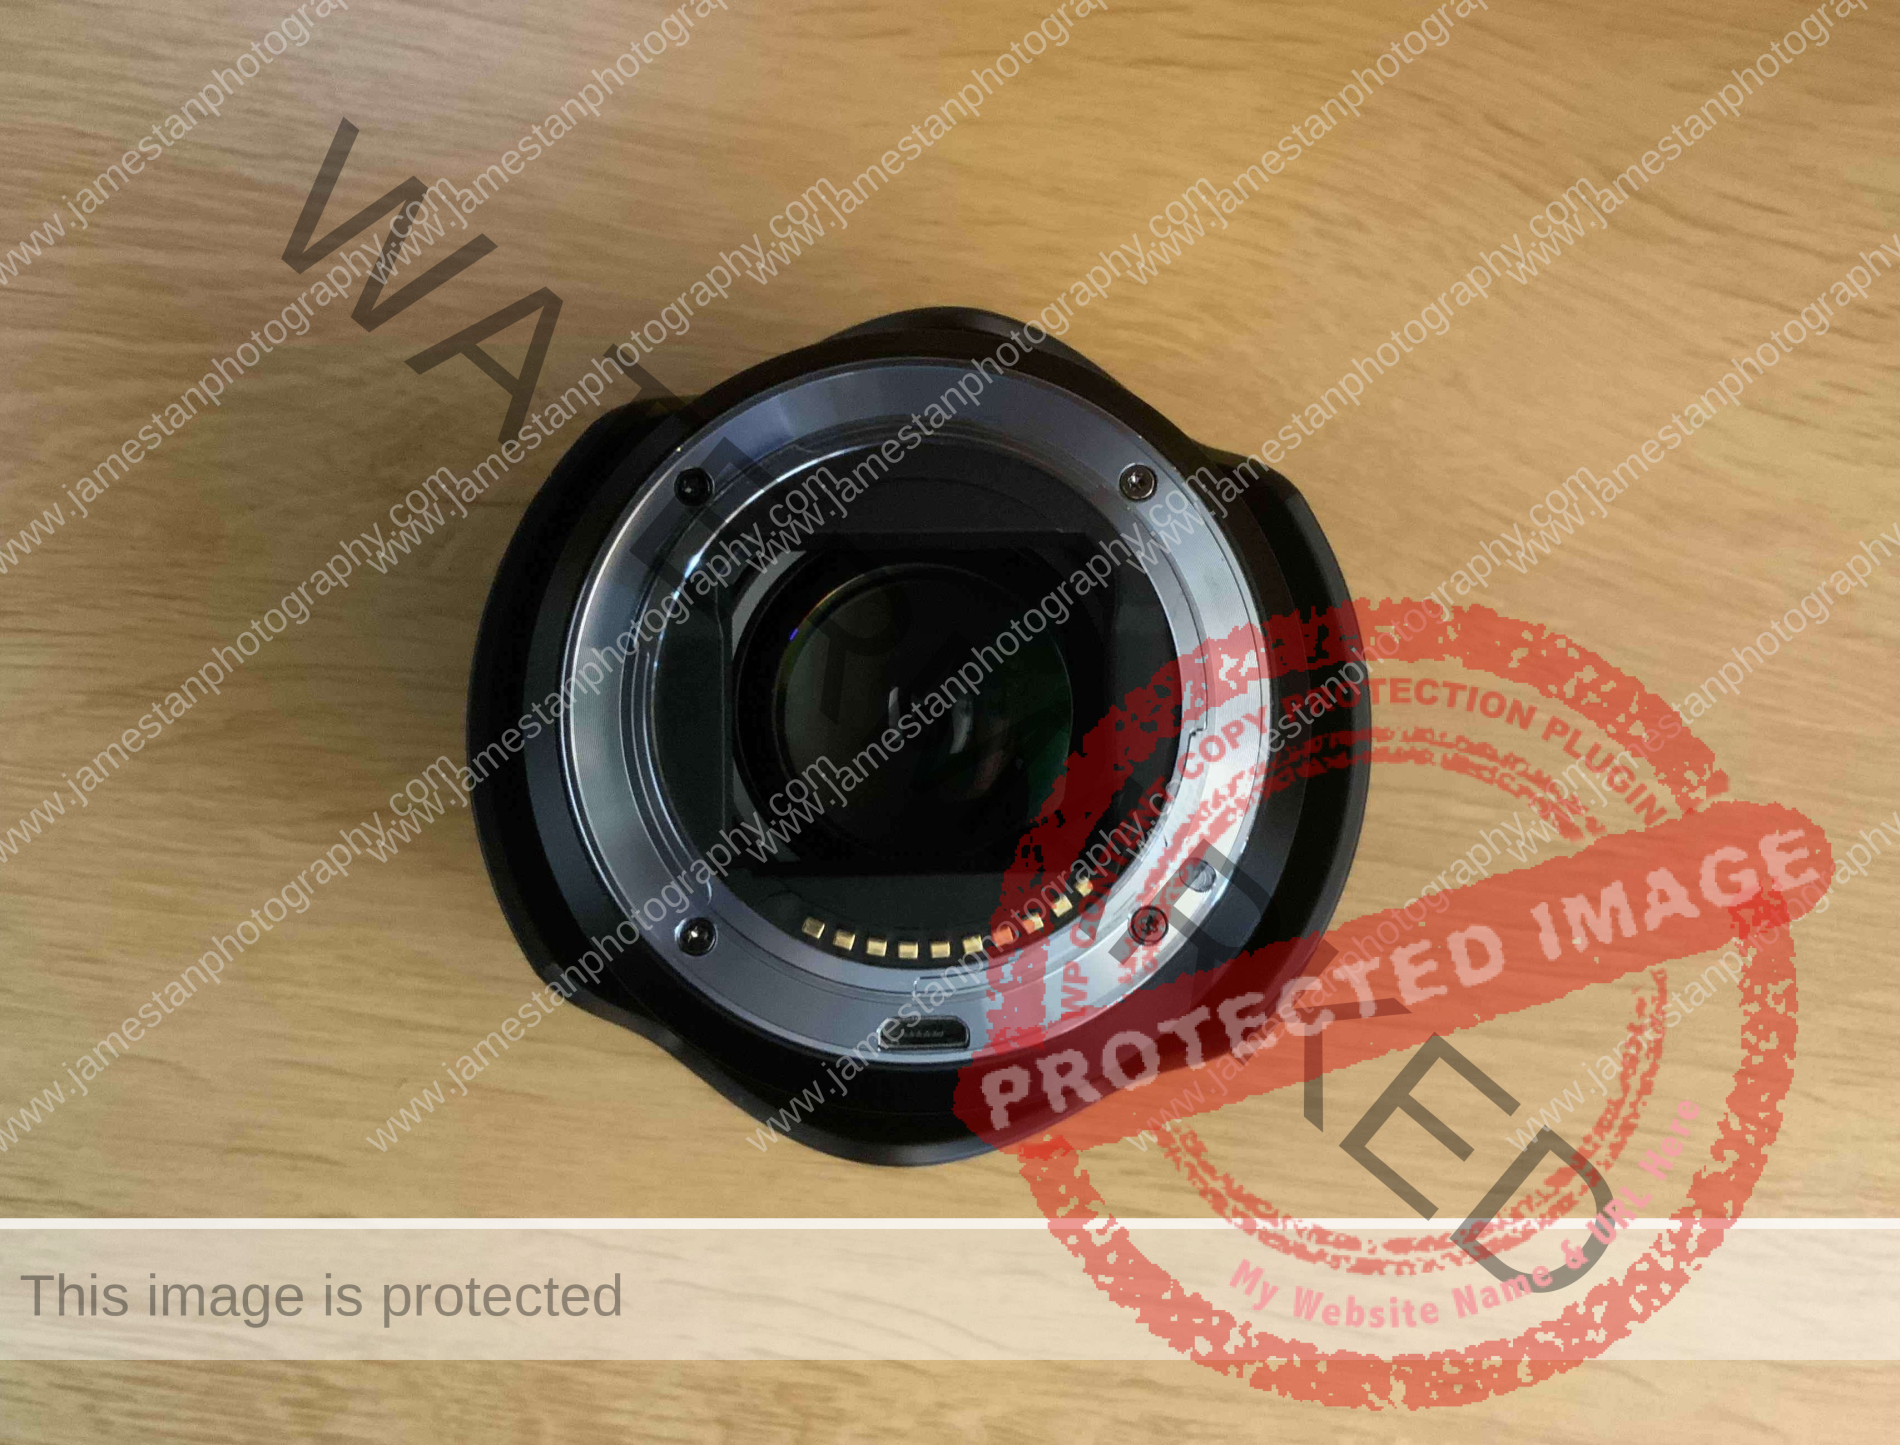
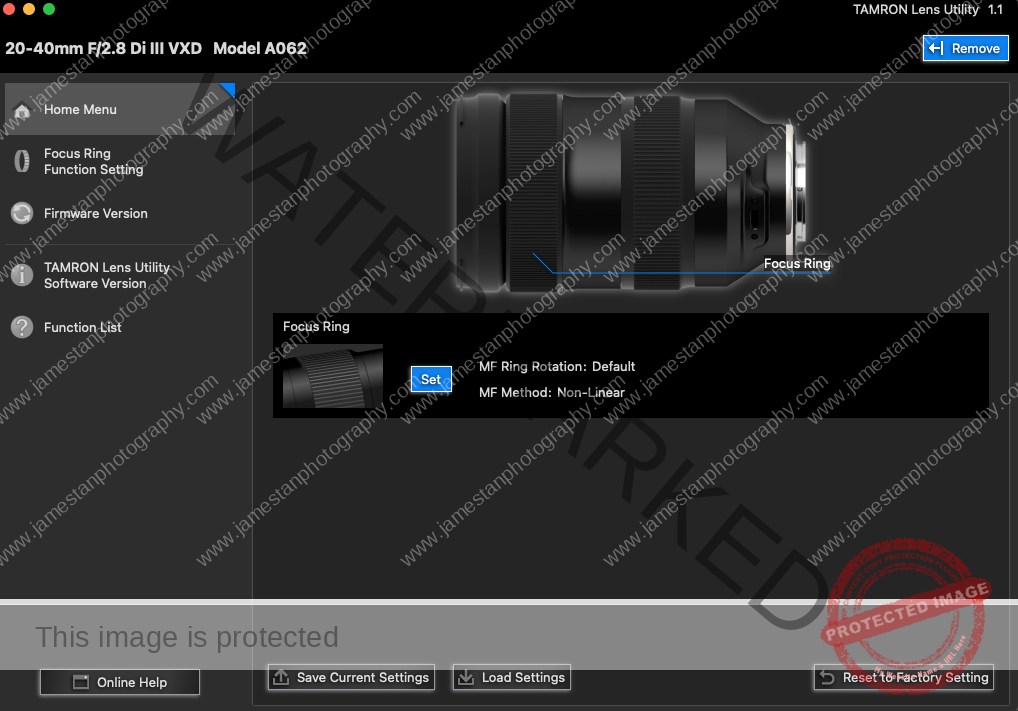
Tamron Lens Utility On Apple M1 Mac
Last Updated On
A new firmware v2 is available a few days after receiving my new Tamron 20-40mm F2.8 in Dec 2022. I am aware that I have to install the Tamron Lens Utility on my M1 Max MacBook Pro to update the lens firmware. So I download the installer from Tamron’s official site and read the DO’s…