What Is Depth of Field (DoF)?
Have you ever wondered why some photos have a dreamy blurry background while others are sharp from edge to edge? That blurry background — often called bokeh — is the result of depth of field (DoF).
In this guide, you’ll learn what depth of field really means, the 3 main factors that control it, and how to get the look you want — whether you’re shooting portraits, landscapes, or anything in between.
We’ll also clear up the common confusion around sensor size and aperture numbers, with real-world examples (yes, including smartphones!). Let’s make DoF simple and practical — no confusing formulas needed.
What Are The 3 Main Factors That Affect DoF?
Technically, DoF is only controlled by
- the distance to the subject (camera <> subject <> background)
- the aperture
- the focal length
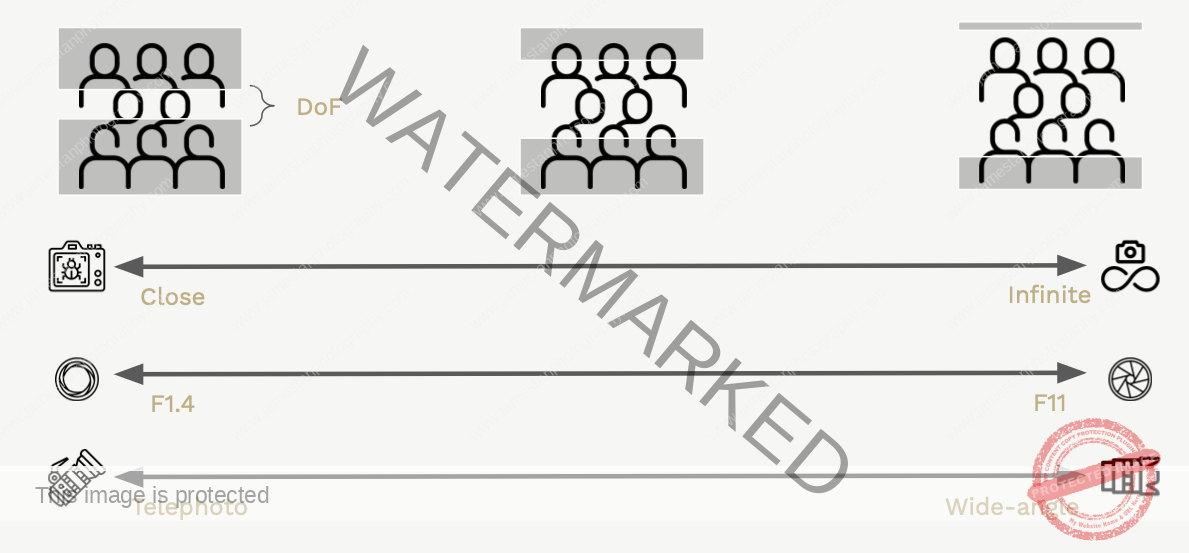
The figure above illustrates that how the 3 factors affect the DoF. To create a dreamy blurry background,
- stand closer to your subject
- open up the aperture (smaller f value like f/1.4, f/2, f/2.8 etc.)
- zoom in more (larger value like 70mm, 85mm, 200mm etc.)
And do the opposite if you want to have more in-focused area!
Among the three, subject distance usually has the most dramatic effect on DoF. Try it — move closer, and watch the background melt!
Wait — Does Sensor Size Affect Depth of Field (DoF) Too?
This is one of the most confusing topics for beginners — and the answer is a bit nuanced.
Technically? No. Sensor size doesn’t directly affect depth of field. The three factors are still:
- Distance to subject (camera <> subject <> background)
- Aperture
- Focal length
But in practice? Yes — indirectly.
Different sensor sizes change how we compose a shot, and that’s where DoF is affected.
Let’s break it down with a common example:
APS-C vs Full Frame: Why It Feels Different
- Lenses made for APS-C and Full Frame (FF) cameras list their actual focal length — not the 35mm equivalent.
- But on smaller-sensor cameras (like compacts and smartphones), you’ll often see the 35mm equivalent focal length advertised instead, to make it easier to understand the field of view.
Now, let’s say you’re using a 24mm lens on both an APS-C and a full-frame camera.
The Key Idea
When using the same lens at the same aperture and distance, a full-frame sensor captures a wider field of view than an APS-C sensor. This means:
- The subject appears smaller in the full-frame image (unless you crop it)
- More background is captured
If you crop the full-frame image to match the APS-C framing, the depth of field shall look the same. However, if you want to use a APS-C camera to achieve the same framing as FF, you’ll need to:
- Either stand farther back with the APS-C camera, or
- Use a shorter lens (e.g. 16mm on APS-C ≈ 24mm on FF)
Either way will result in a deeper DoF thus misleading you to think that sensor size affects the DoF.
Takeaway
Sensor size alone doesn’t magically control depth of field — but it affects how you shoot, and that’s what changes the DoF results.
This is why full-frame cameras are often preferred for portraits and subject isolation: they make it easier to get shallow DoF, even at moderate focal lengths and distances.
Real Life Examples
Example 1 – Distance Between The Camera & Subject
In this example, we keep the same for the following:
- Same distance between the subject and background
- Same aperture at f/2.8
- Same focal length at 70mm
The only parameter changes here is the distance between the camera and subject – just a 20cm difference!
Surprisingly, this small step forward creates a dramatically stronger background blur. The bokeh becomes larger and softer, helping the subject pop from a busy scene.
If you’re struggling to separate your subject from a distracting background, the easiest fix is to physically move closer — even a small step makes a noticeable difference.
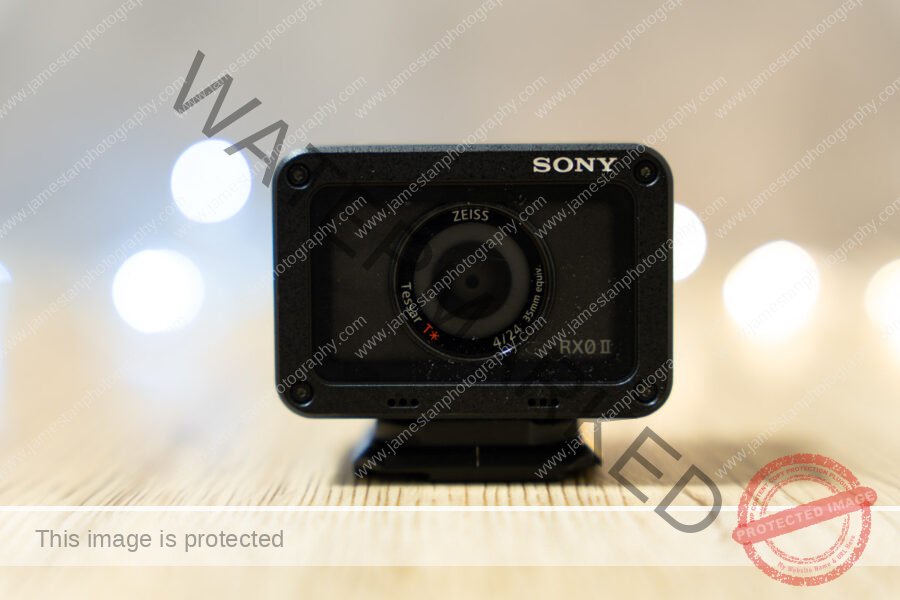
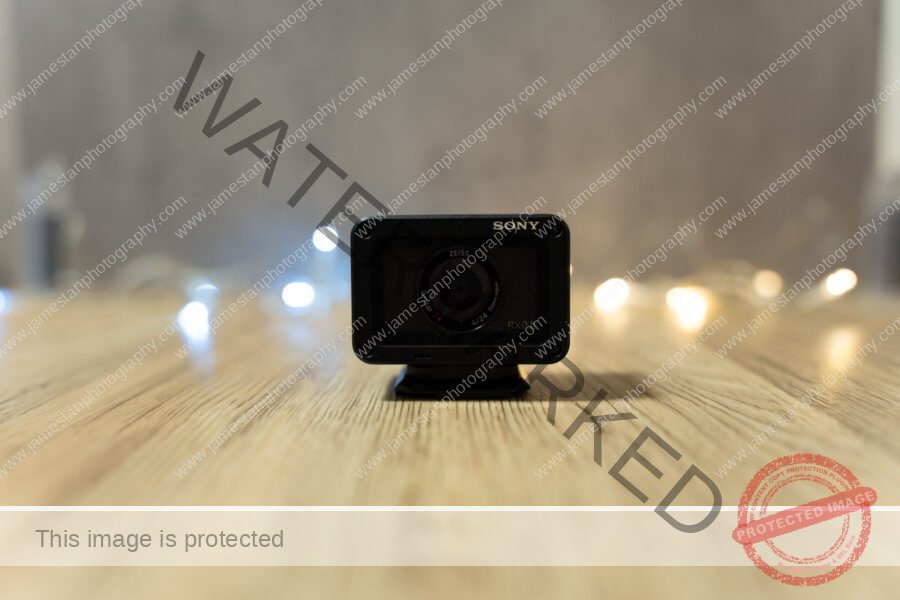
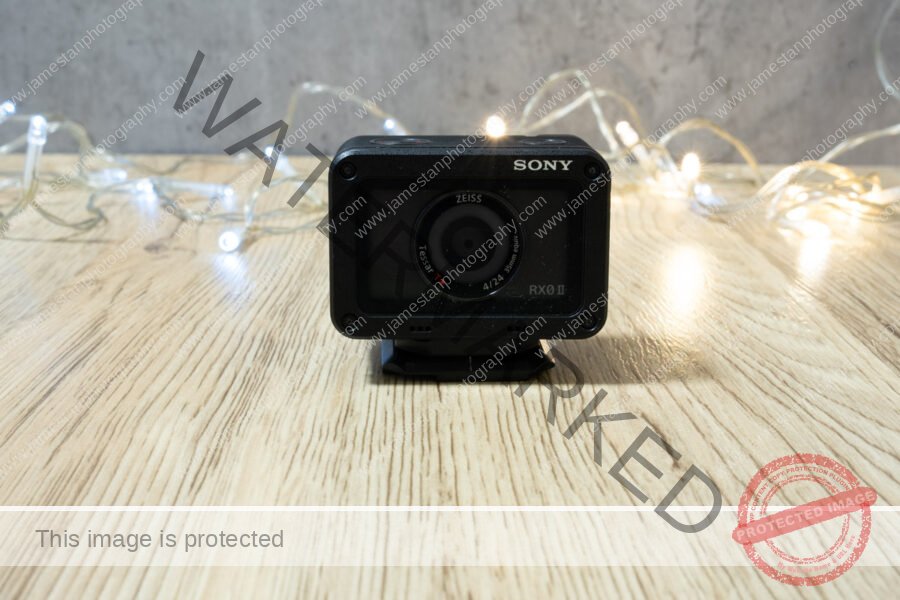
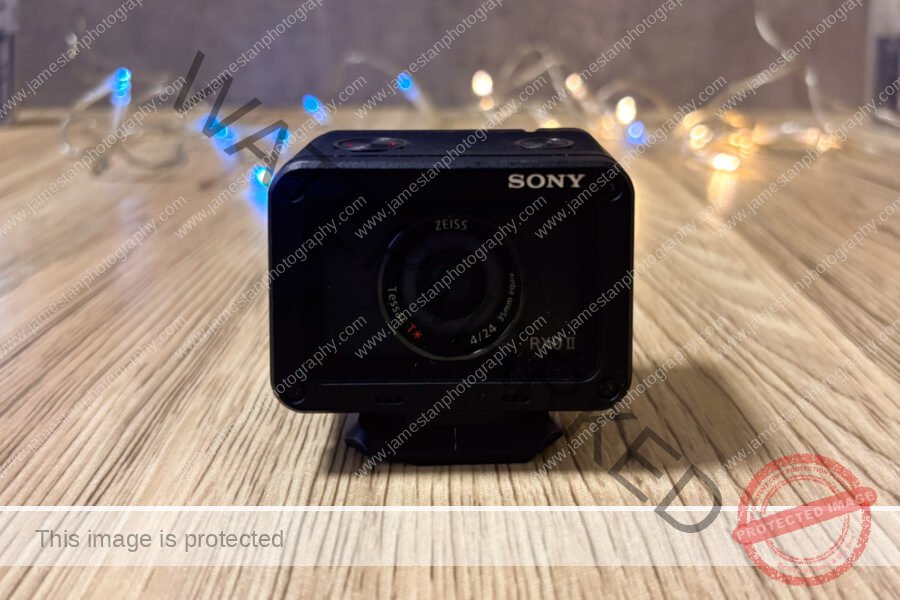
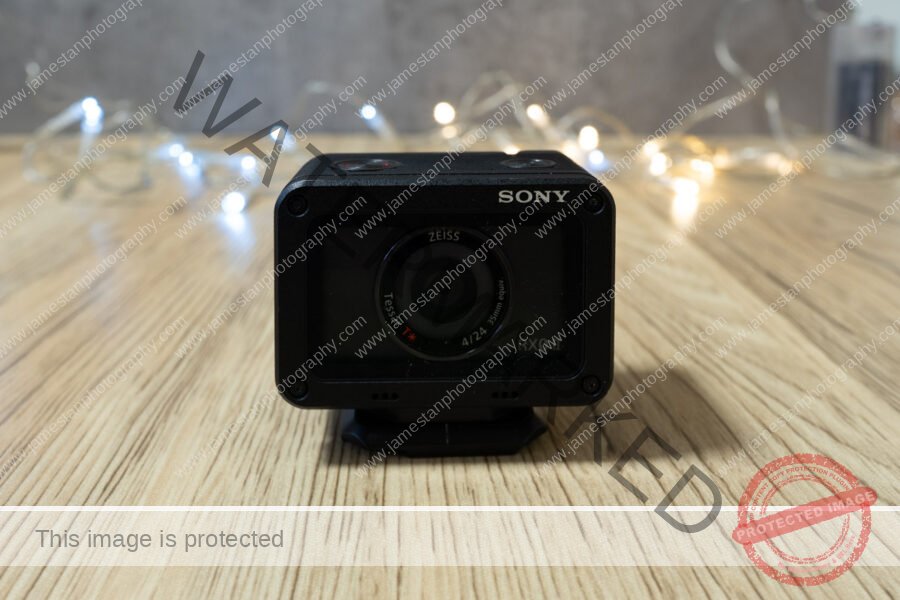
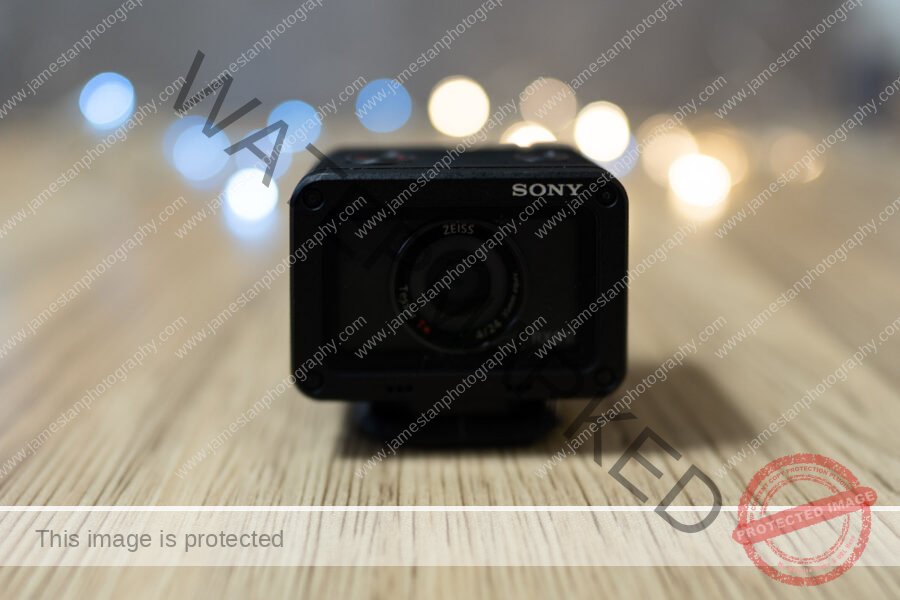
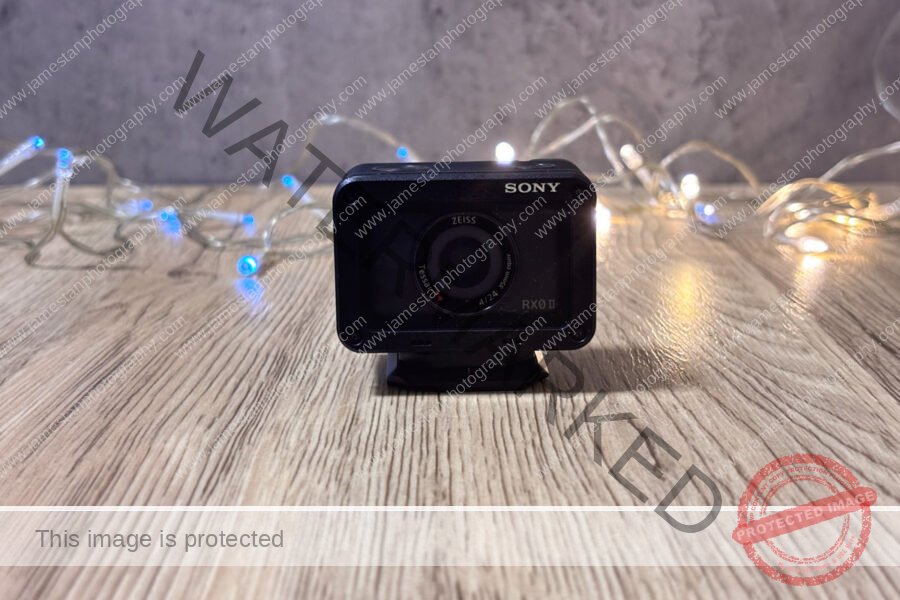
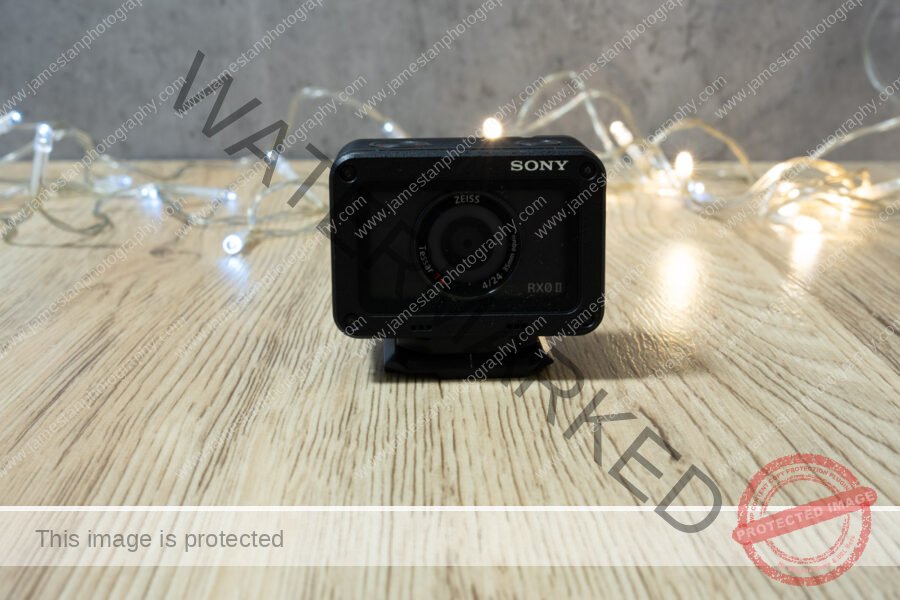
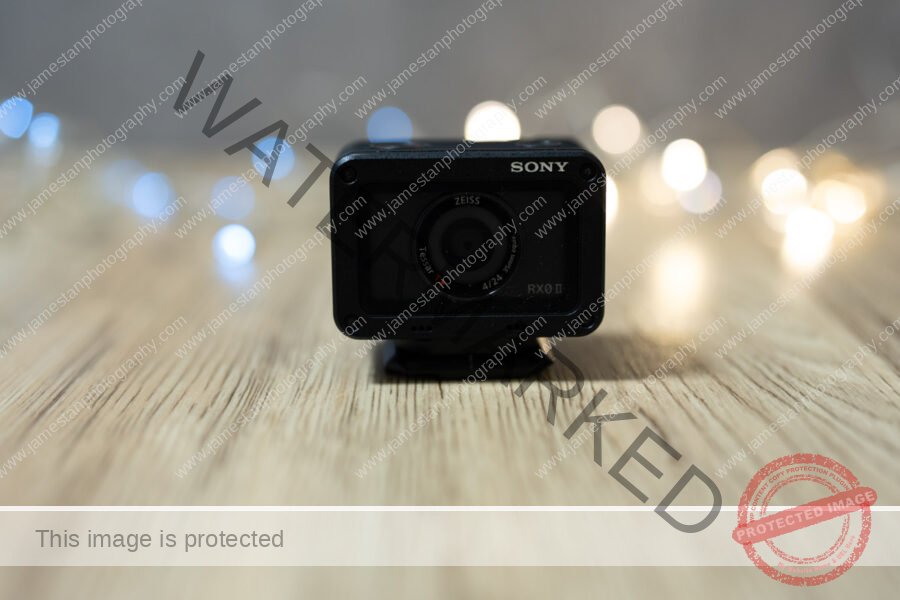
Example 2 – Distance Between The Subject & Background
In this example, we keep the same for the following:
- Same distance between the camera and subject (focusing at the lens’ minimum focusing distance)
- Same aperture at f/2.8
- Same focal length at 70mm
The only parameter changes here is the distance between the subject and background.
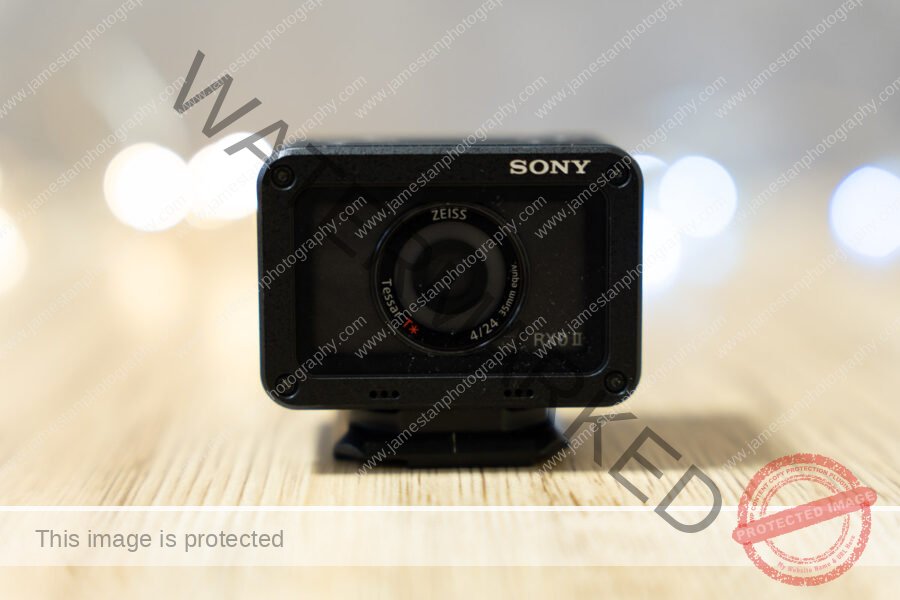
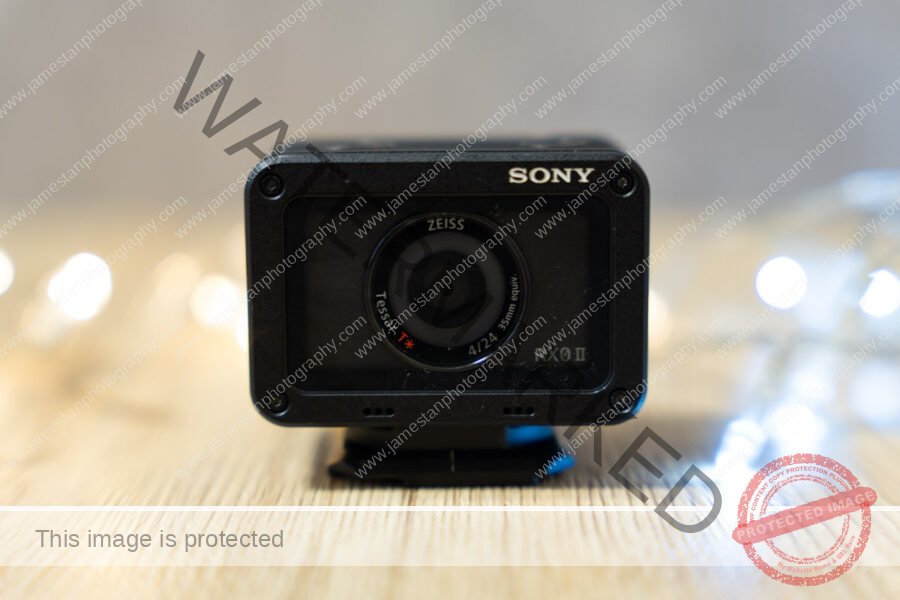
When the subject is close to the background (e.g. LED decor), the bokeh balls become smaller and less distinct, and you can even see details like wires behind them. This often misleads beginners into thinking f/2.8 isn’t “blurry enough.”
To get more creamy background blur, don’t just open the aperture — make sure your subject has space behind them. The farther they are from the background, the blurrier it gets.
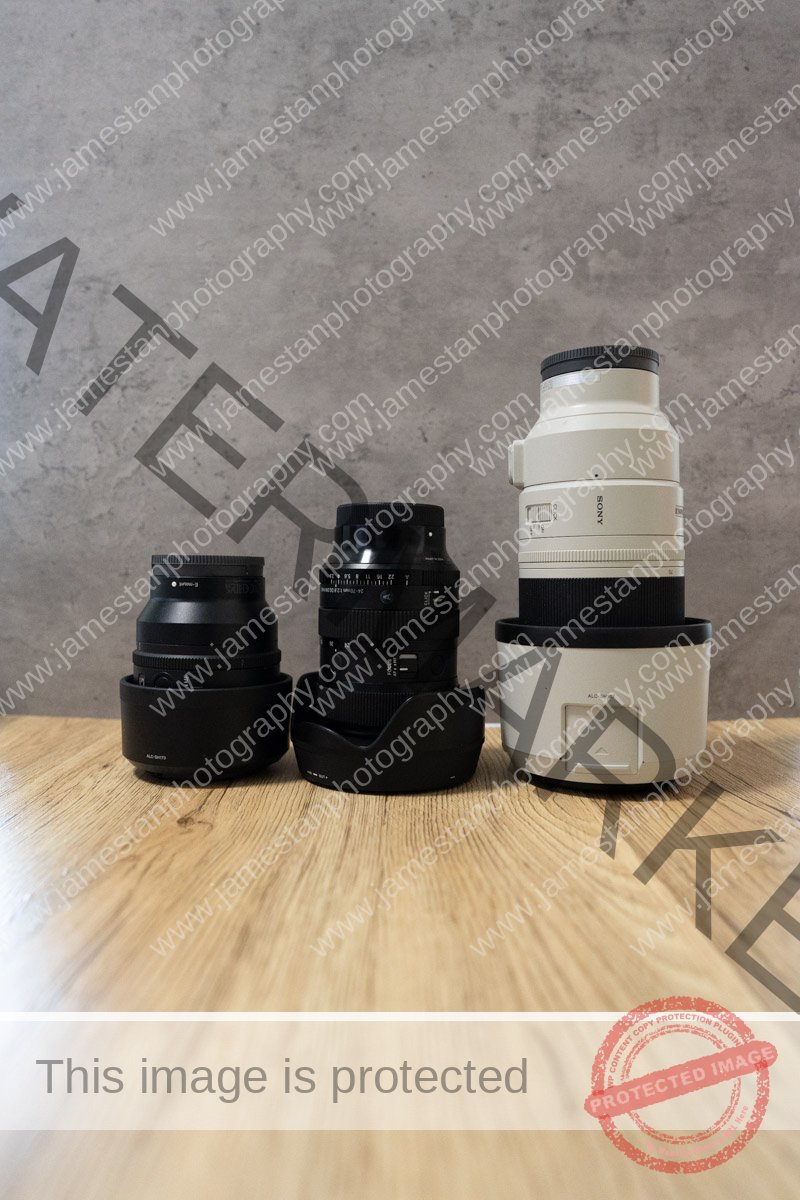
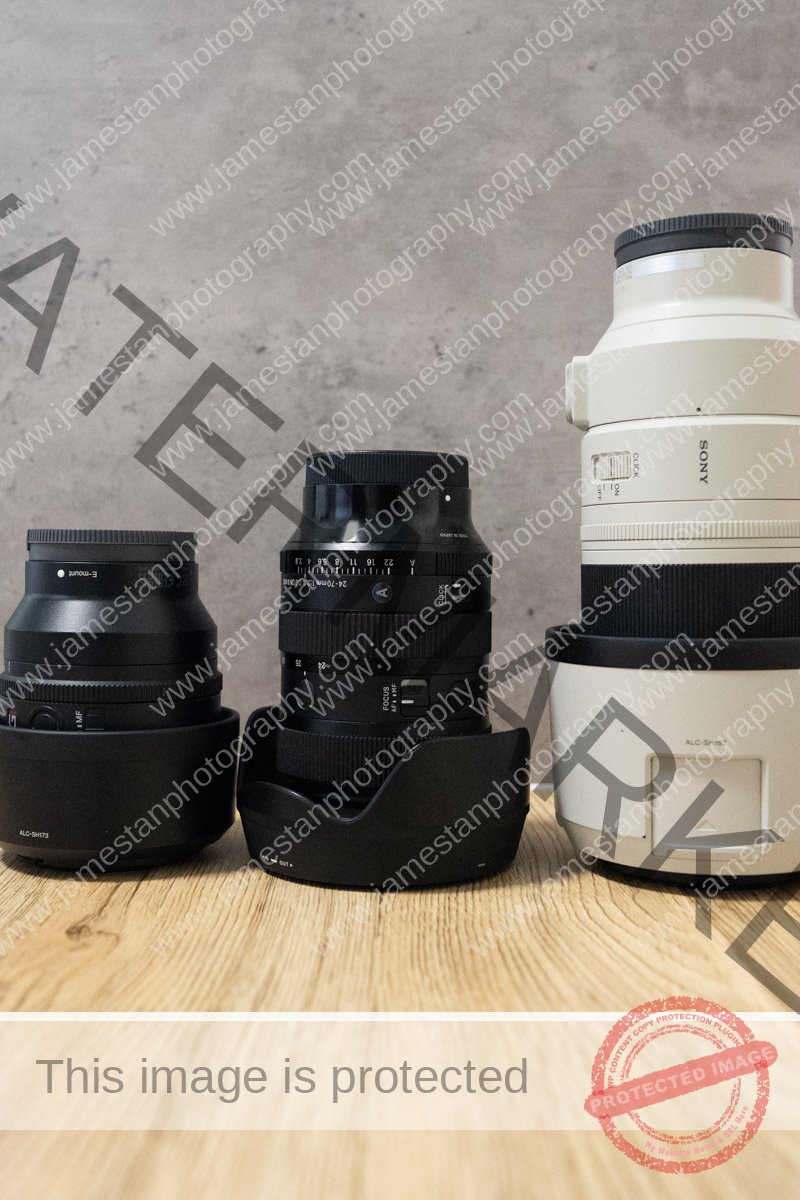
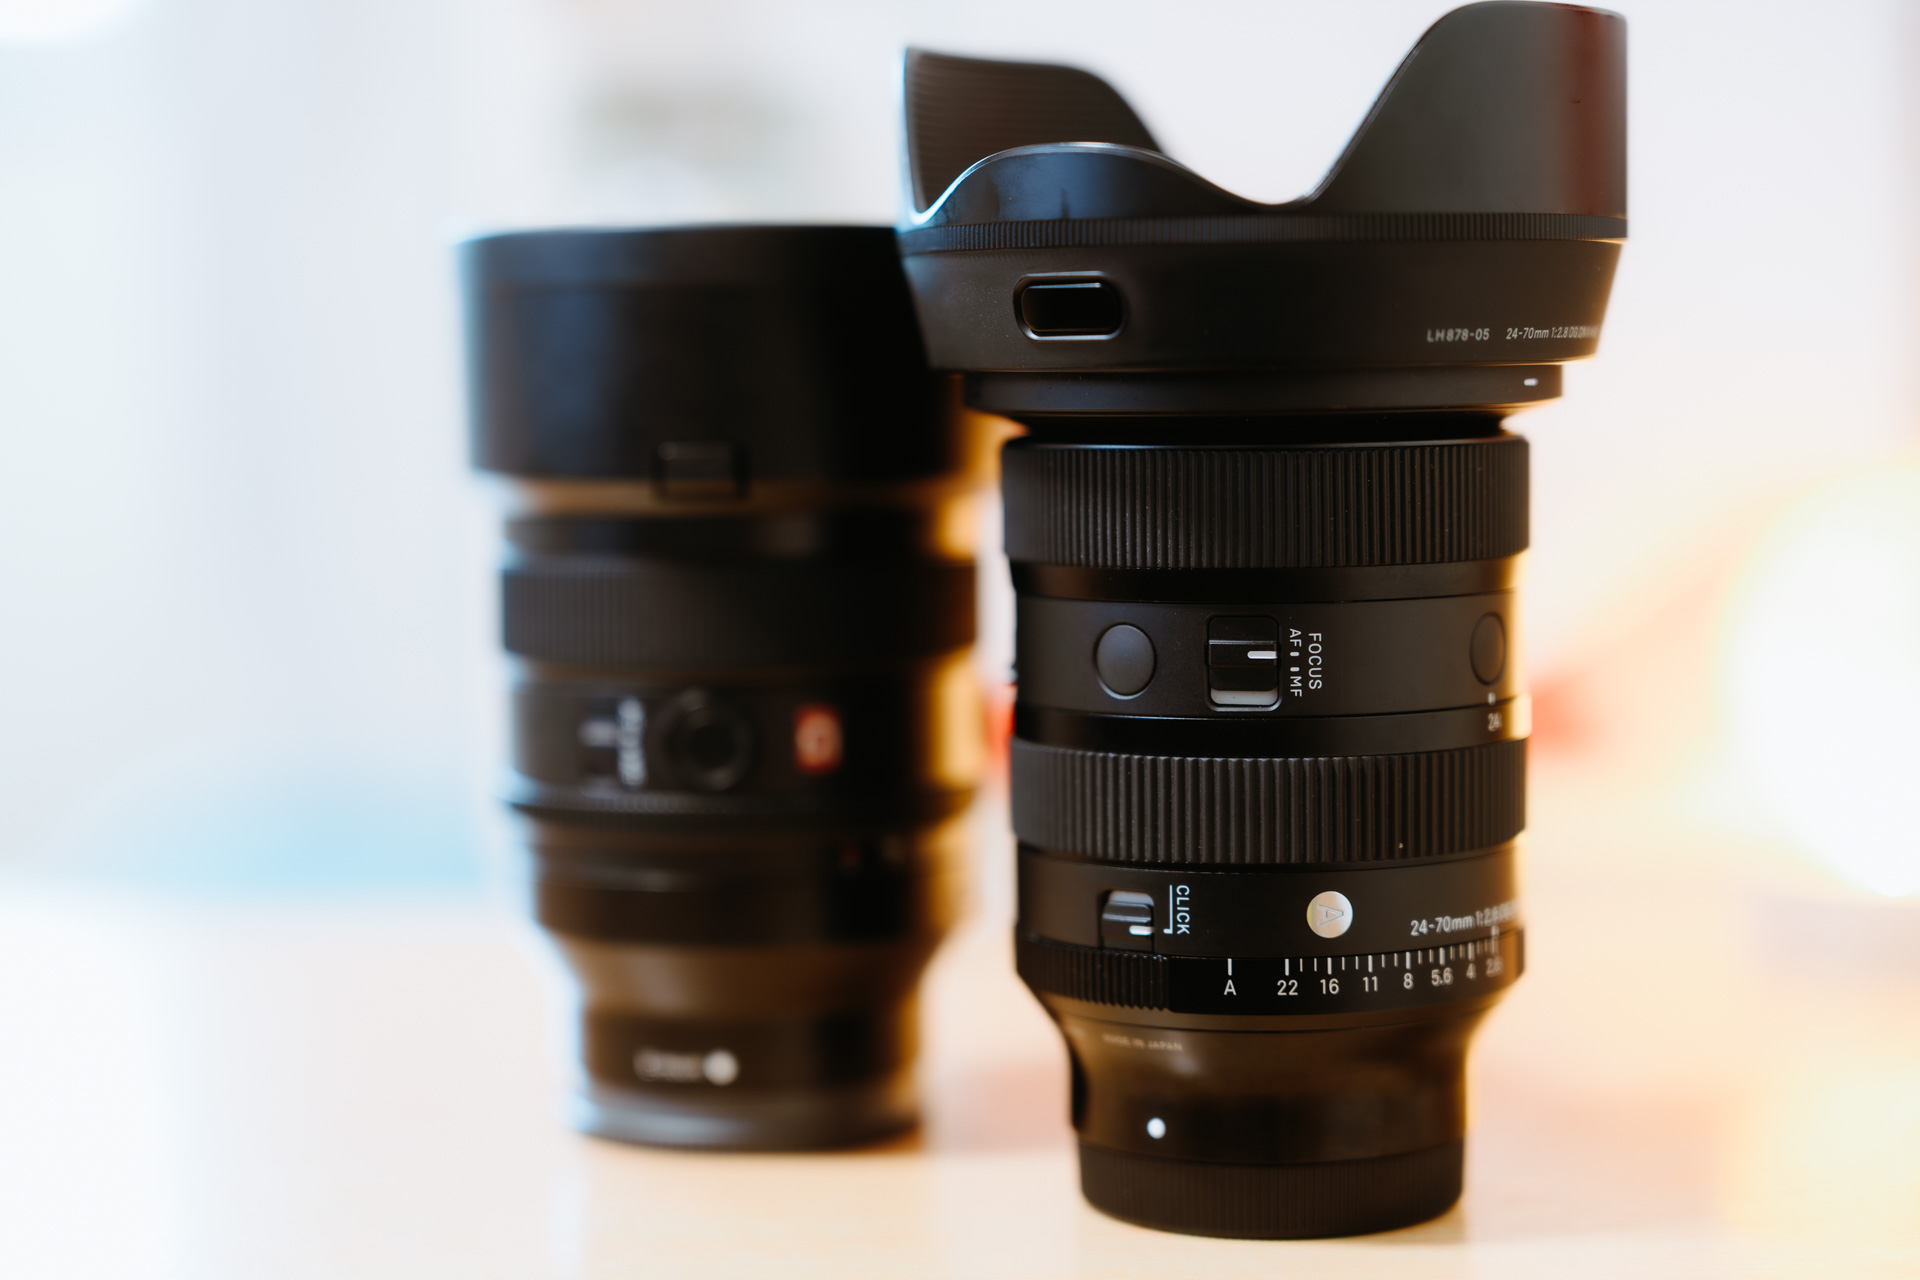
Example 3 – Focal Length
In this example, we keep the same for the following:
- Same distance to the subject
- Same aperture at f/2.8
The only parameter changes here is the focal length.
Wide-angle lenses (e.g. 24mm, 35mm) naturally produce less background blur than telephoto lenses like 70mm or 85mm, even at the same aperture. Plus, shooting portraits with wide lenses up close often causes distortion — making faces appear unnaturally stretched.
Telephoto lenses are the go-to for portraits because they offer natural-looking proportions and easily create pronounced bokeh, even at moderate apertures like f/2.8.
Example 4 – Aperture
In this example, we keep the same for the following:
- Same distance to the subject
- Same focal length at 50mm
The only parameter changes here is the aperture.

Sometimes, we can’t change our position — like in formal events or limited spaces. In those cases, shooting at f/1.4 or f/1.8 helps us achieve beautiful background separation without needing to step closer or rearrange the scene.
Use wide apertures when you want maximum blur but can’t move your subject or your position. This is why fast wide-angle primes (e.g. 35mm f/1.4, 50mm f/1.8) are so popular for event and lifestyle photography.
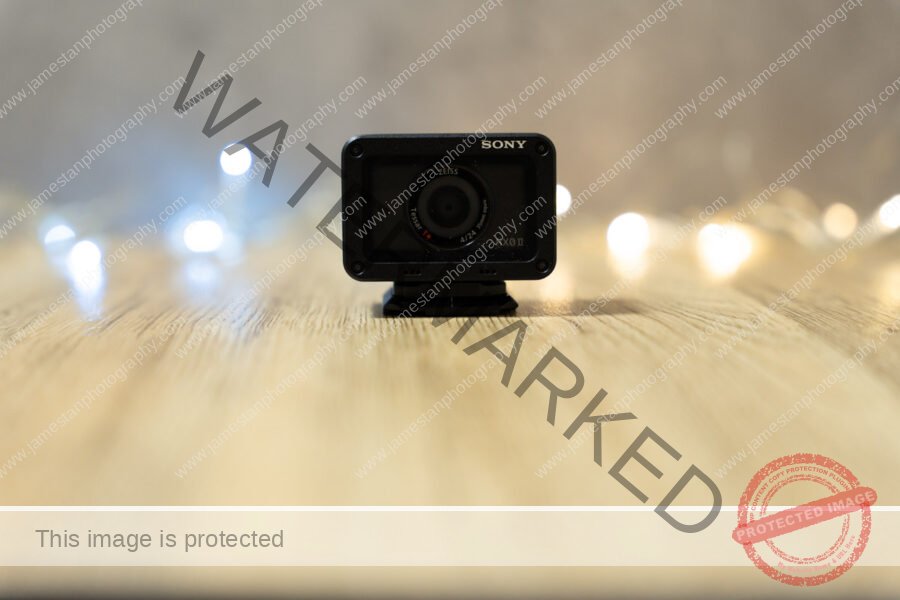
Example 5: iPhone 15 – Main Camera
The iPhone 15 main lens has:
- Actual focal length: 5.96mm
- Crop factor: 4.36×
- Aperture: f/1.6
- 35mm equivalent field of view: 26mm
While f/1.6 gathers the same amount of light for exposure, it behaves more like f/7.1 on a full-frame camera in terms of depth of field. The background stays relatively sharp and hardly looks blurred.
Smartphone lenses may have wide apertures, but the small sensor and shorter actual focal length result in a deeper depth of field. That’s why you often don’t see strong bokeh — unless computational blur is used.
Example 6: iPhone 15 – 2x “Telephoto”
iPhone 15 uses the same main camera sensor but applies some computational logics to create the “2x” view. As a result, the 35mm equivalent field of view and the crop factor is doubled up but the acutal focal length remains the same.
- Actual focal length: 5.96mm
- Crop factor: 8.725×
- 35mm equivalent field of view: 52mm
f/1.6 on iPhone 2x mode here behaves like f/14 on a FF camera, which makes the background even sharper — because the lens hasn’t changed at all. It’s simply a cropping from the high megapixel sensor with some post-processing to simulate the 2x zoom.
Even if the aperture looks fast on paper, small sensors paired with crop modes result in a very deep depth of field. That’s why point-and-shoots and phones struggle to produce real bokeh — though AI blurring continues to improve.
Computational blur can look unnatural in tricky scenes (e.g. hair strands, glasses, overlapping subjects). While the results are improving fast, they’re still no match for the physics of larger sensors and longer lenses — at least for now.
Common Mistakes Beginner Makes
Always Use The Widest Aperture
You might hear this – “Use the widest aperture or you’re wasting your lens!”
But that’s not always true. Think about what you want in focus, not just how blurry the background looks.
- Use f/4 – f/5.6 for group portraits.
- Use f/8 – f/11 for cityscapes.
- Use f/16 – f/22 for macro — or better yet, focus stack at f/8–f/11 for sharpness across the subject (yet avoiding the sharpness loss at f/22 due to diffraction)
Focus On The Wrong Position
DoF expands the focusing area forwards and backwards from the focusing point, but it isn’t split 50/50. It’s often:
- ~30% in front of your focus point
- ~70% behind it
Tip: In group shots, focus on the front row — that gives you the best chance of getting everyone sharp.
Subject Too Close To The Background
Even if you use a wide aperture, if your subject is standing right against a busy background like bushes, there’s no room for blur! (as shown in the example 2 above!)
The farther your subject is from the background, the more blur you’ll get — even at moderate apertures like F4!
Final Thought
Understanding depth of field is one of the most useful skills a photographer can have — especially if you want to create images with more intention and impact.
Whether you’re using a smartphone or a full-frame camera, remember:
- Use wider aperture (f/2.8 or faster), longer focal length (50mm and above), and stand closer for shallow DoF (blurred background)
- Use narrower aperture (f/5.6 or slower), shorter focal length (35mm or below), and stand farther for deep DoF (everything sharp)
And don’t stress about sensor size too much — just know how it influences your lens choices and framing.
The more you practice, the more naturally you’ll start to feel how depth of field works. Start experimenting today — and watch your photography skill evolve.

Leave a Reply