Bokeh! A special optical effect that almost every photographer is pursuing. It is pronounced as “boh-kay”, which originated from Japanese that means something blurry. In the photography world, Bokeh is defined as how the lens renders the out-of-focus region. The Bokeh can be the background with a circular out-of-focus effect or smooth blur out-of-focus rendering background. There is some debating for the definition, but we treat both of them as Bokeh here.

Bokeh is always one of the key difference between the interchangeable lens camera (ILC) and compact camera because it is challenging to get this smooth-rendered background from the compact camera. However, some people are using ILC but do not get the Bokeh effect as well. So we will have a look at what is essential to get the Bokeh in our shots.
1. Large Aperture
First, we need to set our lens to a large aperture like F4, F2.8, F2, F1.8, F1.4, etc. The smaller the F value, the larger the aperture is, the smoother rendering of the out-of-focus region in our shots, and the more expensive the lens is.
2. Long Focal Length
The longer the focal length is, the smoother the Bokeh is. If you are using a zoom lens, you have to be aware of the largest aperture of your zoom lens. Usually, the zoom lens has the largest aperture of F5.6 or F6.3 or smaller at its telephoto end, so it will not produce a pleasant Bokeh effect. Therefore, you either get a constant aperture zoom lens like F4 or F2.8 (the larger constant aperture zoom lens, the more it costs you) or get a prime telephoto lens.

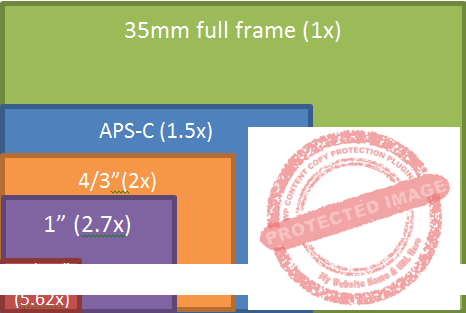
3. Large Size Sensor
In simple words, a larger sensor needs a larger lens to allow more light to expose the sensor fully. It is usually easier to get a more admirable Bokeh effect in the shots. Of course, the larger the sensor size is, the more expensive the camera is.
The three tips above are regarding the necessary equipment settings. I use my Sony NEX-6 (read the review here) to take the sample shots in this blog. Now we need some shooting techniques to fully utilize the capability of the lens and camera to get the nice Bokeh effect.
4. Get Closer to Your Subject
We have to shoot closer to the subject because that will be easier to get the nice pleasant Bokeh (or minimum in-focus area) in our shots.


As the comparison above, the aperture is the same set at F2.8, but the distance that shot the subject will affect the area in focus (pay attention to the alphabets in-focused on the keyboard).
5. Aware of the Background
Although the background is out-of-focus, people will still get distracted if the environment is too complex. The tip here is to keep the background simple.

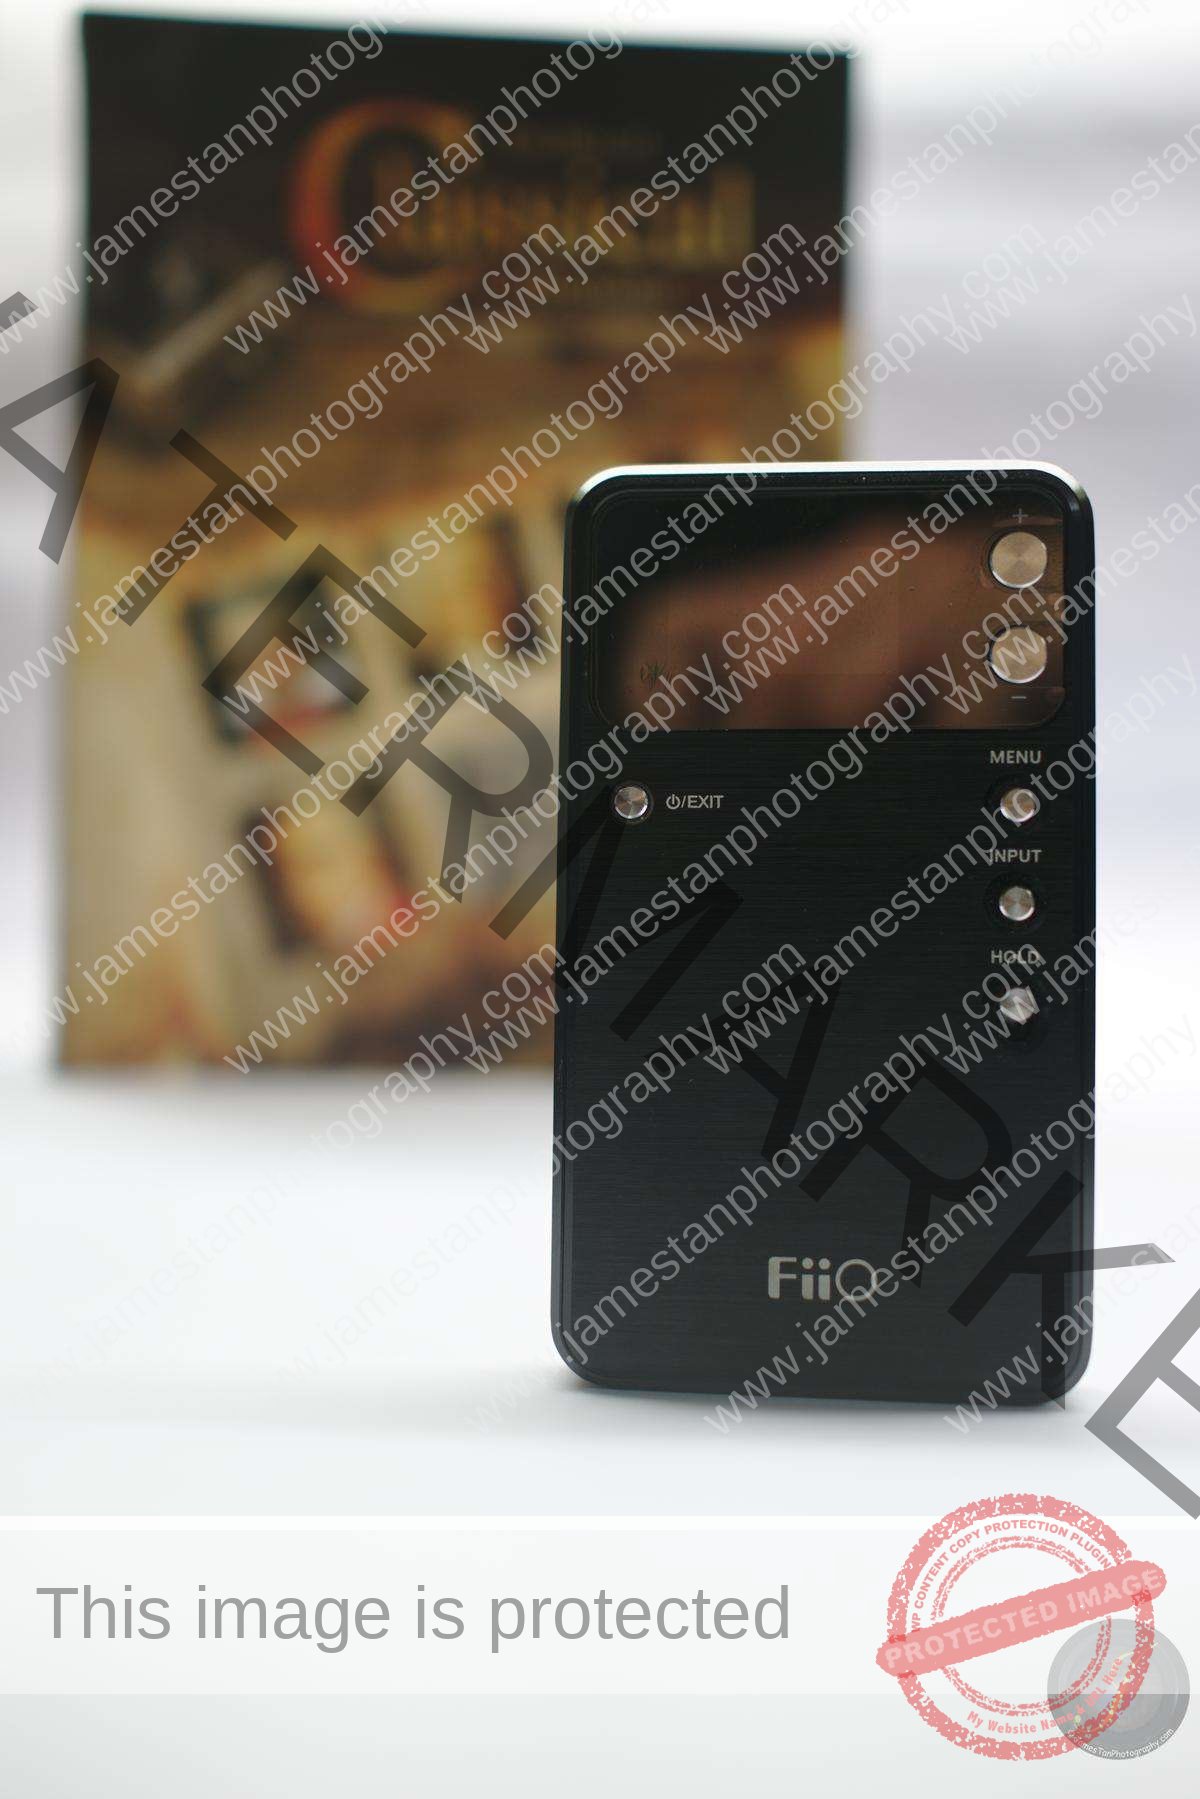
Besides, if your subject is too close to the background, you will not get a great Bokeh effect even if you use a large aperture like F1.8 below. As you see, the closer the distance between the subject and background, the clearer the background object is (the Classical CD collection is the background object here). So another tip here is to keep your subject away from the background as far as possible.


Bottom Line
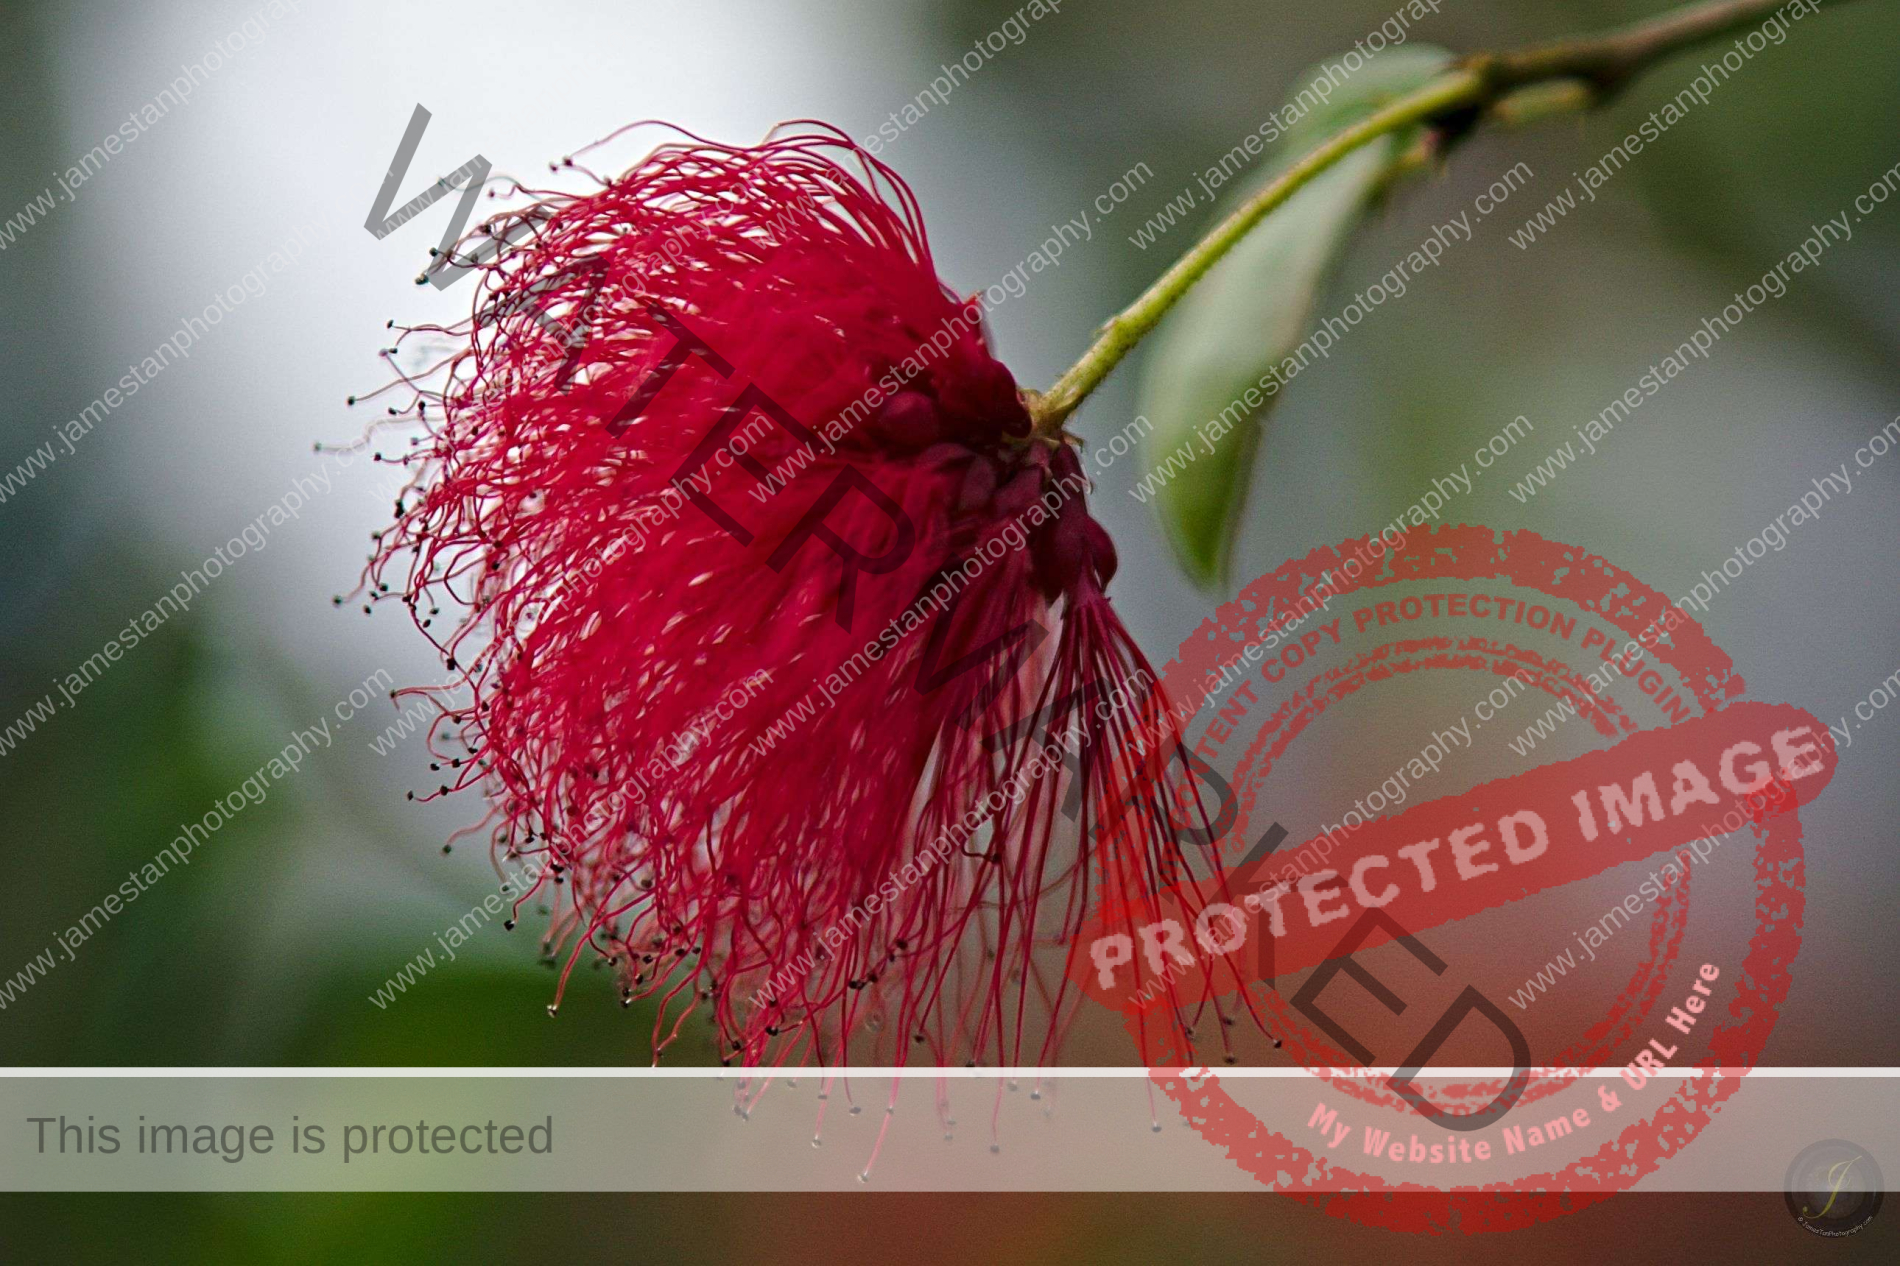
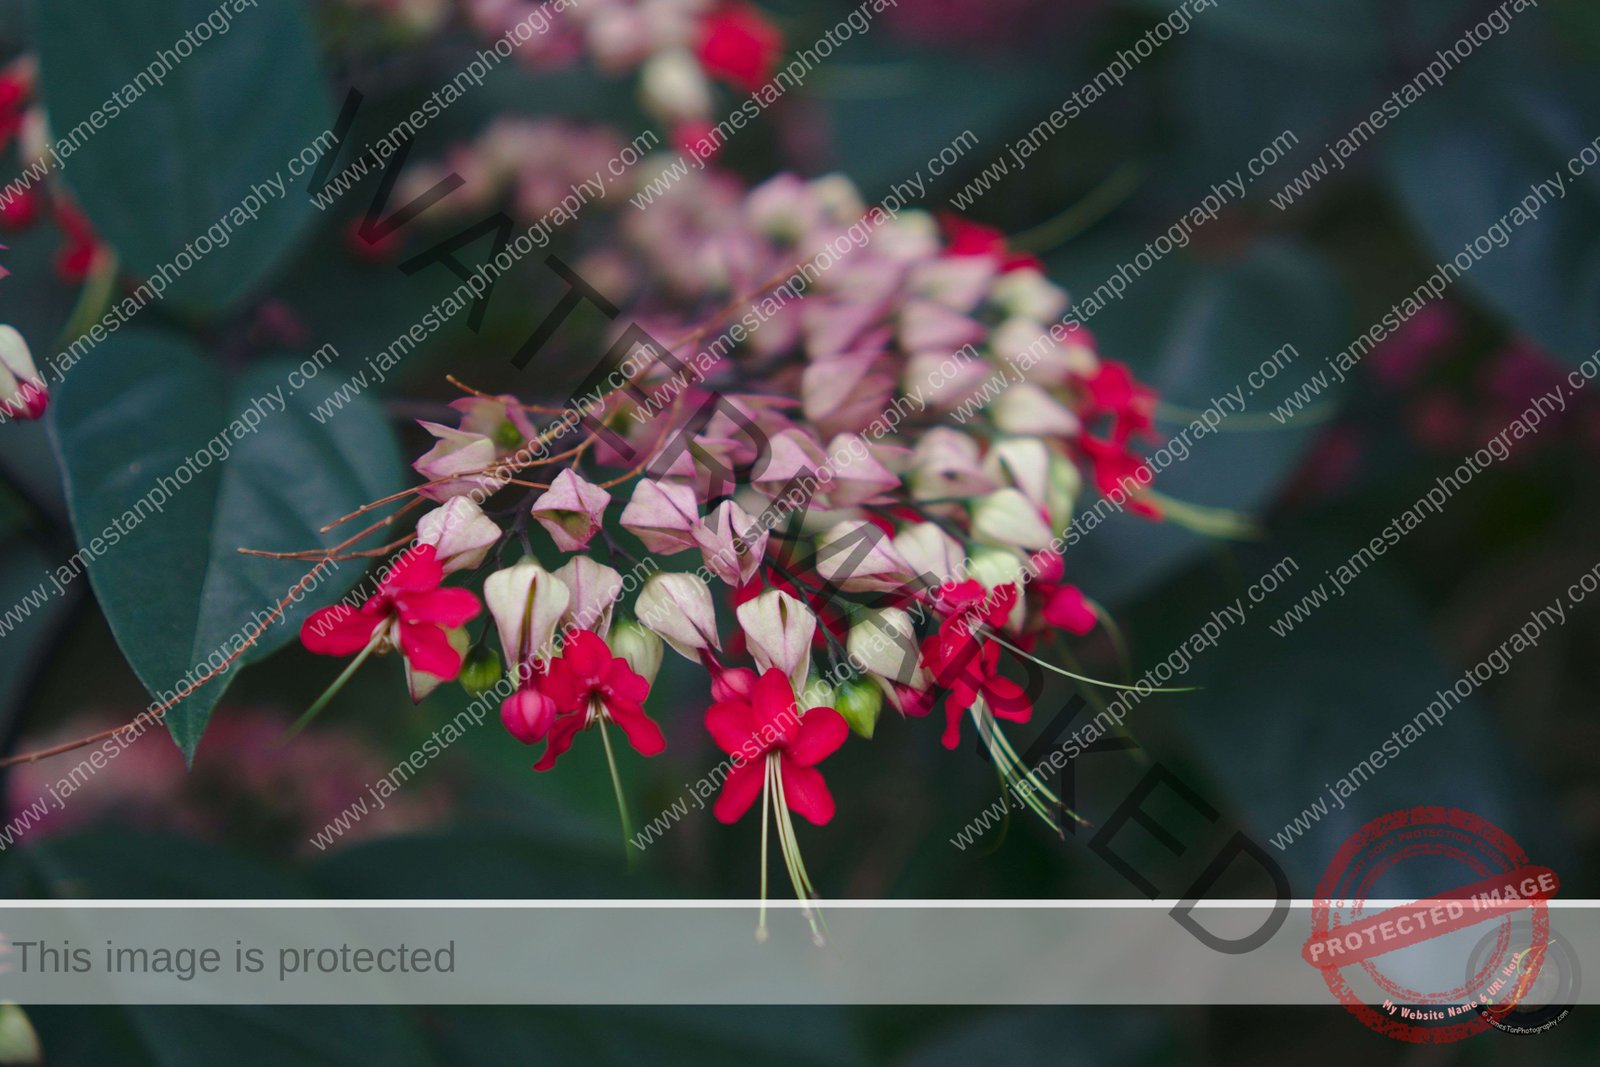
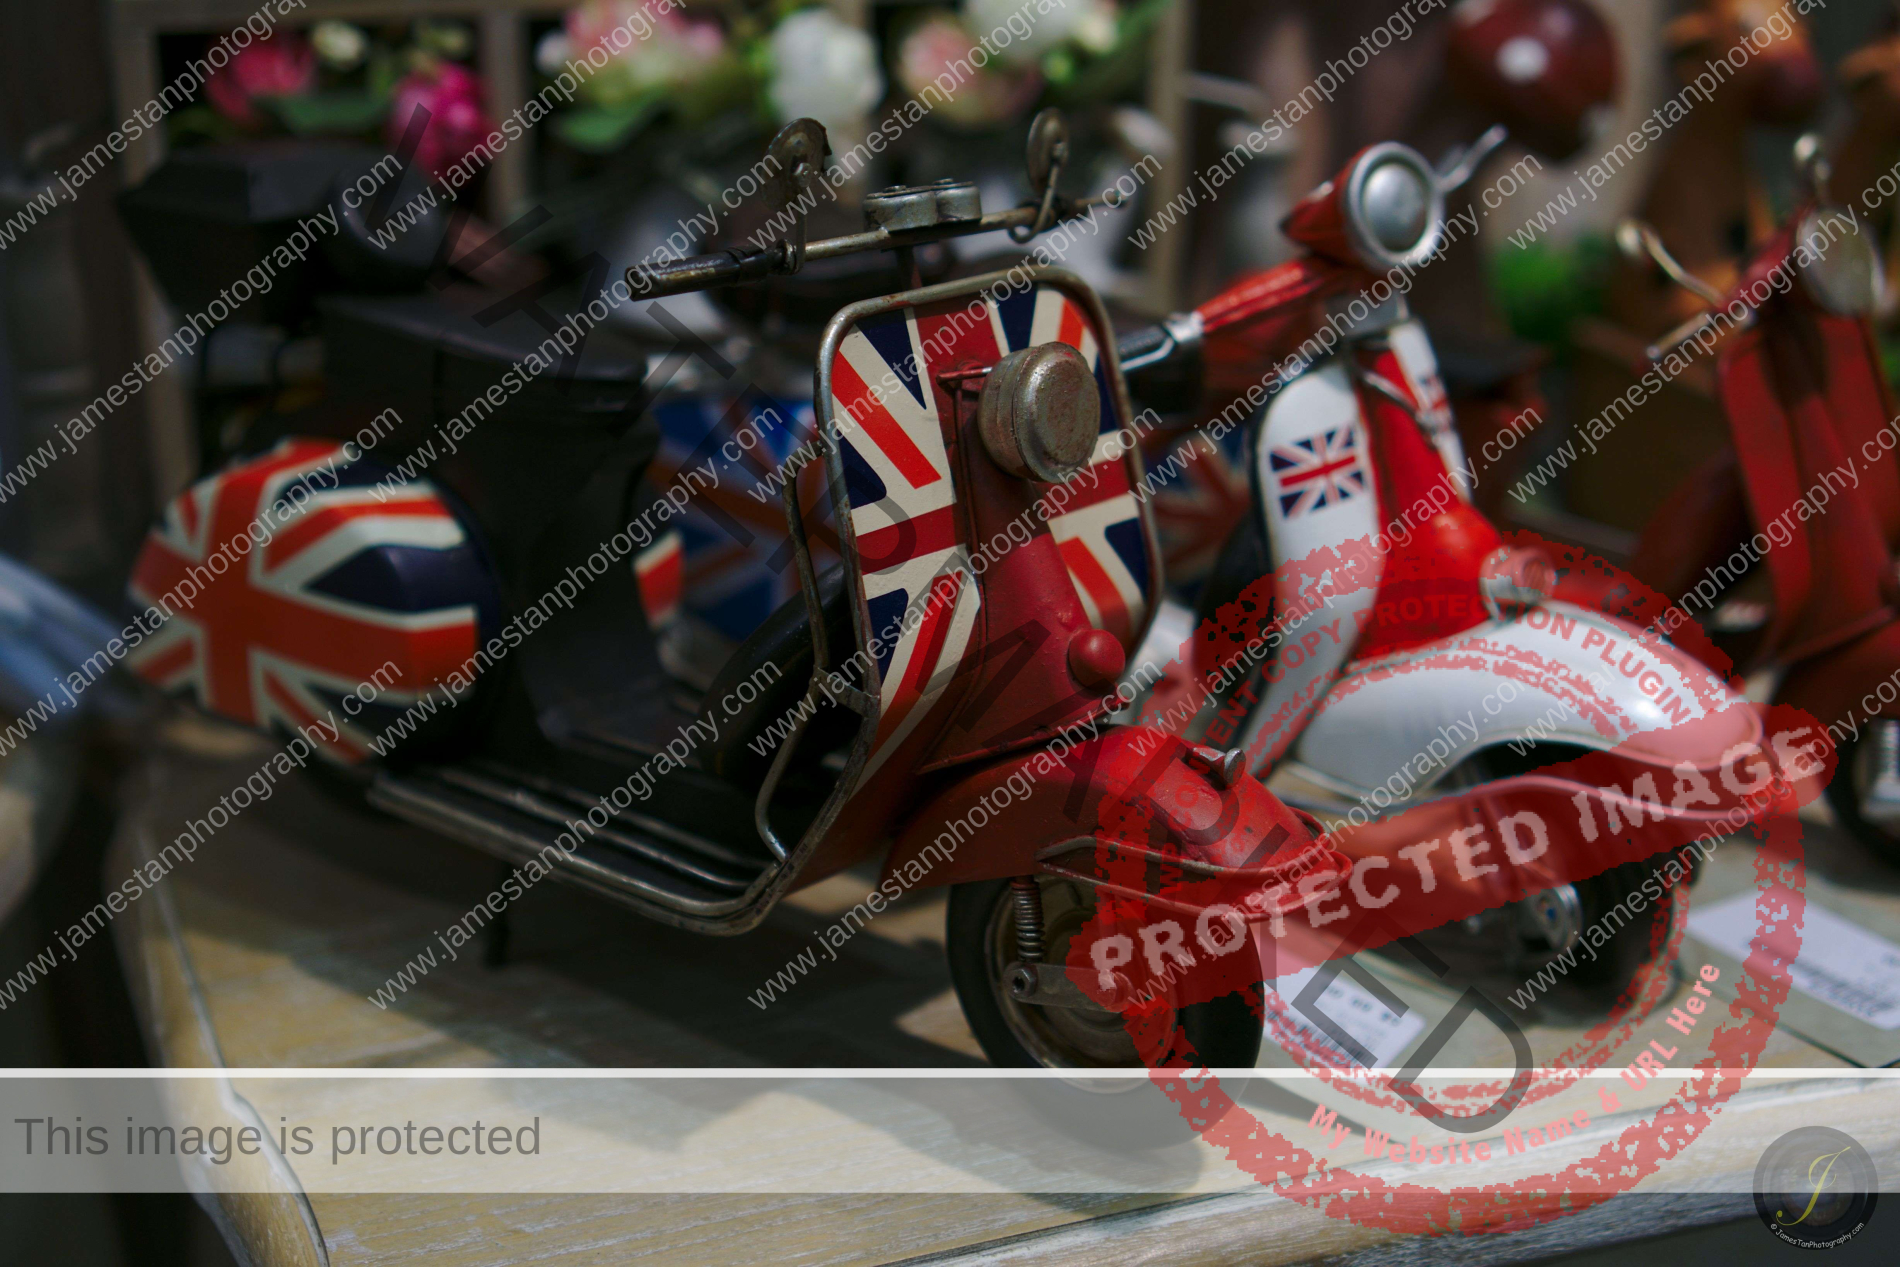
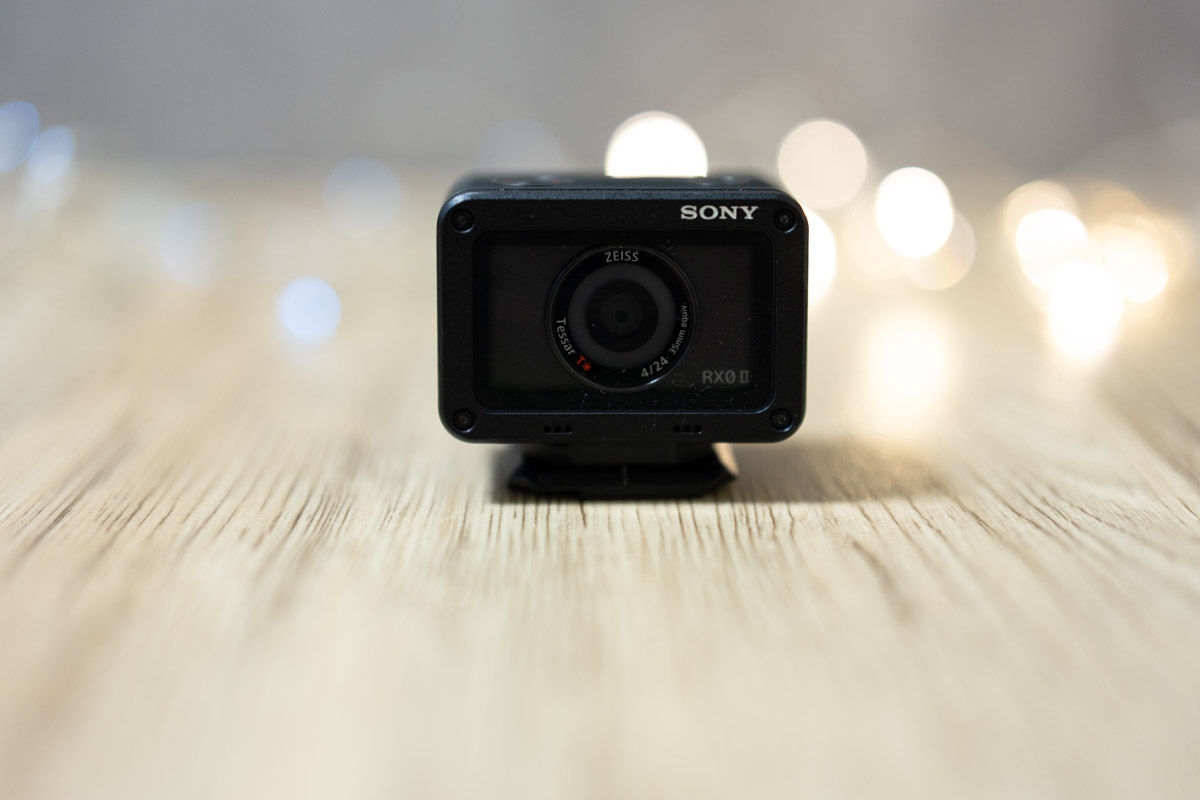
Well, the tips above shall give you the dreamy Bokeh effect you are looking for, keep practicing, and you will catch the ball. Before the end of the tips today, just FYI that we usually use Bokeh to create dramatic background effects or extract the subject out of the background. I include some of my old shots for demonstration here.


That’s all for today’s tips. I hope you benefit from it and get some great Bokeh in your shots. Thanks for reading, and I hope you enjoyed it.

Leave a Reply