
In 2021, Apple introduced the M1 Pro and M1 Max processors, the successor of the impressive M1 processor introduced in 2020. The previous 13-inch model is also upgraded to a 14-inch screen with the same chassis size as the 13-inch. The upgrade successfully made me order the new 14″ M1 Max MacBook Pro without hesitation.
Let’s watch my unboxing and 1-month editing impression video below before we move on to the following contents.
Before you start reading the remaining post, I have to be frank with you.
This post is not a review for the 14″ M1 Max Macbook Pro. There is no benchmarking, no detailed introduction on every component of the new MacBook Pro. Instead, I’m sharing with you about my photo and video editing experiences on it and some consideration before I bought the specific model.
Of course, I’m not simply repeating my video speech in this post. I added some bonus tips and other opinions specifically for you to appreciate your patient reading. Let’s check it out now!
My Consideration On The Size
One of the common questions is, should you get the 14-inch or 16-inch? Before 2021, the processing power, screen size, and portability difference are the 3 major deciding factors between the smaller and the larger MBP. The larger 16-inch MacBook Pro is always equipped with a more powerful processor and dedicated GPU. Therefore, many people would give up the portability of the 13-inch MBP in exchange for the processing power and the more significant screen estate provided by the 16-inch MBP.
This is not the case anymore for the MacBook Pro 2021. It is the first time that Apple has allowed us to have the same configuration for both the smaller (14-inch) and the larger (16-inch) MacBook Pro.

So we only have to choose between the portability and the screen estate, and I opt for the portability.
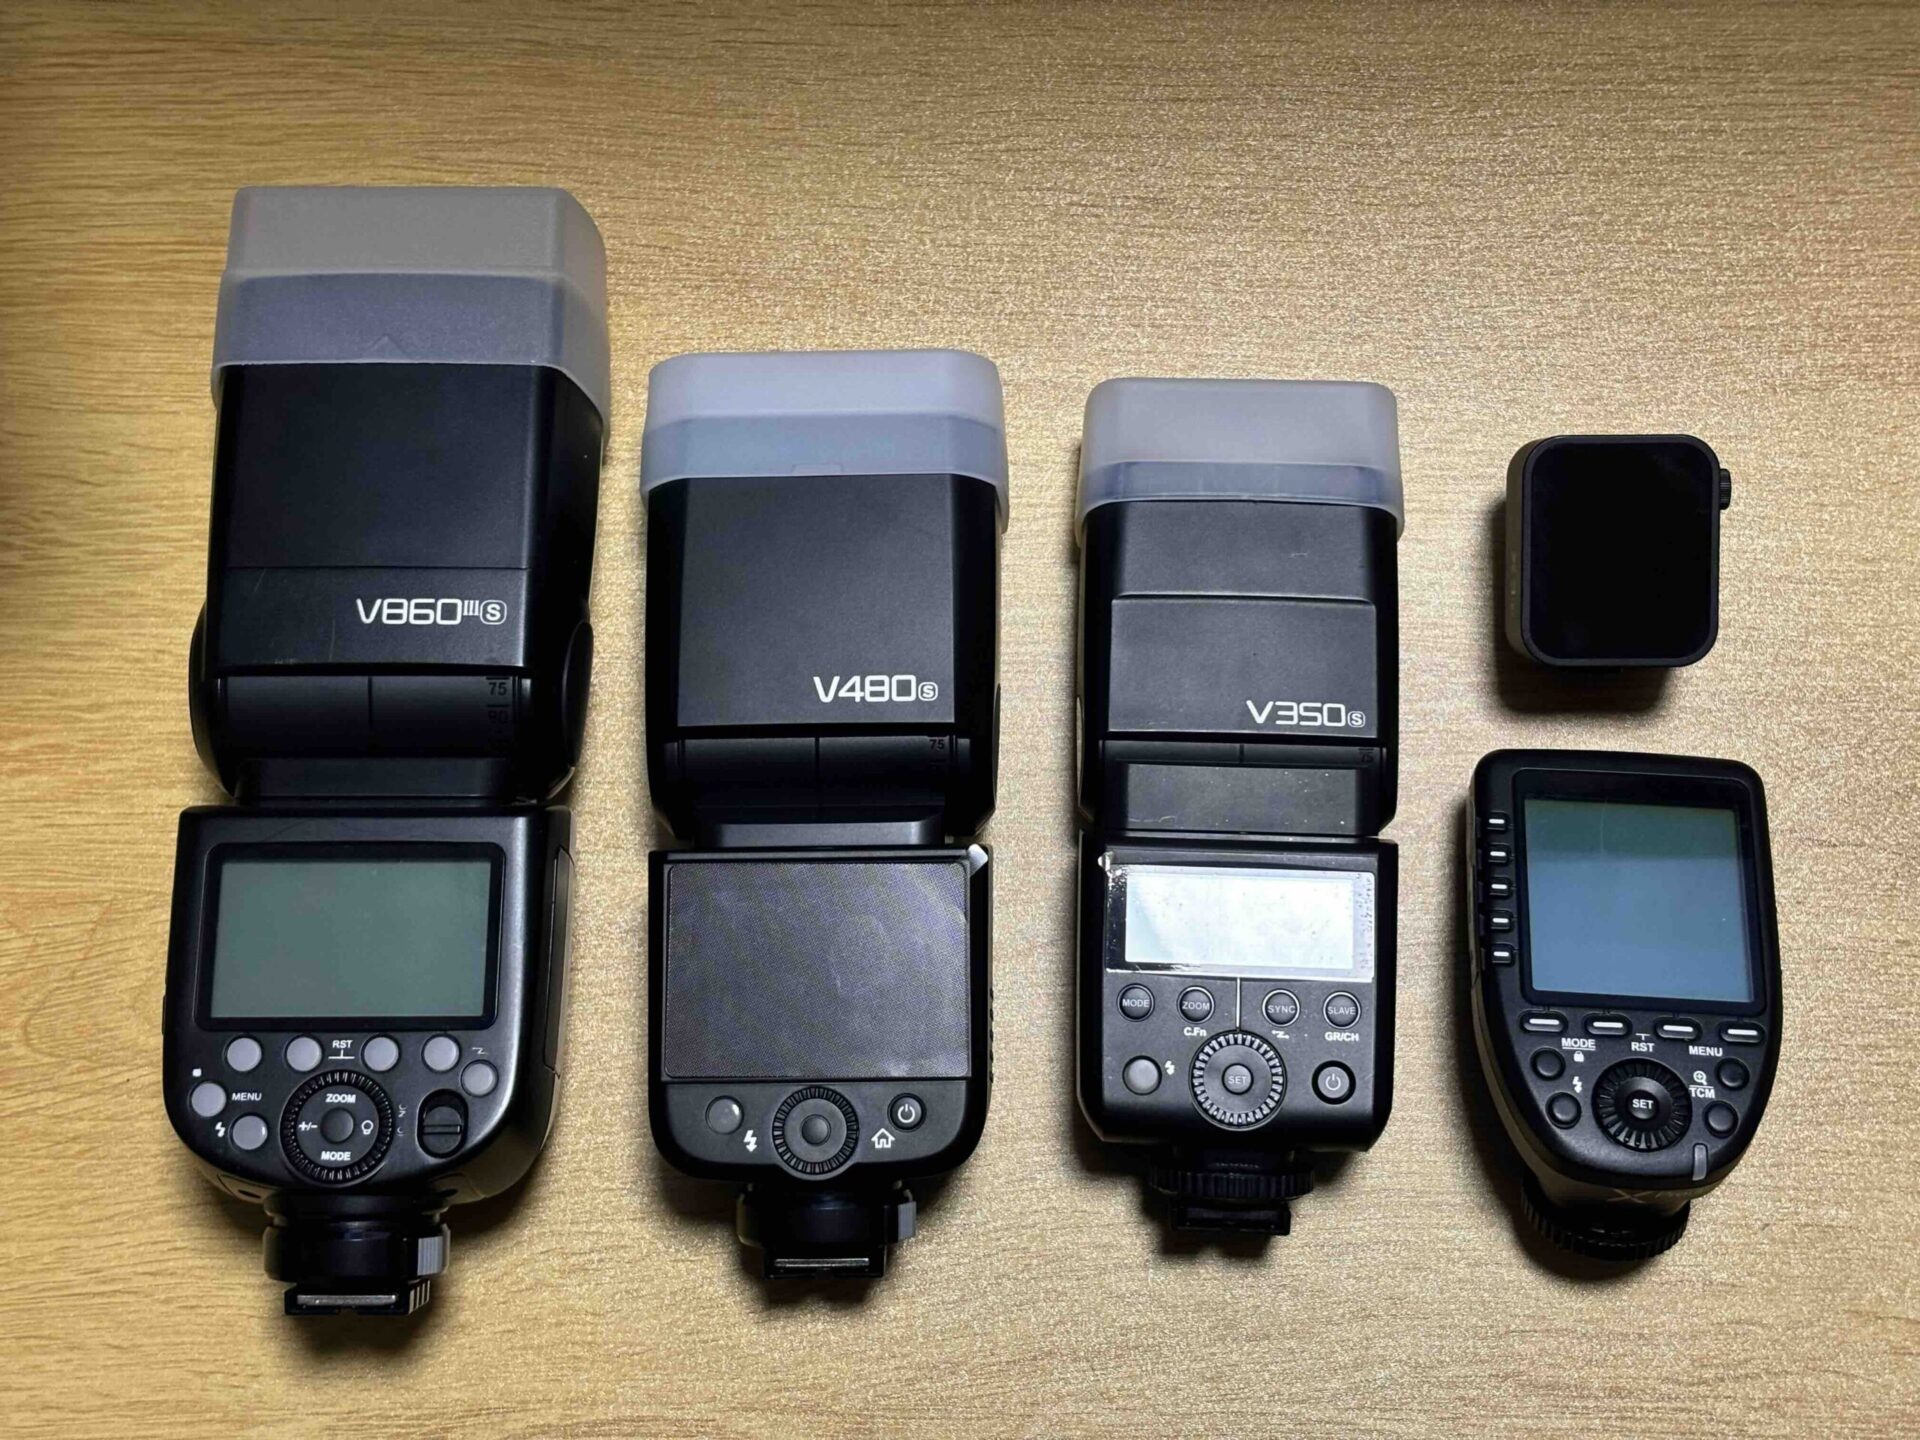
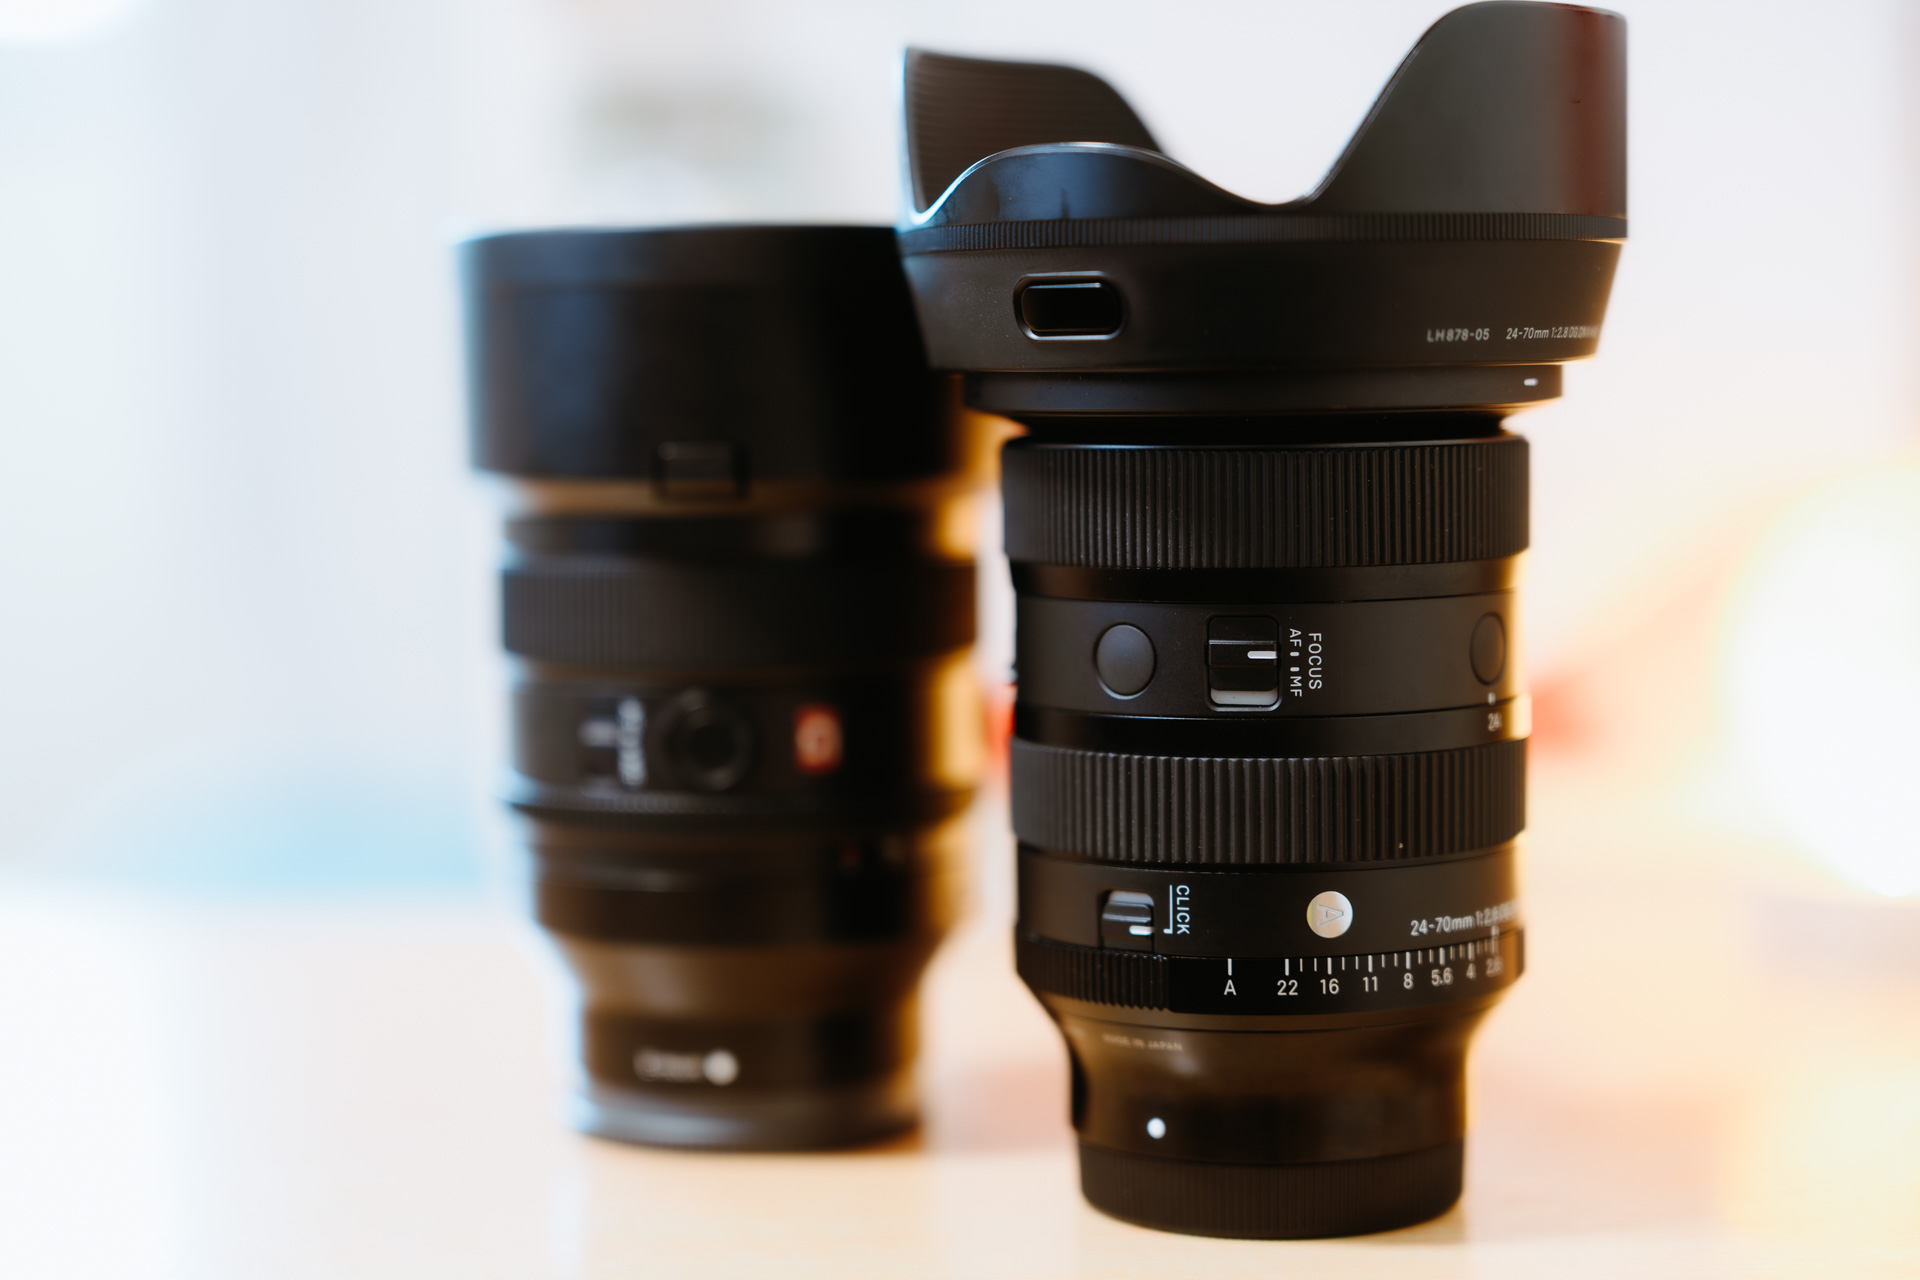
The reason is simple. I’m buying a laptop to carry around with my photo shooting. The 14-inch MacBook Pro weights at 1.6 KG while the 16-inch weights at 2.1 KG. The 500g may not sound much heavier to you, but it means a lot to a photographer!


As shown, 500g is roughly equivalent to a full-frame Sony a7C body or 2 to 3 compact prime lenses. When carrying the MacBook Pro and camera gears together for a whole day, every gram count in your backpack.
Yes, the 16-inch screen is attractive, especially it is powered by Apple’s latest mini-LED technology that features 1600 nits peak brightness for the HDR content. However, you always have the option to connect to a significantly larger external monitor if you want.
My suggestion here is you should only consider the 16-inch MacBook Pro if you are solely editing on the MacBook Pro.
Returning Ports (MagSafe, SD card, HDMI)
I appreciate that Apple decided to get the MagSafe charging port, SD card slot, and HDMI port back onto the 2021 MacBook Pro. Keep in mind all the MBP models before 2016 have these ports. Due to whatever reason, Apple replaced them with two TB3 ports in 2016, and some higher-end models had 4 TB3 ports.


MagSafe 3 Charging Port
Back to the 2021 MBP, we get an upgraded braided charging cable and a separated power brick out of the box.


The MagSafe 3 charging port works the same as the older MacBook MagSafe charging port. Move the MagSafe connector close to the charging port, and it snaps to the charging port tightly! The magnet is so strong to prevent the cable from pulling out accidentally. If you want to take it out, simply tilt and pull.
An orange LED indicates that the MacBook Pro is being charged, and the green LED indicates that the charging is completed.
Do take note that the new MagSafe 3 charging connector is not backward compatible with any older MagSafe 2 charging connector.
UHS-II SD Card Slot
As a photographer, the UHS-II SD slot is the most welcome port among the returning ports. It is a pleasure to import the photos and videos directly into the MBP. No more frustration bringing and looking for an external card reader for any editing.
HDMI Port
However, the HDMI port is a hassle for serious work. Some of you might be puzzled by the HDMI 2.0 instead of the HDMI 2.1. No, I’m not complaining about it. I’m complaining that Apple uses the YPbPr color space for TV and projectors instead of the RGB color space for the computer monitor.

If you do not know what that is, just leave it. You have a happy life.
It seems to be a common issue for other M1 Mac as well. If you are doing serious work and require calibrating your external monitor, you will need to do some patching in the plist to get the correct RGB color space output.
I found a fantastic YouTube guide that provides a step-by-step patching guide (disclaimer: I do not know who is he, but I appreciate his great helpful guide)
If you do not like to mess around with the patching, a few quick workarounds are available. Since macOS Monterey 12.0.1, the USB-C to Display Port connection should output RGB color space directly. Another solution is to use an external hub with Display Port to connect to your external display. The hub I’m using is the CalDigit TS3+.

I get the proper sRGB color space from the Display Port without any extra patching.
Mini-LED Liquid Retina XDR Display
Despite the irritating HDMI issue, the built-in display is in another league. The new screen is Liquid Retina XDR, providing a billion colors and a 120Hz silky-smooth display. Apple uses the mini-LED technology to brighten and dim the screen, which results in an impressive 1,000,000:1 contrast level. Besides, the mini-LED also produces a whooping 1600 nits peak brightness and provides 1000 nits sustained brightness.
Set aside those fancy technical names, they simply mean the new screen is brighter and more contrasty. The colors are vibrant. The shadows are darker and deeper, and the highlights are more refined. It is fantastic when watching those HDR videos on YouTube or Netflix.

You need an optimized HDR content to utilize the high screen brightness.
Without HDR content, the bright area could look the same as other normal display.
The 1000 Nits Brightness
Thanks to the 1000 nits sustained brightness. There isn’t a problem using the MBP under direct sunlight. There are still reflections on the screen, but it’s usable. Remember that we have to use the default Apple XDR display preset to utilize the high brightness.

Changing the display preset into other presets, such as the Photography preset, locks the screen onto a specific brightness setting. The sunlight will overwhelm the screen brightness instead.

Apple locked the brightness settings for other display presets and required us to work in a controlled lighting environment in order to obtain the intended calibration result.
The Notch
It is hard to ignore the notch when talking about the new screen. (Yes, I have a tempered glass screen protector pasted on it to prevent any micro scratches)

There is an upgraded 1080p webcam hidden in the notch. Sadly, there is no Face-ID. So far, the notch does not distract me at all. The application menu options do overflow to the other side automatically. When using fullscreen mode, it is hidden together with the menubar.
ProMotion
The ProMotion refresh rate is another highlighted upgrade to the screen. According to your usage, the screen refresh rate is scaled from 24Hz to 120Hz. The ProMotion refresh rate supposedly provides a better battery life and a smoother display. However, I do not see myself appreciating the ProMotion as much as it does on my iPad Pro. Yes, web browsing is smoother, but what else? It is not a touchscreen. I cannot write or draw on the screen directly. I could only convince myself that it contributes to better battery life.
In summary, the new screen is a massive upgrade from all the previous generations of MBP. I have only one word to describe the new screen – awesome! I couldn’t tell you how much I love to edit on the new 14-inch display.
It would be wasted with such a high-quality screen if the performance could not keep up with it. Thankfully, Apple did not let me down in the 2021 MBP performance.
M1 Max Performance
In 2021, Apple finally allowed us to have the same configuration for the smaller and larger MBP, with the similar processing power available. Yes, similar processing power. The 16-inch has a higher watt-hour battery, a larger cooling system, and even has an exclusive high power mode. Therefore, I will not be surprised that the 14-inch MBP cannot perform as well as the 16-inch MBP.
The model I get is the maxed-out 14″ M1 Max MacBook Pro with 10-cores CPU, 32-cores GPU, 64 GB RAM, and 1 TB of SSD drive. I have a pretty straightforward editing workflow. For your reference, my photos are mainly taken in 24MP and 33MP 14-bit uncompressed RAW, and videos are recorded at 4K 25p 4:2:0 8-bit and 4:2:2 10-bit footage.
My Photo Editing Experiences
I use Capture One Pro as my main photo editing application and extend it to the Topaz Lab for finishing. In Capture One Pro, opening a catalog with more than 10K photos is a breeze. Editing a 24MP/33MP image with multiple healing layers, and each layer has around 100 healing points, all the masking areas are displayed instantly. When I do the editing in the Topaz Denoise application, the editing is buttery smooth. If you do not know what Topaz Lab is, it is a GPU-intensive application that utilizes AI models for sharpening or denoising photos. For example, I could compare all the 4 denoise models side-by-side at one go. The preview rendering is near-instant.
Hmmm… My old Intel i7 Quad-core with AMD 5700 XT GPU and 32GB DDR4-2400 RAM build could handle the same tasks, with a few seconds longer waiting time. Apparently I don’t need the M1 Max for my photo editing tasks.
My Video Editing Experiences
Next, we move on to my video editing process. I use Final Cut Pro as my primary video editing application. Usually, I have to record the proxy file on the camera or generate the proxy file during the video file importing. I also have to keep the background render option enabled in Final Cut Pro to have a smooth playback. To be honest, I’m not fond of all these options at all. They take up extra storage space and additional time.
If you are new to Final Cut Pro, you might not know that this background render option is enabled by default. In simple, it ensures that your video clips with all effects items can be playback smoothly. The drawback is that these rendered files are easily generated for a few hundred GB and will quickly fill up your precious SSD storage space. Of course, we could always delete the unused rendered files manually, but the additional read/write access will shorten the SSD lifespan. That’s something I’m trying to avoid at all costs.
With the M1 Max processor, no more proxy files and background render are required for 4K video editing in Final Cut Pro. Simply import the video clips, apply the color grading, effects, transitions, titles, and so on, I can watch the playback immediately. The 4K video editing experience is dramatically improved. The 4K video playback in the better quality is buttery smooth.
When I export a 10-minute 4K video on my Intel i7 Quad-core with AMD 5700 XT GPU and 32GB RAM build, it takes 2 hours and 11 minutes to finish the video exporting on the Final Cut Pro. Ouch!!! Export the same 10-minute 4K video export only requires 3 minutes! 3 minutes! What an impressive time-saving for video tasks.
Is There Any Hiccups on The M1 Max?
Yes, there are some hiccups in Final Cut Pro. For example, if I applied the noise reduction effect to the 4K video clip, I would experience stuttering during the playback. Besides, when I scrolled through the storyline during the playback, Final Cut Pro blanked out all the information, like the video thumbnail and the audio waveform. Once I stop the video playback, all the info is rendered immediately.
I’m not sure if these issues are related to Final Cut Pro optimization or the M1 Max chip processing power. If you have any ideas or have experienced similar problems, kindly let me know in the comments below.
Observation of CPU and RAM Usage
I have some observations of the CPU and memory usage during my editing.
| CPU | RAM | |
| Photo editing in Capture One Pro and Topaz Denoise | 15% to 20% | slightly less than 30GB |
| 4K video editing in Final Cut Pro | 15% to 70% | slightly less than 30GB |
If you are concerned about the swap memory issue, don’t worry. None of them involve any swap memory at all.
Well, the 14″ M1 Max MacBook Pro is getting warm when running on battery mode, but I did not experience any performance difference between the power plugged-in and the battery mode. That is something rare for a high-performance laptop. Besides, I never noticed any fan noise throughout my one-month editing.
Battery Life
Apple claims that the 14″ base model MacBook Pro could last for 17 hours of video watching and 11 hours of web browsing. Yes, I could get a similar result with the 14″ max-out M1 Max MacBook Pro.

But, who cares? I buy the MacBook Pro for productivity works, not solely for web surfing or video watching. I’m more concerned about how long the battery could last for photo and video editing on the maxed-out M1 Max MacBook Pro.
I tested it out with 3 of my editing routines:
| 2-Hour Editing | Battery Consumption |
| 4K video editing in Final Cut Pro on the internal SSD | 35% |
| Photo editing in Capture One Pro on the internal SSD | 30% |
| Photo editing in Capture One Pro on the external HDD | 38% |
Each editing is carried out with a 2-hour duration.
However, the results is not so impressive to me.
- The 4K video editing on the internal SSD took about 35% of battery life;
- Photo editing on the internal SSD took about 30% of battery life;
- Photo editing on the external HDD took about 38% of battery life.
Depending on the editing, I could get around 5 to 6 hours of battery life for editing without an external power source. I consider the battery life adequate for editing works, but it is far from the whole day’s editing.
Low Power Mode
Wait a moment. There is a low power mode available in the Preference.

I repeat the same editing in the low power mode, and get the following results:
| 2-Hour Editing | Normal Battery Mode | Low Power Mode | Battery-Saving |
| The 4K video editing in Final Cut Pro on the internal SSD | 35% | 28% | 7% |
| Photo editing in Capture One Pro on the internal SSD | 30% | 22% | 8% |
| Photo editing in Capture One Pro on the external HDD | 38% | 25% | 13% |
There is a minor impact on the performance. Occasionally, Final Cut Pro would be unresponsive for a few seconds during the 4K video editing. Capture One Pro and Topaz Lab take slightly longer to render the photo preview. Other than that, I didn’t experience any major impact on the performance.
In exchange, the low power mode effectively extends the battery life for another 2 to 3 hours, making the MBP shine as a 7 to 9-hour editing powerhouse.
Therefore, I highly recommend you turn on the low power mode when editing on the battery.
Verdict
Overall, I’m impressed by the 2021 14″ M1 Max MacBook Pro. As mentioned earlier, the screen quality and the performance are massively upgraded from their previous generation. The keyboard, touch ID, and speakers also take a big step forward.
Is the 14-inch screen too small for daily usage? Nope. I enjoy using it for outdoor editing. Sometimes, I would even use it as my primary editing screen at home (Yes, I have an external monitor).
Is the 32-core GPU M1 Max processor overwhelming for photo and video editing? From my observation, even the CPU & GPU-intensive Topaz Lab Sharpen AI & Denoise AI do not stress the M1 Max over 25% CPU usage. Yes, it is too powerful for 99% of photo editing. If I mainly do photo editing and less-intensive 4K video editing, I would choose the M1 Pro processor with 32GB RAM instead.
Why would I choose the M1 Max over the M1 Pro processor? I pick it for the double memory bandwidth, twice the GPU cores, two times more of the video encode and decode engines. Of course, the specs do not lead to double the performance, but I believe that there would be a 70 to 80% time-saving in the video rendering and exporting. The accumulated saving is significant for my daily video editing. However, if you ask me to choose the spec again, I would choose the 24-core GPU for the 14″ MacBook Pro for better battery life at a slight performance loss.
After 1 month of photo and video editing on the 14″ M1 Max MacBook Pro, I conclude that it is truly a portable productivity tool for photographers and content creators. If you are using one of the M1 MacBook Pro or buying one, feel free to leave comments below to share your experience and consideration.
I hope you enjoyed the reading today. Peace!

Leave a Reply