Photography Gear For Your First Event/Wedding Shoot – Part II
Last Updated On
It is Part II about the photography gear for your first event/wedding shoot. I will discuss the lenses I use and explain why I chose them for my event/wedding photoshoot. Please feel free to check out Part I (The Cameras – Read here) if you have not read it yet. 1. Lenses Most modern lenses…
Photography Gear For Your First Event/Wedding Shoot – Part I
Last Updated On
Are you curious about what photography gear to bring for your first paid event or wedding shoot? And the worst, you are the sole photographer for the whole photoshoot. You might hear that the essence of shooting solely is backup. You must ensure you can carry out the photoshoot even if any part of your…
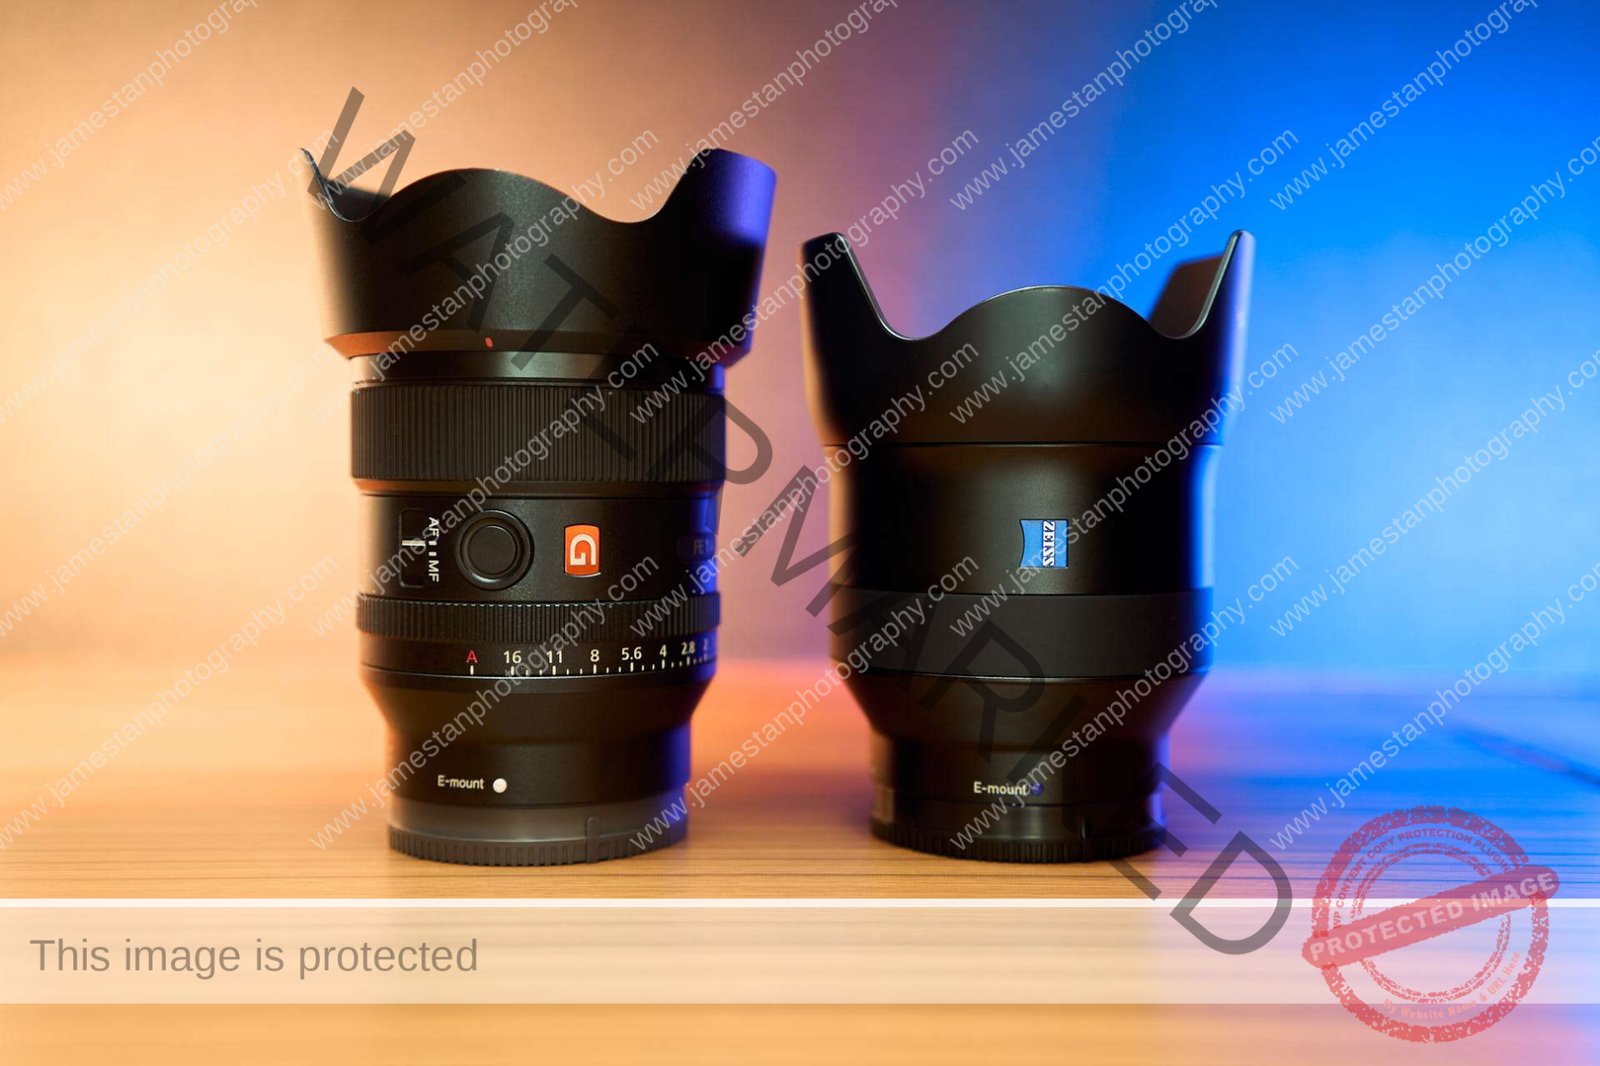
Do You Have To Upgrade Your Zeiss Batis 25mm F2?
Last Updated On
Is there any benefit to upgrading your current Zeiss Batis 25mm F2 to Sony 24mm GM F1.4? Or should you spend $200 more on the GM for your only 24mm fast prime? Let’s check it out!
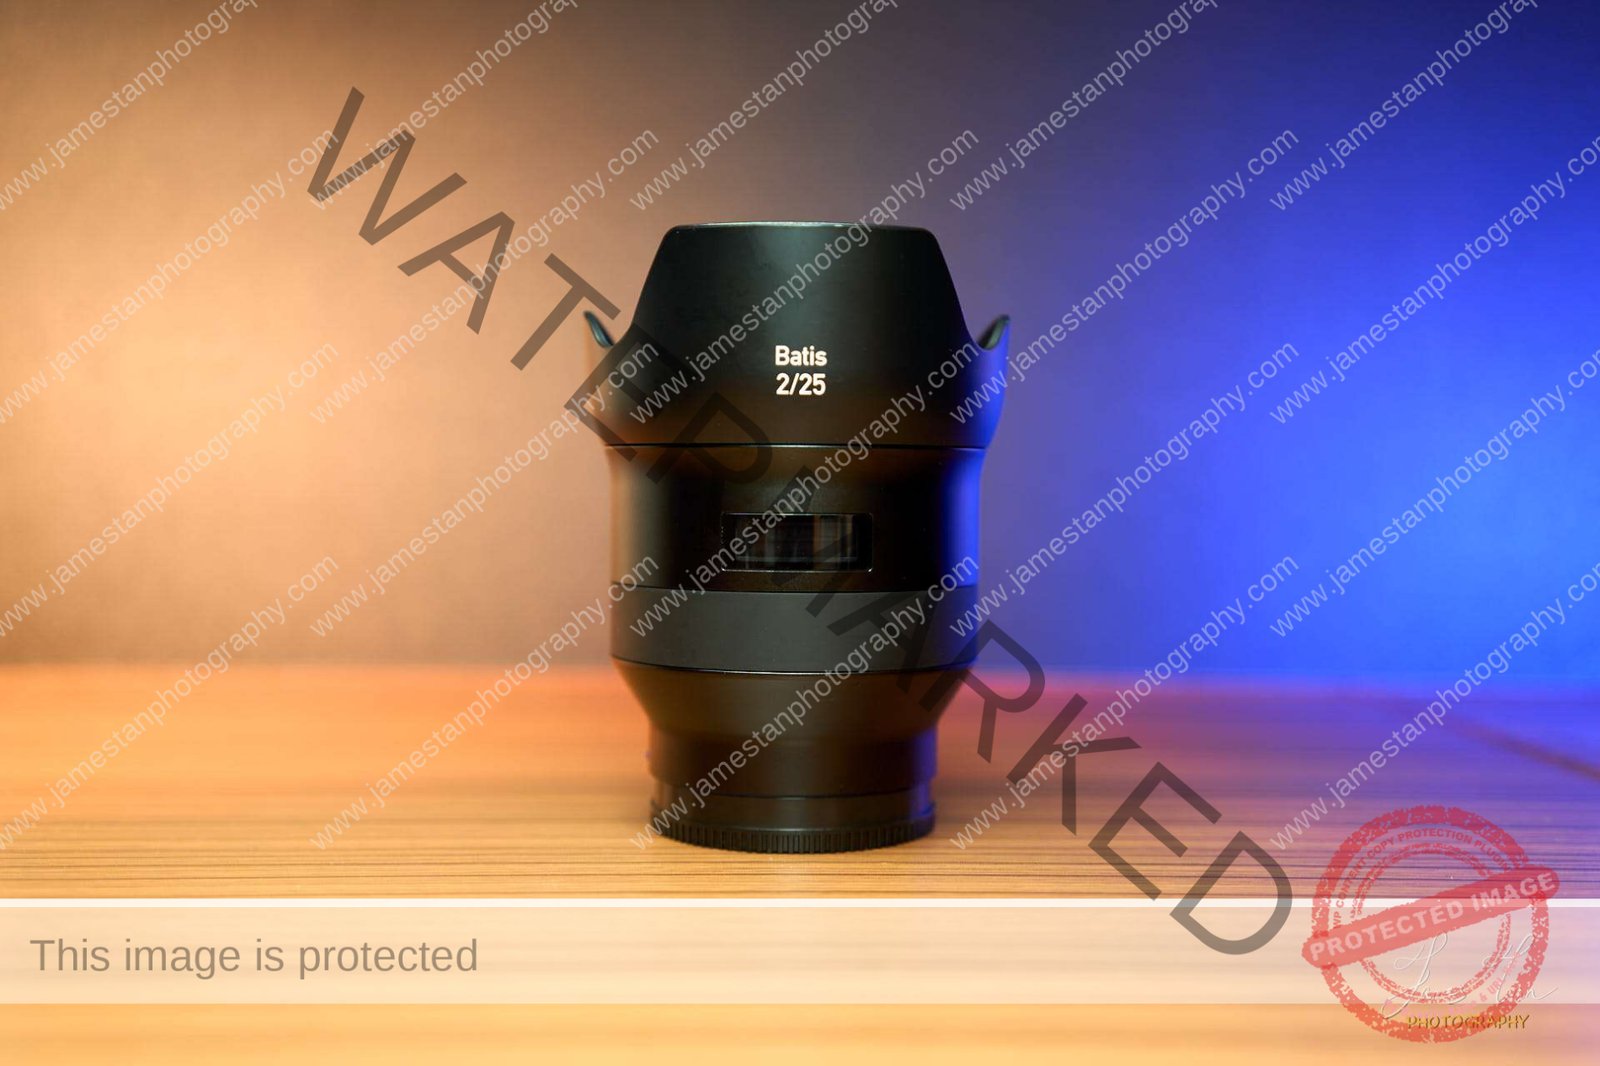
Is Zeiss Batis 25mm F2 Still Worth The Premium in 2022?
Last Updated On
Would the Zeiss Batis 25mm F2 be outdated when paired with the latest entry-level full frame camera in 2022? Does it still worth the USD 1,200 premium?
Samyang 24 mm F2.8 FE
Last Updated On
The first pancake 24 mm Sony FE lens from Samyang! Would it be one of your collections soon? Let’s check it out!
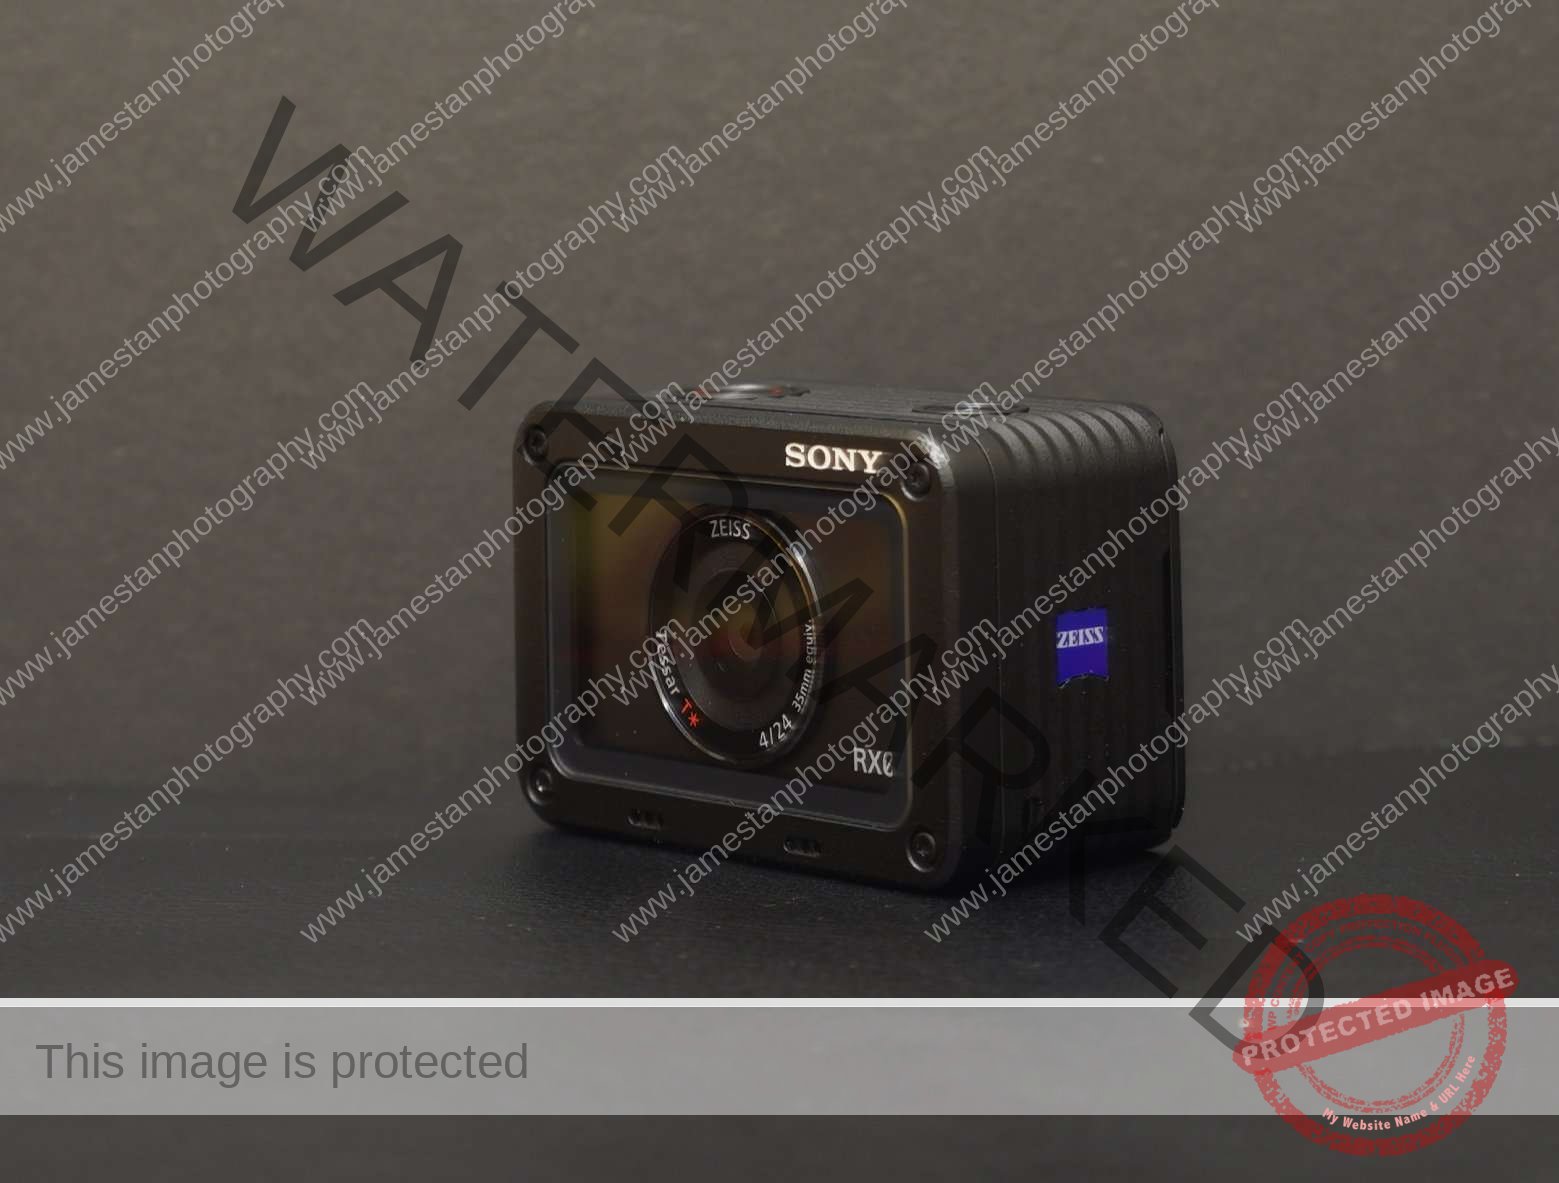
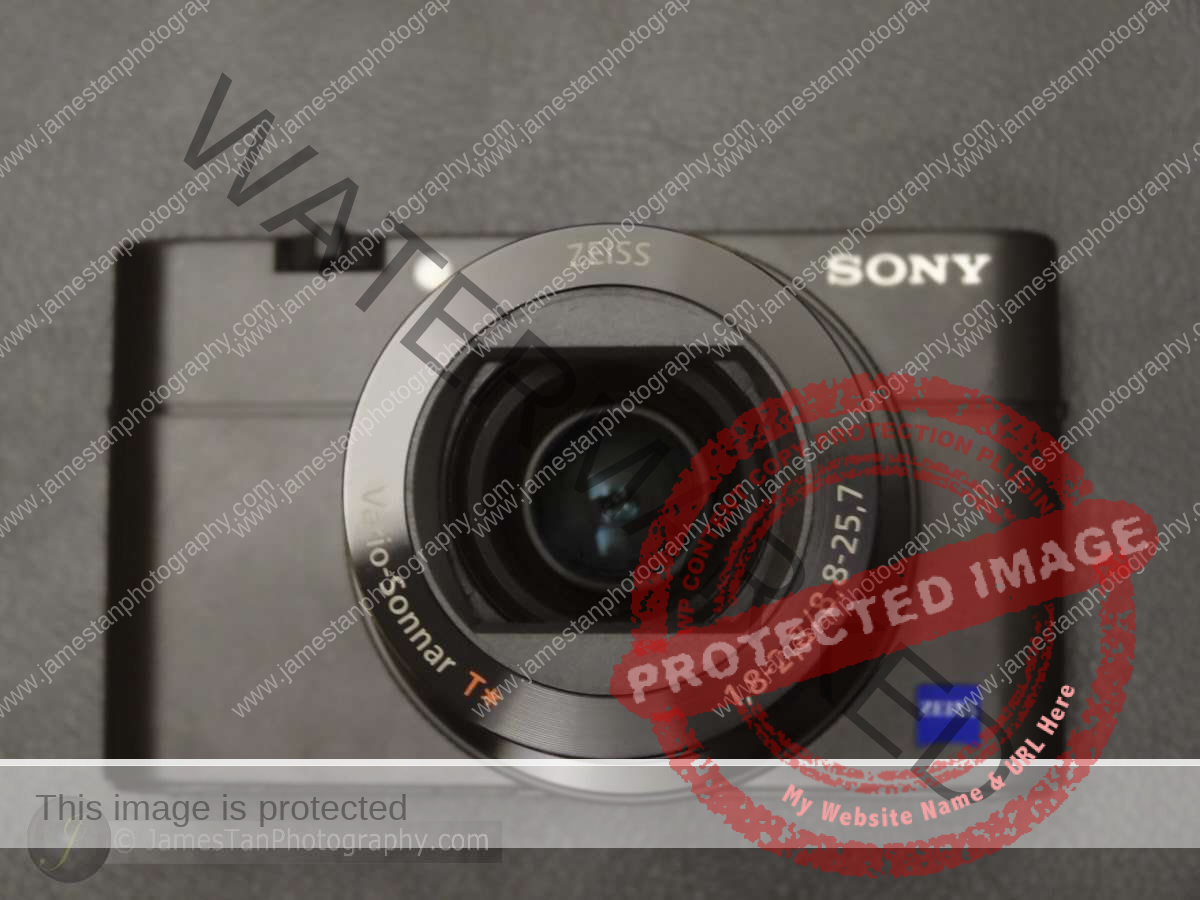
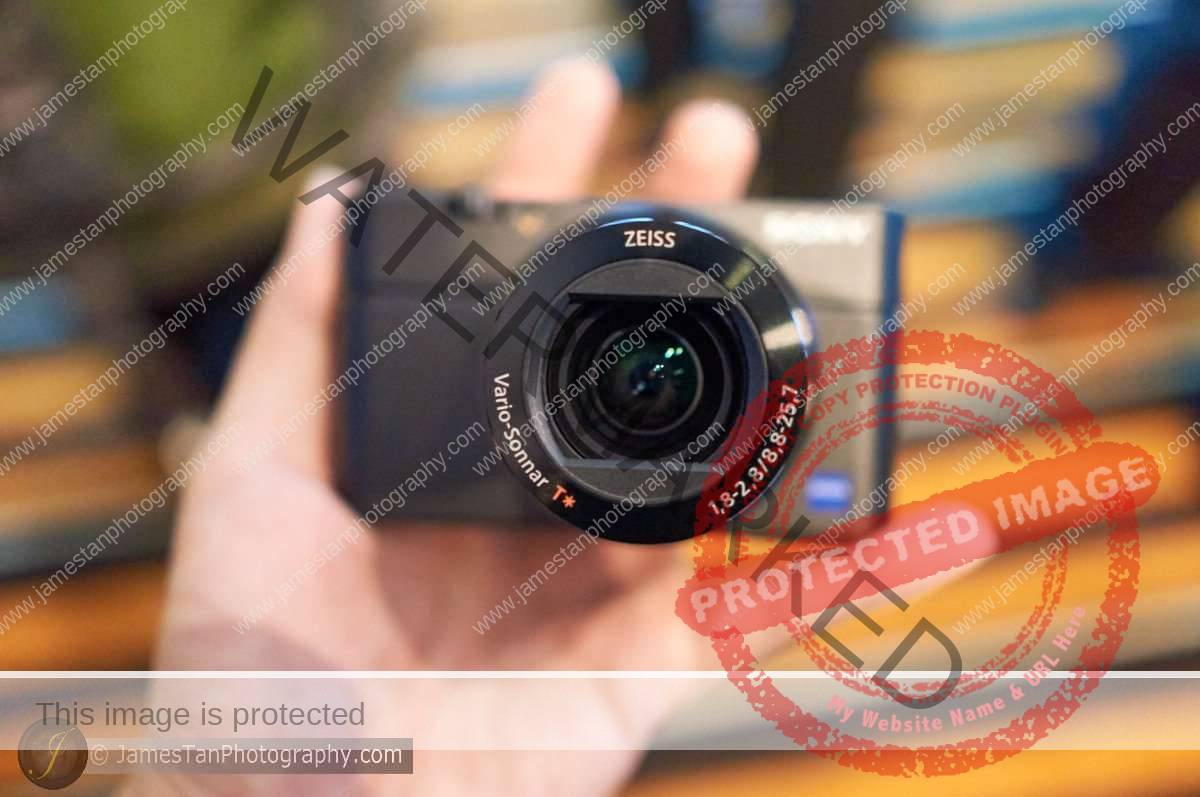
Sony RX100 V
Last Updated On
Sony RX100V is a pocket-size 1-inch sensor camera with an AF speed that could outperform a typical APS-C or even a full-frame camera. Let’s check out its AF performance and other amazing features!
Sony RX1R II
Last Updated On
A palm-size compact full-frame camera with 42MP high resolution and 35mm F2 fixed prime lens! Let’s check it out now!
Sony SEL1670Z APS-C Lens
Last Updated On
Sony SEL1670Z is the standard zoom lens for Sony APS-C E-mount cameras that covers an equivalent range of 24 mm to 105 mm with a constant F4 aperture. Would the little blue Zeiss badge give the assurance of its image quality? Let’s check it out!
Sony A7S II
Last Updated On
The 2nd generation of Sony full-frame low light monster camera – A7S II! Let’s check out how it performs with the new 5-axis image stabilizer!
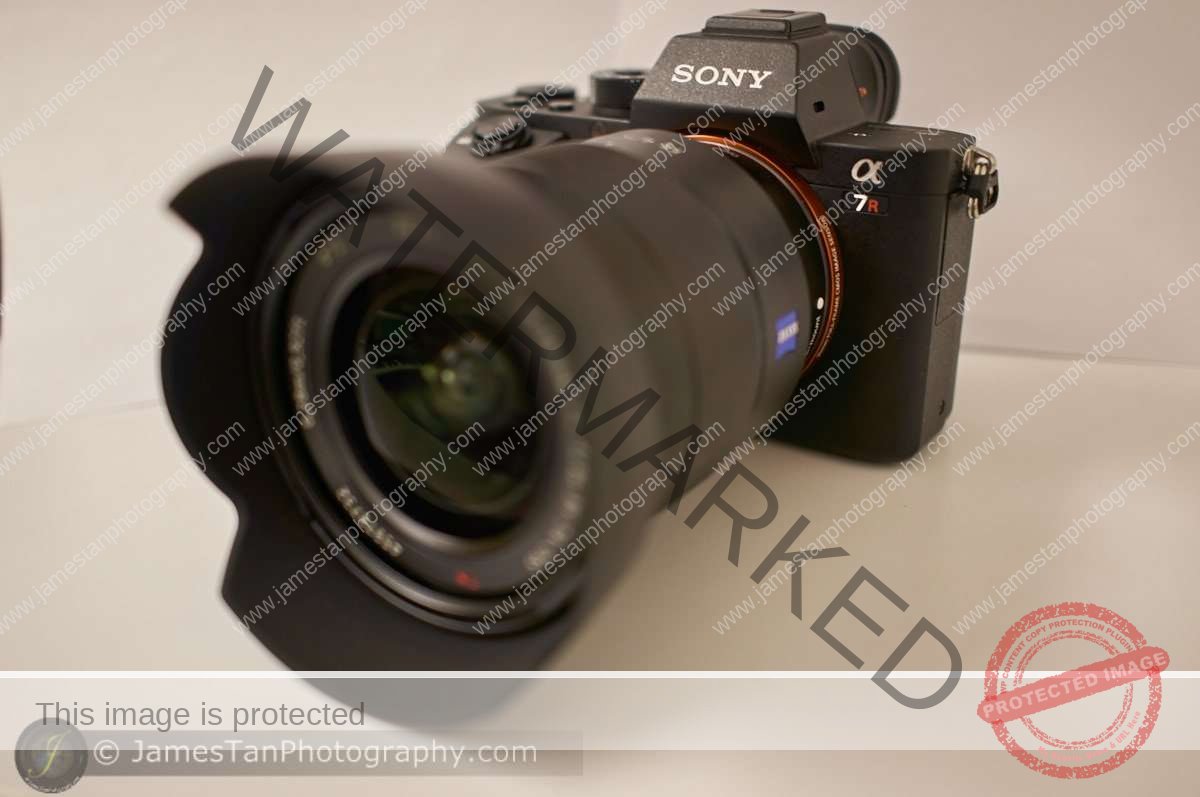
Sony A7R II
Last Updated On
Sony A7R II is the world’s first 35mm BSI full-frame sensor camera with 42.4 MP high resolution. It features a new 5-axis in-camera image stabilizer as its Sony 2nd generation brothers. Let’s check out its performance now!
Hands On Preview: Sony RX100 IV
Last Updated On
The Sony RX100 IV boosts the world’s first stacked 1 inch CMOS sensor with a DRAM memory chip. Let’s check out the short hands on preview on the Sony RX100 IV.