What Affects Depth of Field in Photography?
Last Updated On
Have you ever wondered why some photos have a dreamy blurry background while others are sharp from edge to edge? That blurry background — often called bokeh — is the result of depth of field (DoF).
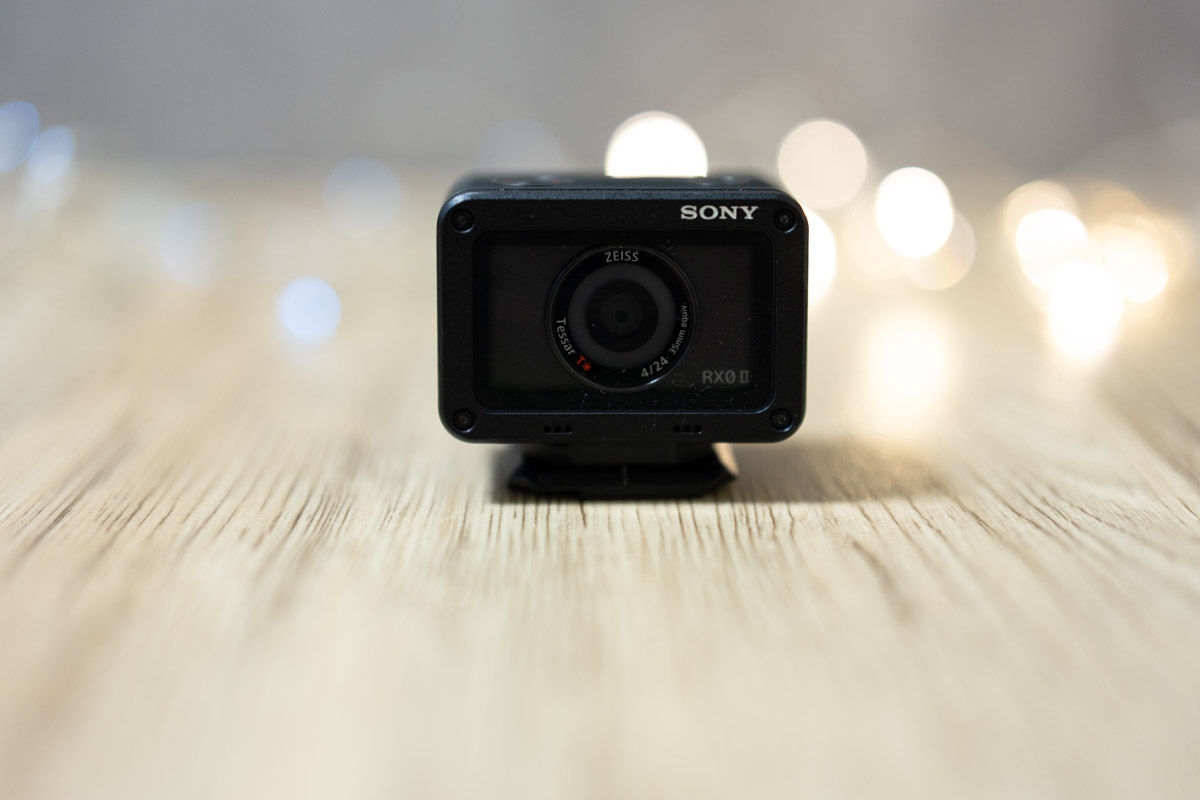
5 Factors Affected By Image Sensor Size
Last Updated On
You might hear of APS-C, full-frame, 1-inch, micro 4/3, etc. What are they? Does it really result in different image quality? Let’s check it out!
Good Bye Capture One Pro 23?
Last Updated On
On 6 Dec 2022, Capture One announced a shocking change to its perpetual license and a new “Loyalty Program” to replace the existing upgrading pricing. The effective date is 14 Feb 2023 (originally scheduled on 1 Feb 2023). I pre-ordered the COP v23 in Oct 2022 and have to decide by 30 Sep 2023 whether…
Photography Gear For Your First Event/Wedding Shoot – Part III
Last Updated On
It is part III about the photography gear for your first event/wedding shoot. I will talk about the accessories (what and why) I always bring for events/wedding photoshoots. If you have not read the part I and II, feel free to check them out through the links below: 1. Camera Straps A camera strap is…
Photography Gear For Your First Event/Wedding Shoot – Part II
Last Updated On
It is Part II about the photography gear for your first event/wedding shoot. I will discuss the lenses I use and explain why I chose them for my event/wedding photoshoot. Please feel free to check out Part I (The Cameras – Read here) if you have not read it yet. 1. Lenses Most modern lenses…
Photography Gear For Your First Event/Wedding Shoot – Part I
Last Updated On
Are you curious about what photography gear to bring for your first paid event or wedding shoot? And the worst, you are the sole photographer for the whole photoshoot. You might hear that the essence of shooting solely is backup. You must ensure you can carry out the photoshoot even if any part of your…
How To Fix NextGen Gallery Pro Thumbnail Sharpness?
Last Updated On
Update 2025 JUN #1 – The bug that affects the gallery thumbnail sharpness on retina screen devices has been fixed. NextGen Pro users, you may download the latest NGG Pro plugin from your Imagely profile, the latest version shall be 3.31.8. Update 2025 JAN #1 – There is a reported bug that affects the gallery…
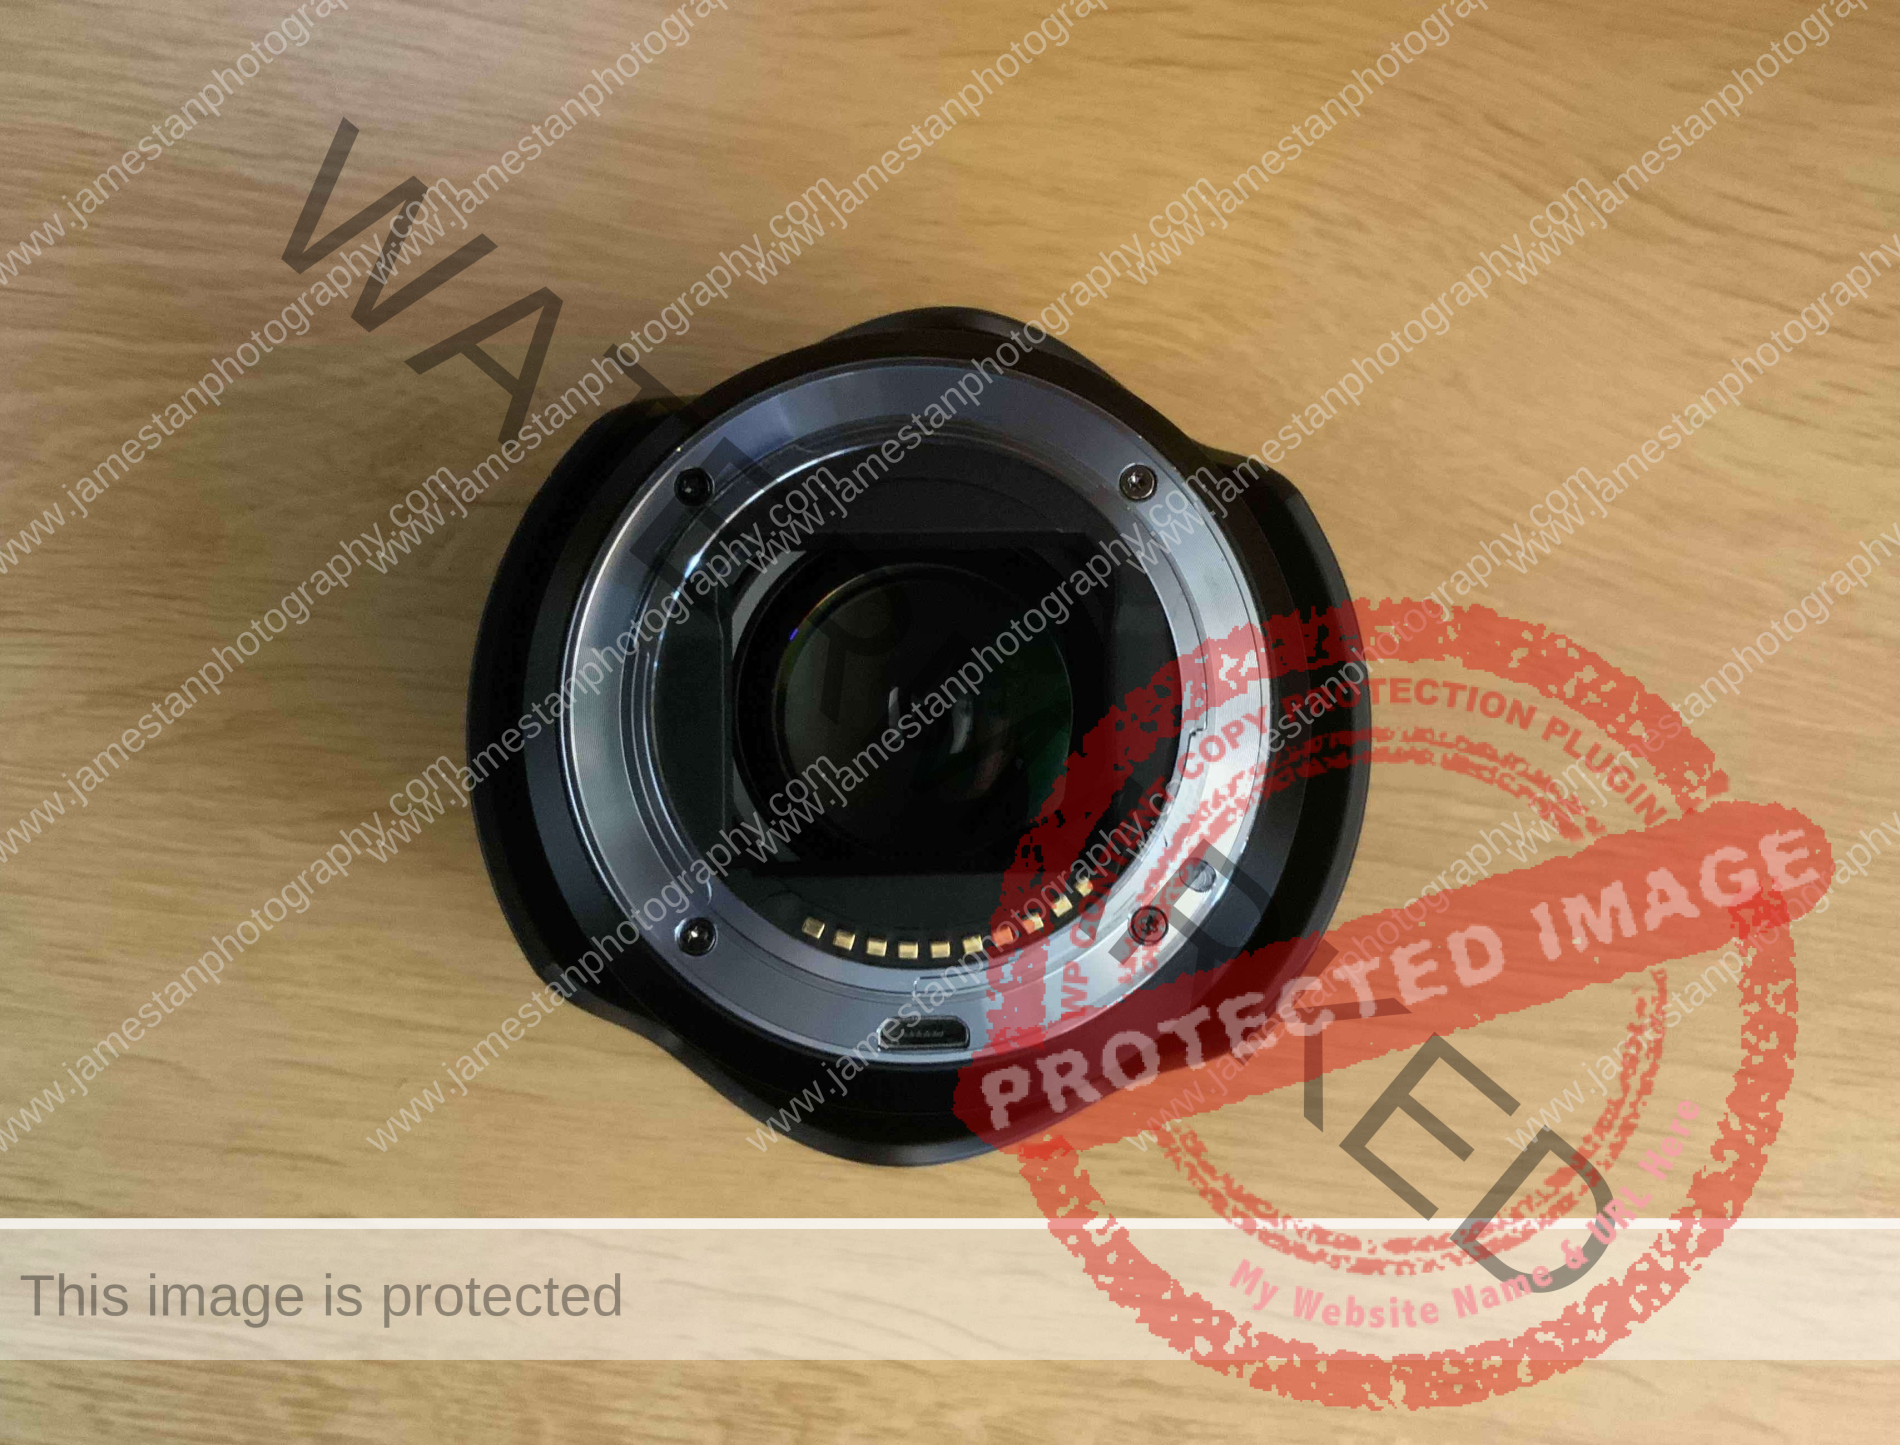
Update Viltrox Lens Firmware On Mac
Last Updated On
Viltrox lens firmware update is effortless and straightforward. You only have to drag and drop the downloaded firmware into the connected lens. Done! Well, I’m so lucky to experience once that the drag and drop doesn’t work in the new Mac OS (Yea, Mac OS broke the firmware update process when it was first released).…
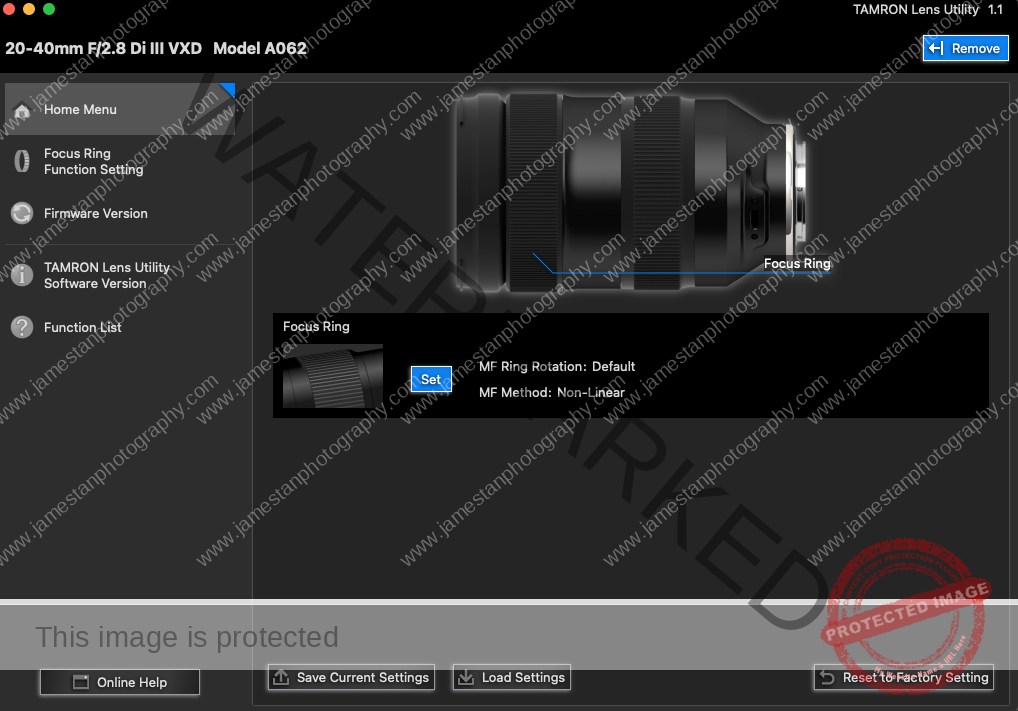
Tamron Lens Utility On Apple M1 Mac
Last Updated On
A new firmware v2 is available a few days after receiving my new Tamron 20-40mm F2.8 in Dec 2022. I am aware that I have to install the Tamron Lens Utility on my M1 Max MacBook Pro to update the lens firmware. So I download the installer from Tamron’s official site and read the DO’s…
5 Tips to Get Bokeh
Last Updated On
Are you struggling to produce those creamy smooth Bokeh in your photos? Let’s check out some simple tips to help you in the Bokeh!
How To Deal With Camera Sensor Dust
Last Updated On
Do you ever wonder why there are some little grey spots in your beautiful photos and how you could prevent them in the future? Let’s find out how to clean the annoying dust on your camera sensor and lenses!
10 Consideration Before Buy a Lens
Last Updated On
You might be overwhelmed by the sea of lenses when you have just started your photography journey. Let’s check out what you should consider before you buy a lens!