
It is part III about the photography gear for your first event/wedding shoot. I will talk about the accessories (what and why) I always bring for events/wedding photoshoots. If you have not read the part I and II, feel free to check them out through the links below:
1. Camera Straps
A camera strap is highly recommended for single-camera shooters and a must-have for dual-camera shooters. It allows you to access your camera anytime without holding it restlessly. Besides, it can save your camera and lens if your hand slips.
Single-Camera Strap
The Peak Design (PD) Slide Lite is my all-time favorite for a single-camera strap. The quick-release anchor is sturdy, secure, and works seamlessly across PD accessories. PD products have a higher but reasonable price tag. Most (or all?) PD products have the outstanding build quality and a lifetime warranty (The team is generous to acknowledge and replace the faulty product without extra cost).
Sadly, PD doesn’t have any dual-camera harness or accessories to merge two single-camera straps into a dual-camera harness (Yea, I tried to DIY some “merger” but it restricts the camera movements).

Dual-camera Harness
So, I get a proper dual-camera harness from Tamrac. Its design resembles the BlackRapid dual harness, except they use different camera connectors mechanisms. Tamrac uses a so-called “TamLoc Connector” with a stainless steel core and plastic outer coating. Each strap has two anti-slip stoppers to prevent the camera from sliding wildly.
The strap is made of lightweight and durable ballistic materials, making it compact when folded. Its padding is comfortable for carrying two cameras with flashlights for a whole day. Besides, it can be dismantled to become two single-camera straps. The build quality is good but not as great as PD straps.
I tried my friend’s Coiro leather dual-camera harness in one of the wedding shoots. It has an extra fail-safe strap and is comfortable too. The leather is thick, and there are bold stitches on the edges. The movement parts are connected with thick metal rings, and the metal connectors are sturdy with a quick-release mechanism. It will be my next dual-camera harness when my current one decides to retire.

2. Flashlight
What Do I Use?
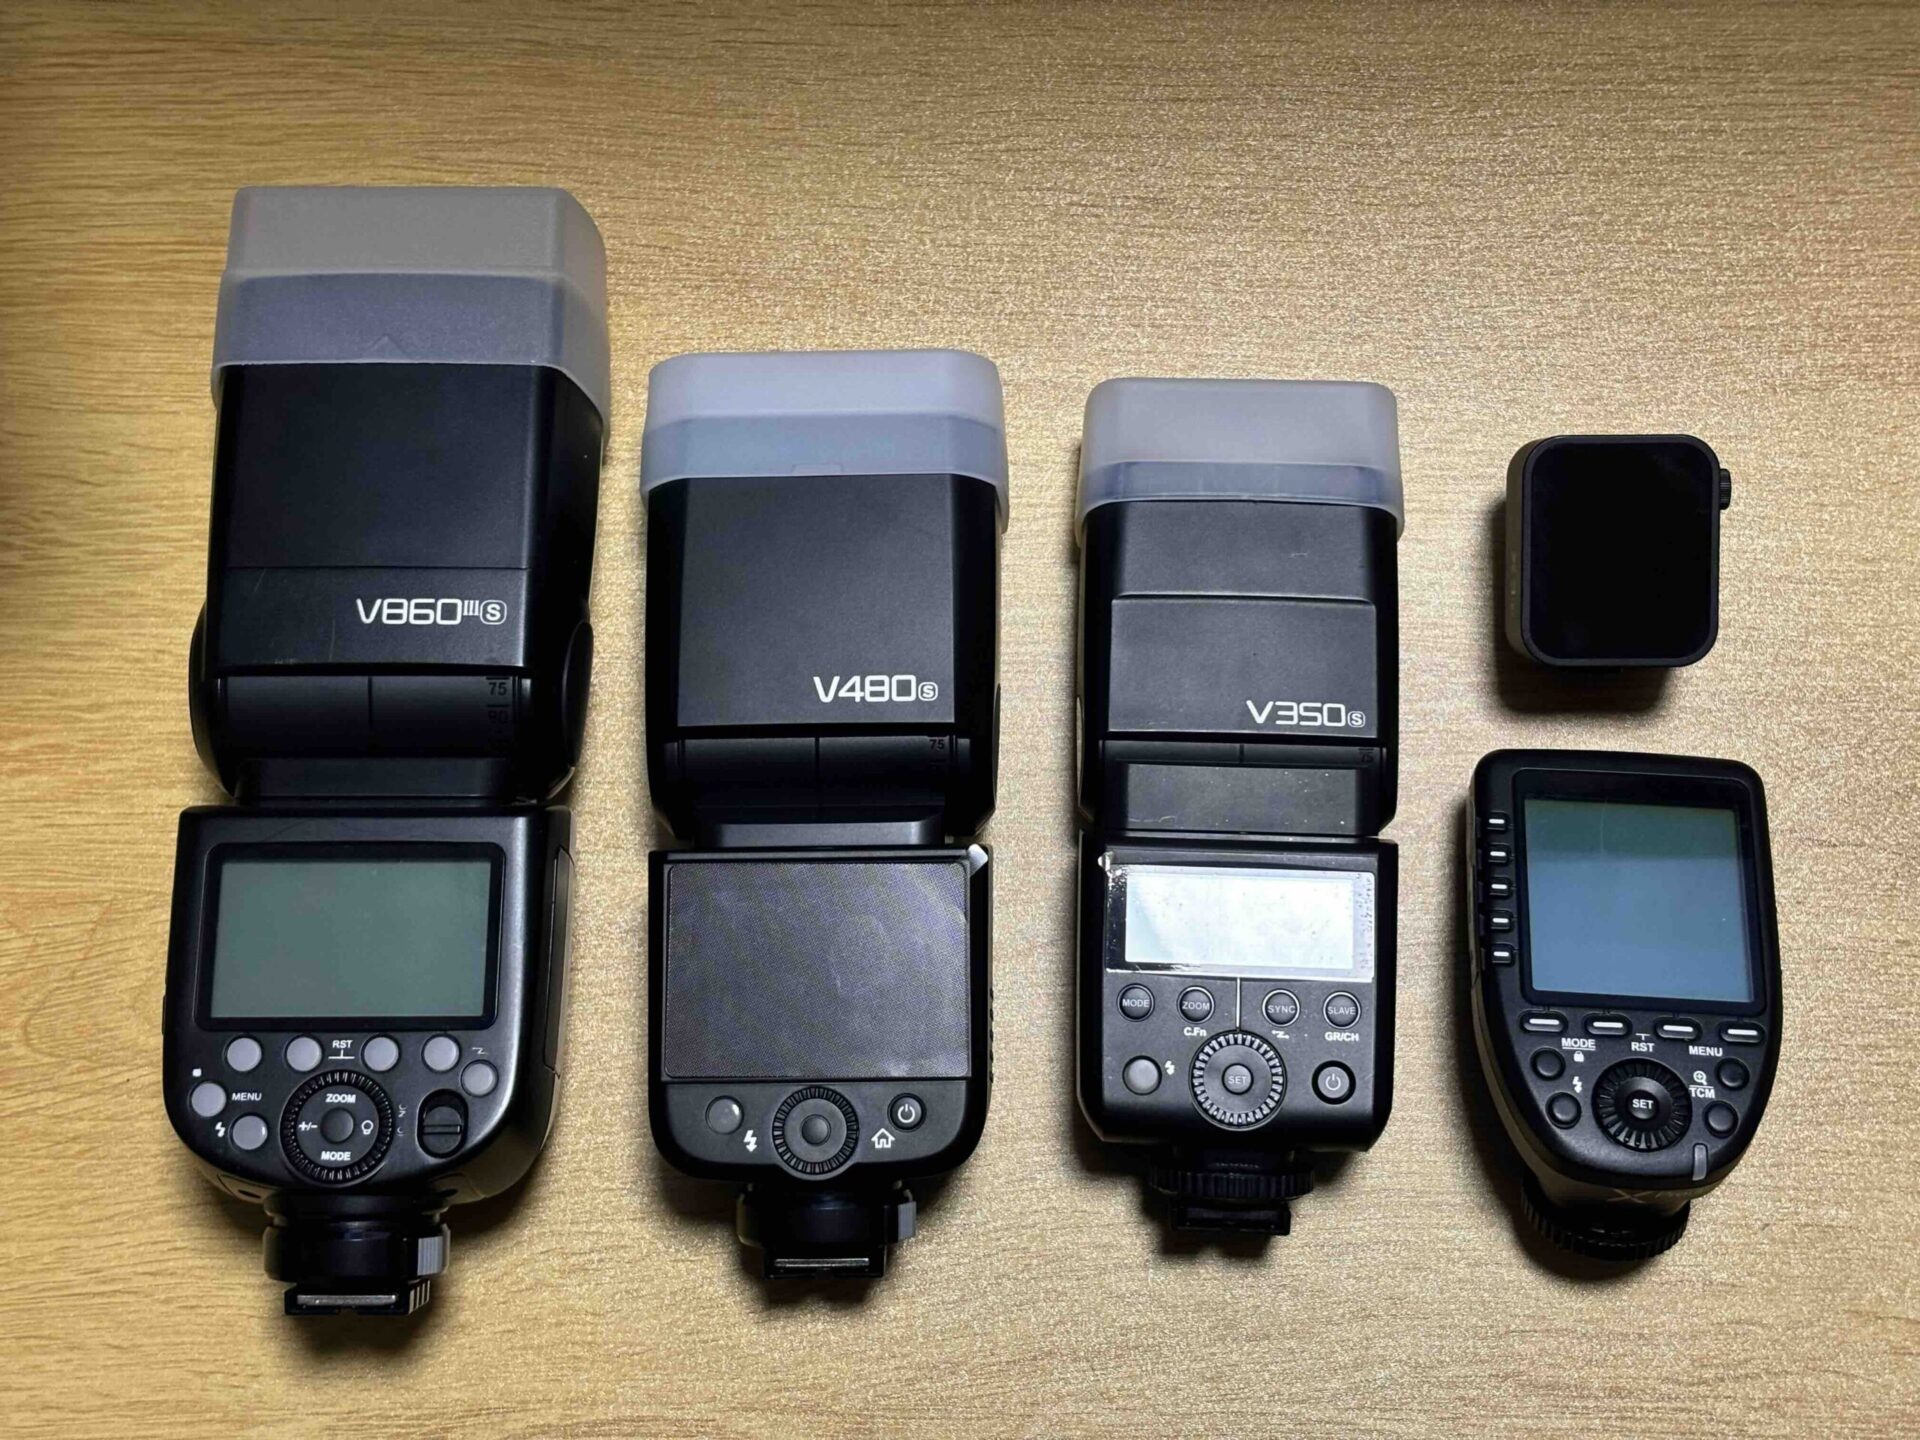
It is a big debate topic about using natural light or a flashlight, but I will not discuss it here. I use two Godox v860 III and a Godox v350. The Godox v860 III is a GN60 full-size flash, while the v350 is a GN36 compact flash. They are powered by lithium batteries.
Tips #1
Set the external flash (a full-size GN60 flashlight) in Manual mode and start with 1/8 power. Adjust the power accordingly until the shot is looked natural without any trace of the flash in the frame.

Why?
The idea of using a flashlight is to control the light on your subject and blend the flash with the ambient light. Don’t overpower it and create those typical “flash looks”. My requirement for a flashlight is simple:
- Use lithium batteries instead of AA batteries (lithium battery has faster recycle time and last most than double per charge)
- Can be controlled by a wireless flash trigger
Tips #2
A flashlight usually has a detachable foot with a standard 1/4″ thread hole at the bottom. Use it to mount the flashlight onto a light stand or tripod.
Ideally, we should use two same-model flashlights to share the spare batteries. I chose the Godox v350 for its compact size (almost half the size and weight of a full-size flashlight) when I first started to learn and use a flashlight in event photoshoots (I was a single-camera shooter a few years ago). Both models use different models of lithium batteries. Still, they can last approximately 500 shots at full power (they usually last more than a thousand shots for me as I generally use the flash manually at 1/8 or lower power).
3. A Handy Toolbox
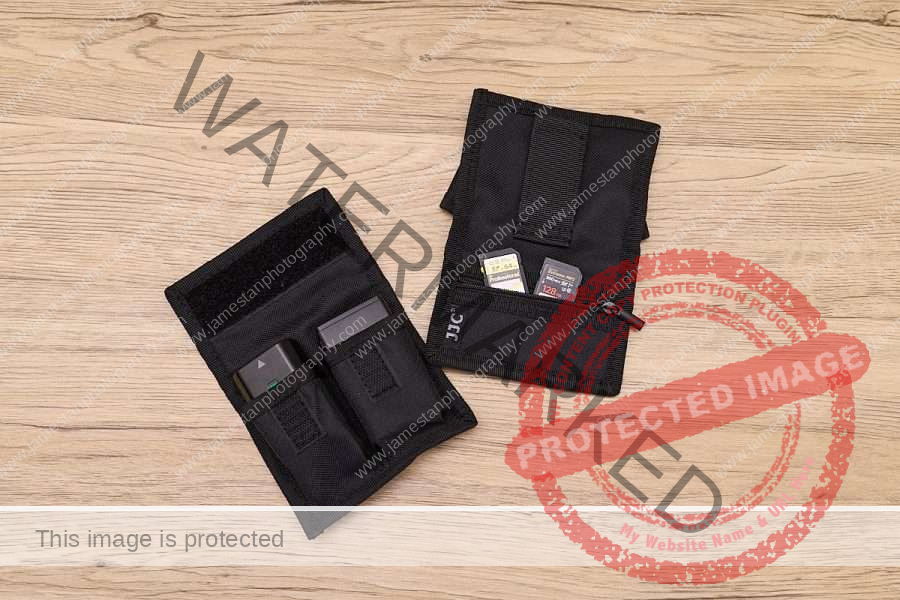
Well, you already know that you need extra batteries and memory cards. There is one more step to make them more handy – keep one or two of them in your pocket! I use a hard case from Kiwi Fotos to carry 2 spare batteries and 4 SD cards. It is small enough to stuff into my jeans pocket and allows me to replace the depleted battery anytime without running back to my camera backpack.
Tips #3
Place your memory card facing down in a memory card casing to indicate it is a used card.
You may consider using soft-pouch bags with a velcro belt strap to carry the spare batteries and SD cards. It can be a soft pouch for a compact camera, a carrying bag for a flashlight, or even one made explicitly for camera batteries.

4. Cleaning Kits
What Do I Use?
A piece of microfiber cloth, an air blower, and a bottle of Zeiss cleaning fluid.
Why?
I always use an air blower to blow away the camera sensor’s dust before swapping the lens. If I realize the photo is hazy, I will
- Use the air blower on the lens front glass element.
- Spray a bit (a half-press) of Zeiss cleaning fluid onto the microfiber cloth.
- Gently wipe the lens front glass clockwise.
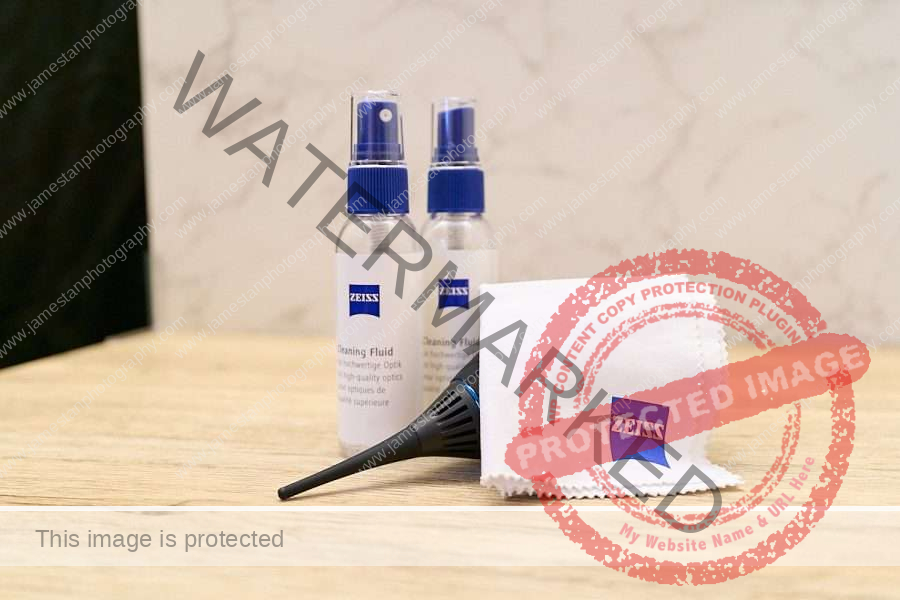
Any microfiber cloth and air blower will do a great cleaning job. However, we shall look for a proper cleaning fluid from a reputable brand. It shall be able to effectively remove the oil stain while protecting the coating layers on the modern lenses’ front glass element.
Zeiss is well-known for camera lenses, and its cleaning products are inexpensive (2 bottles of Zeiss cleaning fluid with a microfiber cloth cost around SDG 20, but the price might be varied in different countries). So far, I only used half a bottle since I purchased them 3 – 4 years ago (I only use it when a lens gets stained accidentally).
5. Powerbank
What Do I Use?
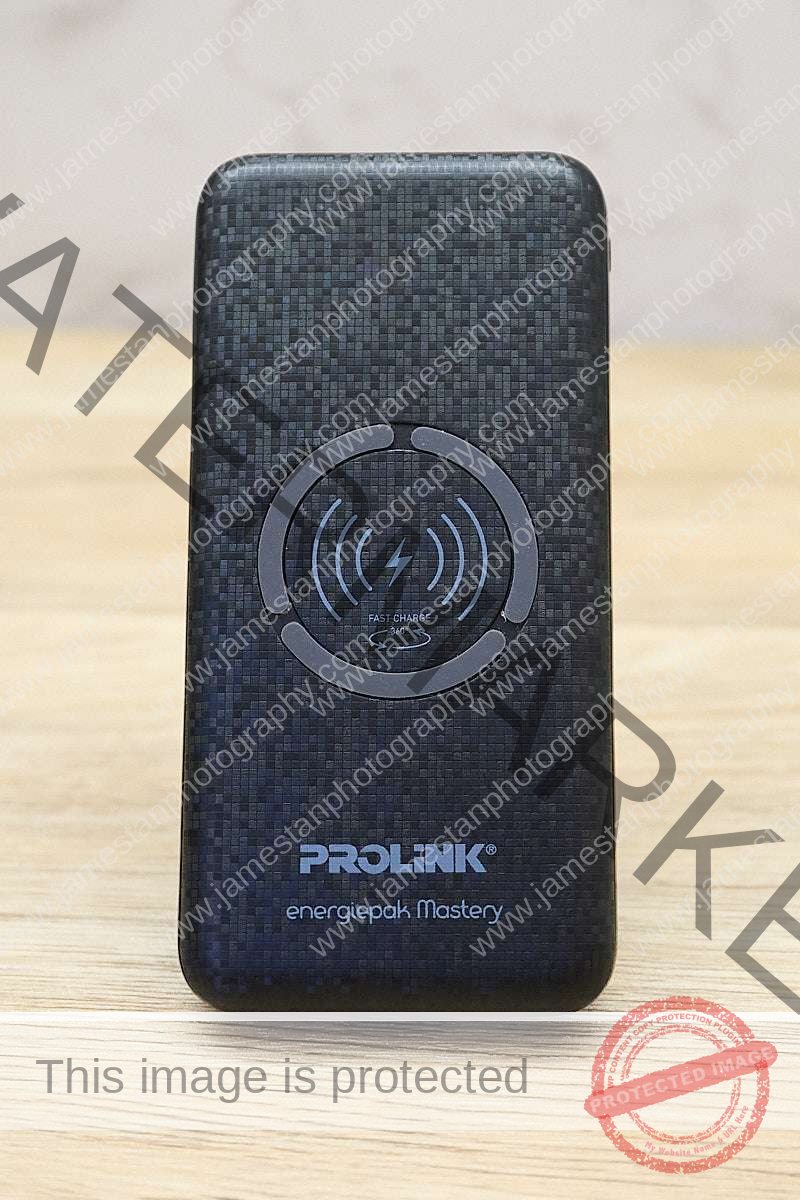
I use a 10000 mAh powerbank with USB Power-Delivery (PD) protocol as an emergency backup for the cameras and phones.
Why?
Modern cameras have a micro-USB or USB-C port for in-body battery charging or even support for shooting with an external power source connected. You can charge your camera batteries on the road if you run out of batteries.
Tips #4
Some cameras require USB Power-Delivery (PD) powerbank as an external power source. Otherwise, the camera only charges the battery but cannot operate concurrently.
6. Camera Backpack
What Do I Use?
I own a few sling bags, messenger bags, and backpacks from Sony, Lowepro, Crumpler, Tamrac, Manfrotto, and Peak Design. However, a 30L backpack is always my first choice when I go to any event/wedding photoshoot.
I use the Peak Design 30L Everyday backpack but you may consider any other reputable brand’s backpack for your need.
Why?
There are a few points for consideration when buying a camera backpack:
- The size. A 30L backpack is sufficient to carry the following:
- 2 full-frame Sony mirrorless bodies
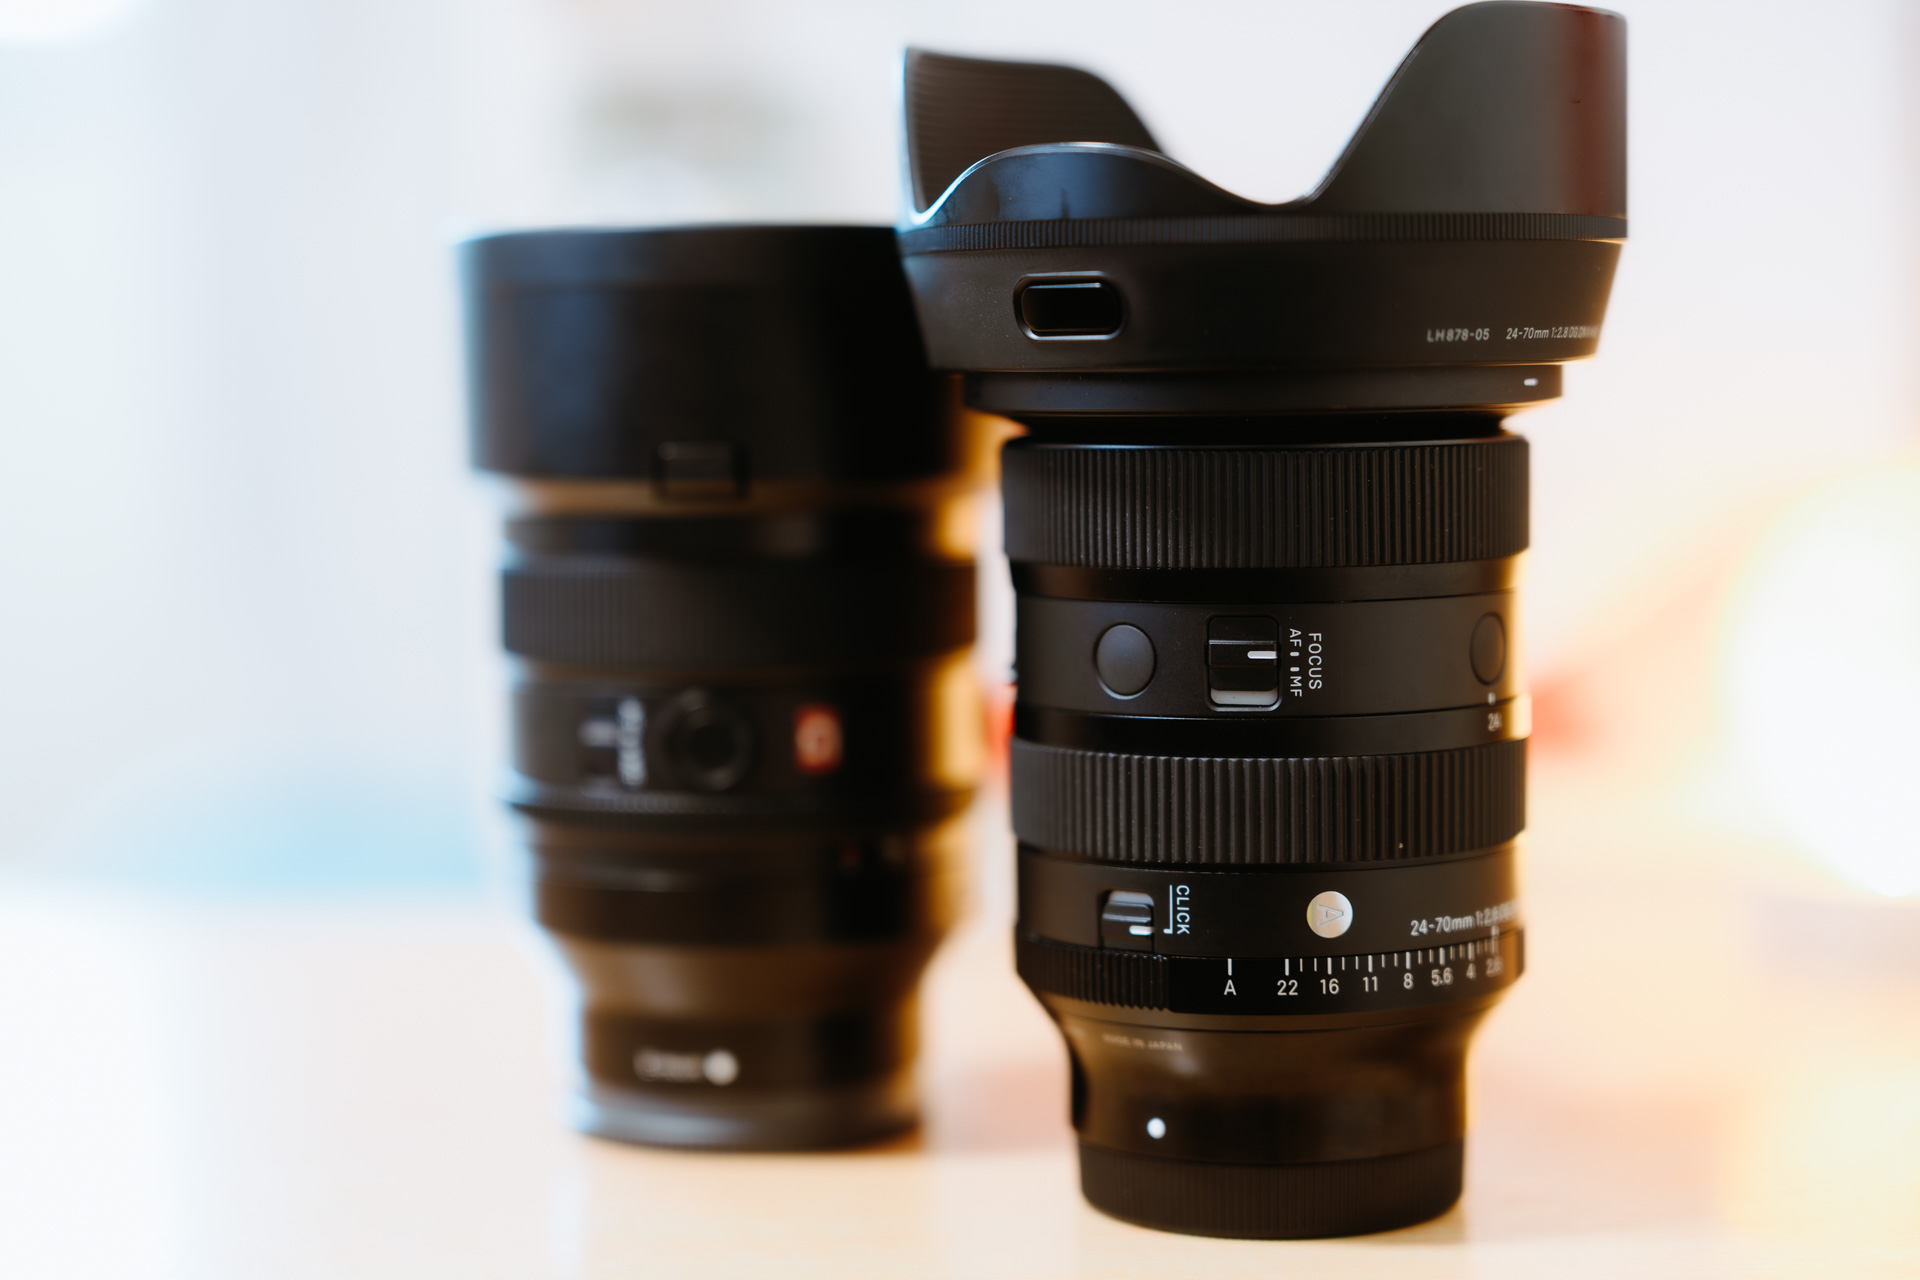
- 4 – 5 lenses (Sony GM 24mm F1.4, Tamron VXD 70-180mm F2.8, Sigma Art 85mm F1.4, Tamron VXD 20-40mm F2.8, Samyang 14mm F1.4)
- 2 full-size flashlights
- 1 dual-camera harness
- 1 camera strap
- 2 hard casings for spare batteries and SD cards
- 1 powerbank
- 1 cleaning kits

- Customizable paddings. It is crucial that the padding is flexible to accommodate your gear placement.
- Separated laptop compartment. Suppose you use a laptop or tablet for tethering. In that case, it is better to have a separate compartment to carry and protect it from your other equipment.
- Comfort. It is essential to have a thick but cooling padded shoulder strap and lower-back padding on the backpack. Carrying a 7 – 10 KG backpack at the end of the day is no joke at all.
- Accessories pockets. I separate the new and used batteries into different pockets. Hence, it is easier to get a fully-charged battery without a try-and-error. Some brands (like Peak Design) use different color markings to help differentiate the usage.
- Side pocket. I always bring a compact water bottle and keep myself hydrated. It is useful to hold a compact tripod or light stand too.
Final Thoughts
Out of the mentioned accessories, only the camera strap is an important (a must-have for dual-camera shooters) accessory you have to bring along for an event/wedding shoot. Other accessories are more like a “first-aid” box to get your camera and lens back in optimal working condition ASAP.
It is a relief to have a mind of “Yes, luckily I have another backup in my bag” instead of “Ah… I should bring xx to fix this issue.” when shooting solo. How do I know what to bring along for an event/wedding photoshoot? In short, by experience. In a longer answer, create a gear checklist for the event/wedding shoot and slowly refine it after each photoshoot session.
I hope the three posts (Part I, Part II, and this post) will give you a better idea of what to bring for your first event or wedding photoshoot. Feel free to leave your comment below for discussion or sharing of your experience.
Leave a Reply