
It is Part II about the photography gear for your first event/wedding shoot. I will discuss the lenses I use and explain why I chose them for my event/wedding photoshoot. Please feel free to check out Part I (The Cameras – Read here) if you have not read it yet.
1. Lenses
Most modern lenses (except for faulty lenses) offer a reasonably good/excellent center sharpness (corner sharpness is not my concern for any portrait shots). Instead, figure out the most frequently used focal length is the highest priority before considering other requirements.
Tips #1
Begin your first few events shoots with a standard zoom lens (e.g., 24-70mm), and use the filter function in your post-processing software (e.g., Lightroom, Capture One, etc.) to find out your most used focal length.
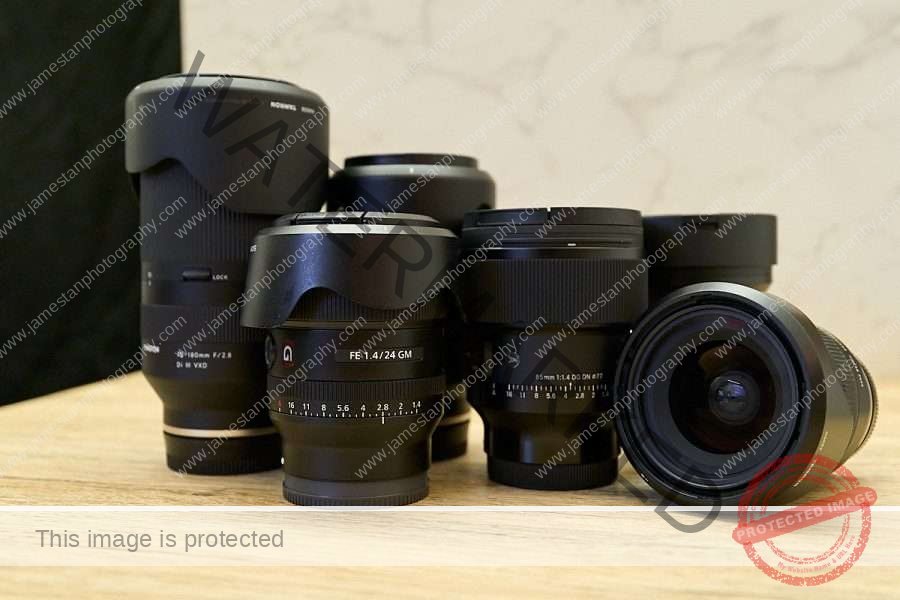
The following list is the lenses I always bring along (primary workhorse) and occasionally pick (supplementary/backup) for all paid photoshoots.
Primary Workhorse
- a1. Sony GM 24mm F1.4
- a2. Tamron VXD 70-180mm F2.8
- a3. Sigma DG DN Art 85mm F1.4
Supplementary / Backup
- b1. Tamron RXD 28-75mm F2.8
- b2. Tamron VXD 20-40mm F2.8
- b3. Samyang 14mm F2.8
Why These Lenses?
I used and tested many lenses before I selected the lenses above to shoot in events, weddings, and lifestyle portraits. There is only one must-have requirement when I look for a lens for portrait shoot – a responsive and reliable continuous AF. The reason is simple. People are moving in the event/wedding most of the time. Continuous AF can better track your moving subjects and capture more sharply-focused shots.
Besides the continuous AF, there are some other good-to-have requirements for consideration:
- Flare resistance (some march-in sessions will have a strong backlight and mess up the contrast of your subjects)
- Large magnification ratio, e.g., 0.25x or higher (it saves you from having a separate macro lens to shoot the accessories, e.g., rings)
- Dust and moisture resistance (you might encounter drizzling during the outdoor photoshoot)
- Same filter thread size (it is easier to buy and share filters)
Why Sony GM 24mm F1.4?
GM is the highest-quality lens Sony offers. The AF, optical performance, and built quality are top-notch. Besides, you hardly find GM’s creamy Bokeh rendering in other brand lenses.
Sony GM 24mm F1.4 is my #1 go-to lens for environment portraits and group photos. It is also incredibly useful in a less-spacious place like a hotel room or bride preparation room where it is too restrictive for a 35mm or even a 28mm lens (Yea, I’m talking about Tamron 28-75mm F2.8).
The F1.4 aperture at 24mm offers an excellent background separation from your subject. It renders a silky smooth Bokeh background while keeping the environment recognizable.
Why Tamron VXD 70-180mm F2.8?
This lens is exclusive to Sony E-mount cameras, but you can find the equivalent 70-200mm F2.8 for other brands’ cameras. The 70-200mm F2.8 lens usually represents the best quality lens from the manufacturer. VXD is Tamron’s latest linear motor AF mechanism that offers the highest accuracy and AF speed, and it is comparable to the XD linear motor found in Sony GM lenses.
Tips #2
A constant F2.8 aperture is highly recommended (or a must) for a 70-200mm zoom lens
Using such a telephoto zoom lens gives you the flexibility to have photos from different perspectives in the album – 70mm, 85mm, 135mm, and 180mm.
Why Sigma DG DN Art 85mm F1.4?
The Art series offers the best optical quality performance among the Sigma lenses. This lens even outperforms Sony’s GM 85mm F1.4 in sharpness, Bokeh, and AF. The DG DN is the newer version with a much smaller and lighter body than its older DG HSM version.
Tips #3
F1.8 aperture is an excellent alternative to F1.4 on an 85mm lens. It usually costs half or even 1/3 of the F1.4 85mm lens price.
It efficiently isolates subjects from busy backgrounds and gives a WOW micro-contrast effect. I used my friend’s Sigma Art 85mm F1.4 in a wedding shoot and loved the photo’s look. I eventually bought one for my next photoshoots.
In case you are unaware, using a 70-200mm F2.8 or 85mm F1.4 lens in an event/wedding shoot is constantly debated among photographers. There is no right or wrong. Rent and try them out to decide which lens is more suitable for you.
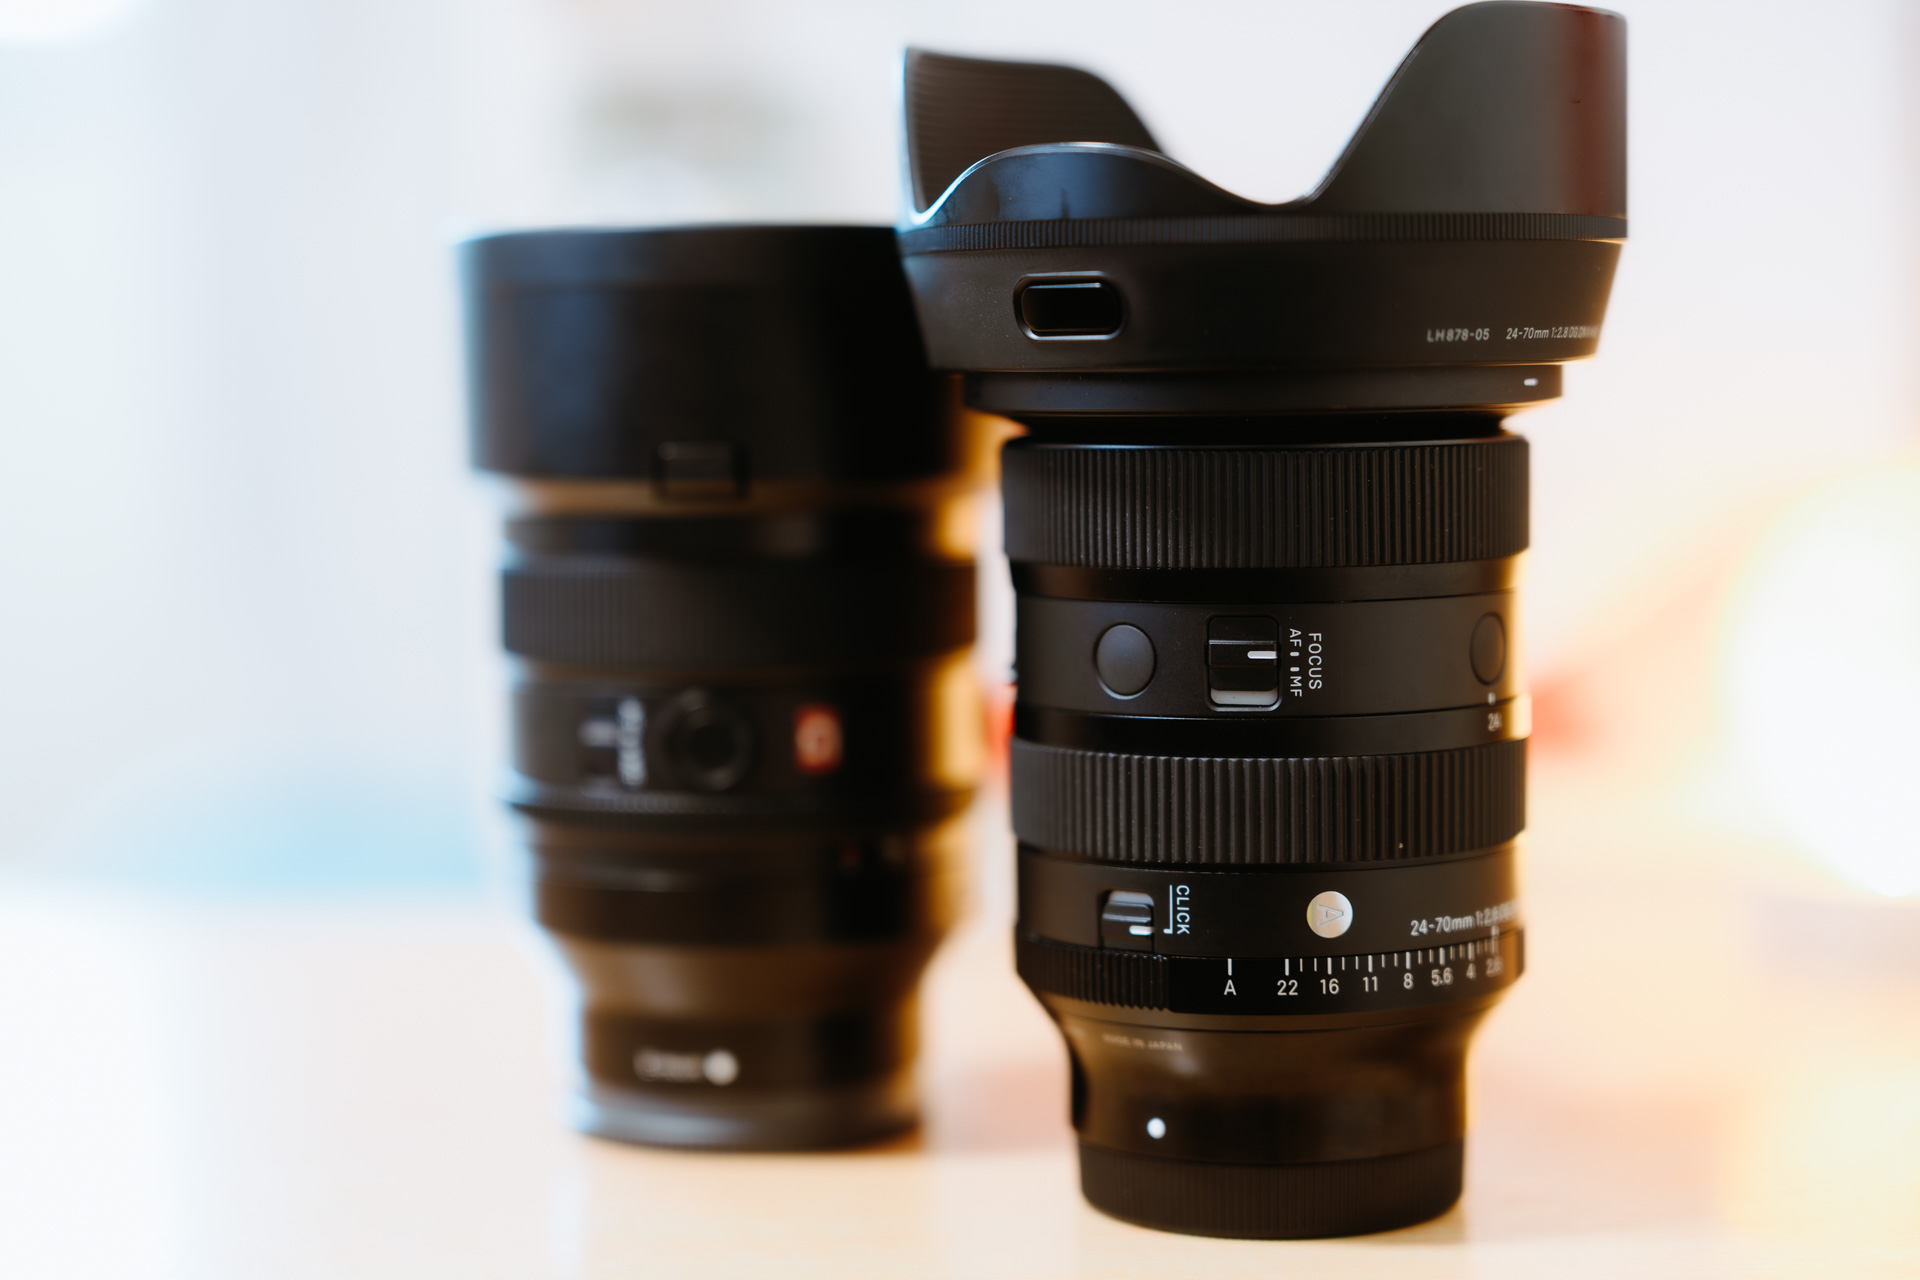
Why Tamron RXD 28-75mm F2.8?
It was the first F2.8 compact zoom lens exclusively available to Sony E-mount cameras in 2018. Other brand equivalent lenses will be the 24-70mm F2.8.
It rivals the 1st gen Sony GM 24-70mm F2.8 with half the size and weight but at the expense of losing 4mm at the wide end. Besides, it has a softer corner sharpness (As mentioned earlier, I don’t care about corner sharpness in any portrait shots).
Tips #4
Tamron introduced its successor (the VXD version) in 2021 with an improved Bokeh, sharpness, and AF performance.
I have used this lens in numerous seminars, workshops, town halls, and company events photoshoots since 2018, and it never let me down. The 28mm is sufficient in these event venues as there are a lot of space for me to move around. However, 28mm could be restrictive in certain places, e.g., hotel room, bedroom, bride preparation room, etc.
Why Tamron VXD 20-40mm F2.8?
It is another unique lens exclusive to Sony E-mount cameras. Other brand equivalent lenses will be the 16-35mm F2.8. This lens is not a replacement for a 16-35mm lens. The 4mm difference between the 16mm and 20mm is too significant to be ignored.
Tips #5
For a single-camera shooter, a standard zoom 24-70mm F2.8 or even Tamron 28-75mm F2.8 is a better option for an event/wedding shoot.
However, I get it as an upgrade to the Tamron RXD 28-75mm F2.8 for the broader 20mm view and better AF performance. Since I’m a dual-camera shooter, it is not an issue with missing the 41 – 75mm range because I will always pair it with a telephoto lens.

Why Samyang 14mm F2.8?
You may use the 16mm from a 16-35mm zoom lens for similar ultra-wide-angle shots. It is a very situational lens, so there might only be one to two photos (or none at all) from this lens in the whole album. I use it to exaggerate the environment for an epic effect.
Tips #6
When using a UWA lens, you must place your subject in the center of the frame to avoid crazy distortion.

Any Difference Between OEM and Third-Party Lenses?
In short, the differences are unnoticeable in general photoshoots. There are some advantages to using Sony OEM lenses, e.g., a maximum of 30 fps (OEM) vs 15 fps (third-party) burst shoot, exclusive in-camera features, more reliable AF, etc. In fact, most full-frame cameras only support up to 10 fps, and some OEM lens benefits only applies to video recording. By spending a little bit of time and effort, you can get some third-party (Tamron, Sigma, etc.) lenses that offer similar/on-par optical performance as Sony’s highest-quality GM lenses and have a comparably reliable and responsive AF system.
Zoom Lens Or Prime Lens?
A zoom lens is more convenient (and addictive) to use in events/wedding shoots. It saves you from the hassle of swapping lenses and gives multiple perspective shots in your album within seconds (e.g., use the 24mm to capture the environment and zoom in 70mm for the close-up shots of your subjects).
On the other hand, a prime lens generally has a one/two-stop faster aperture (2-stop faster on an F1.4 prime lens over an F2.8 zoom lens) in a more compact and lighter build. A faster aperture lens has better low-light performance and a more creamy Bokeh rendering. It is good to have the option to use F1.4/F1.8 when necessary.
If you are a single-camera shooter, I suggest you use a fast standard zoom(e.g., 24-70mm F2.8 or Tamron 28-75mm F2.8) in your first few events/wedding shoots. It helps you to determine your most used focal length and decide how many fast prime is required. As a dual-camera shooter, I always pair an 85mm F1.4 and 24mm F1.4 fast prime on both cameras. A 35mm fast prime could be broad enough, depending on your shooting location.
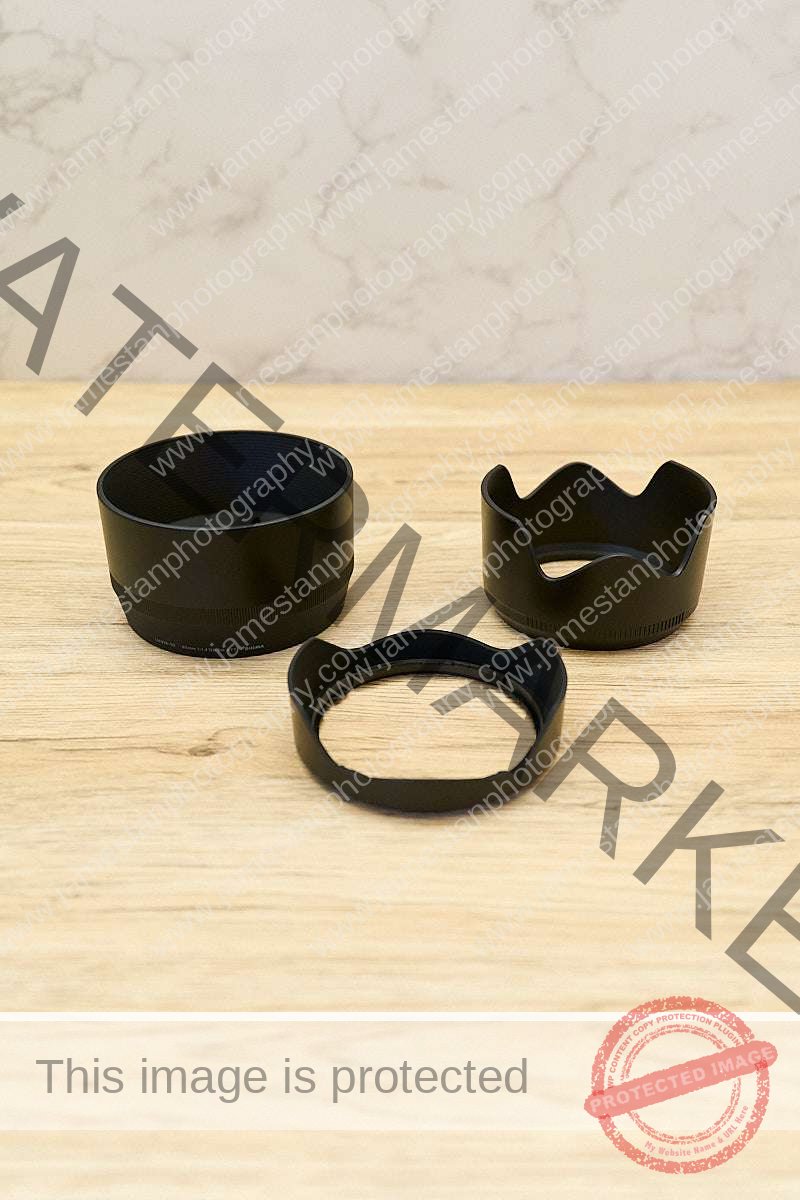
2. Lens Caps And Hoods
What Do I use?
The lens cap and hood that come with the lens purchase are good enough. I only put on a lens cap when the lens is in the bag during transportation. However, I always keep the lens hood on the lens during a photoshoot.
Tips #8
Lens hoods are not interchangeable because they are specifically designed for each lens to maximize the lens’ contrast/saturation while minimizing vignetting.
Why?
Put on a lens hood will make the lens looks bulkier, but it has more advantages to do so:
- A lens hood will minimize/eliminate the unwanted flaring that could result in a washed-out/low-contrast shot.
- Protect the lens from bumping anything
- Prevent anyone from accidentally touching the lens front glass element and leaving any fingerprint/stain on it
You may take it off and let the flare spread across the frame for a specific atmosphere/look.
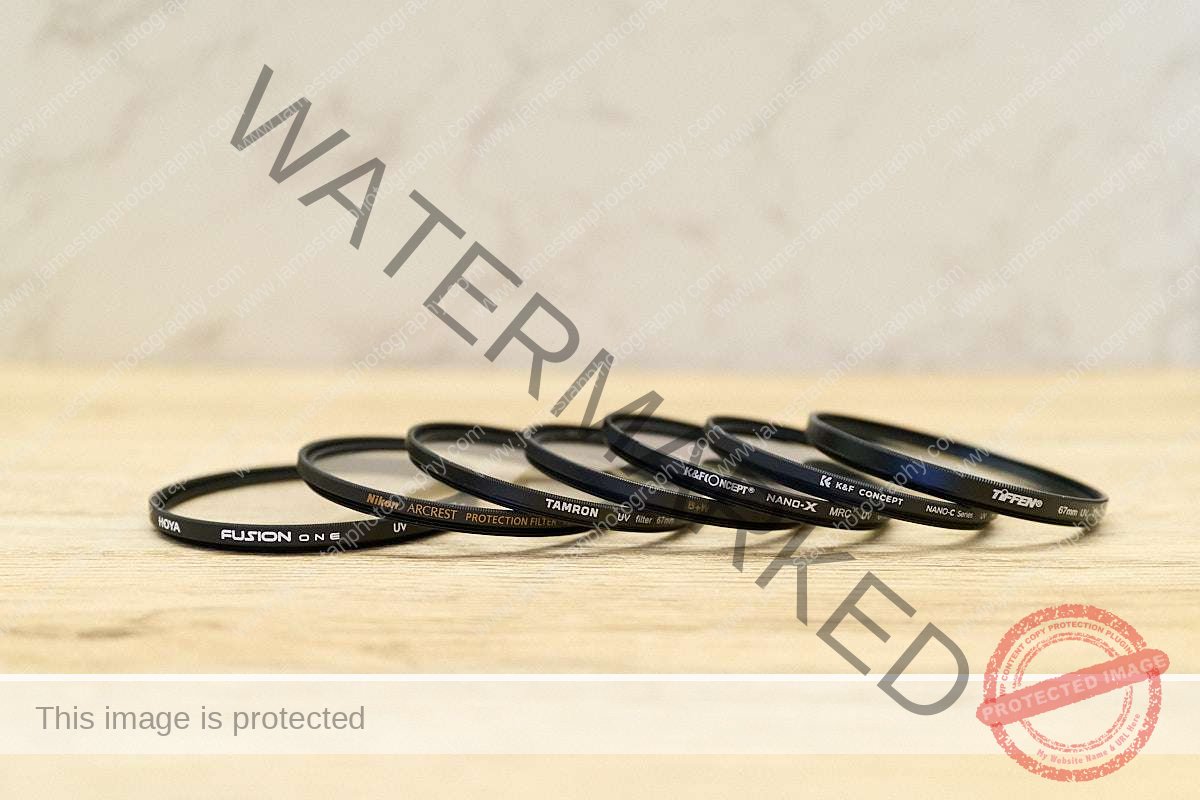
3. Lens Filters
What Do I Use?
I have UV/protector filters from brands like B+W, Tamron, Hoya, K&F Concept, and Nikon. I always put a UV filter on the lens for any photoshoot. I used to be a B+W UV filter user, but the Nikon Arcrest protector has recently earned its place on my primary lenses.
Why?
One simple reason – protection. UV/protector filter offers a quick solution to clean your lens – simply remove it, and you are good to continue the photoshoot. There are two essential factors when I am looking for a UV/protector filter:
- Multi-layer coating. A filter with a multi-layer coating tends to have a better light transmission rate. Higher light transmission usually results in lesser light reflexion, brighter color, and better contrast. For example, a filter with 99% light transmission has 1% light reflexion.
- The thickness. A thick bezel filter can cause vignetting, especially on a wide-angle lens.
A good UV/protector filter usually has minor/unnoticeable impacts on the image quality. However, different filters behave differently on different lenses. For example, an ultra-wide-angle lens is more prone to heavy vignetting when using a thick filter; a telephoto lens is more prone to softness when using a lower-quality filter (could be a defective variant, a counterfeit, or a worn-out copy).
Tips #9
There are many counterfeit filters in the market. Try to get an authentic filter from reputable retailers.
When you get a new UV/protector filter, test it against the lens without a filter for the contrast in backlight, color cast, sharpness, and internal ghosting. Most multi-layer coated filters from reputable brands (e.g., B+W, Hoya, Nikon Arcrest, etc.) have similar performance (when comparing their same tier of products). Some brands have different tiers in their filters. The more expensive one is generally made of better quality materials, like more rigid glass, more efficient coating, sturdier brass frame, etc. It helps the filter to minimize the impact on the image quality in challenging lighting.
Tips #10
Some manufacturers have a “Protector” version of the UV filters. They are cheaper than their UV counterpart but have similar optical performance.
I recently bought a few entry-level filters for some side-by-side comparison to determine the difference between a cheap and expensive UV filter. I will share the finding with you in a separate post.
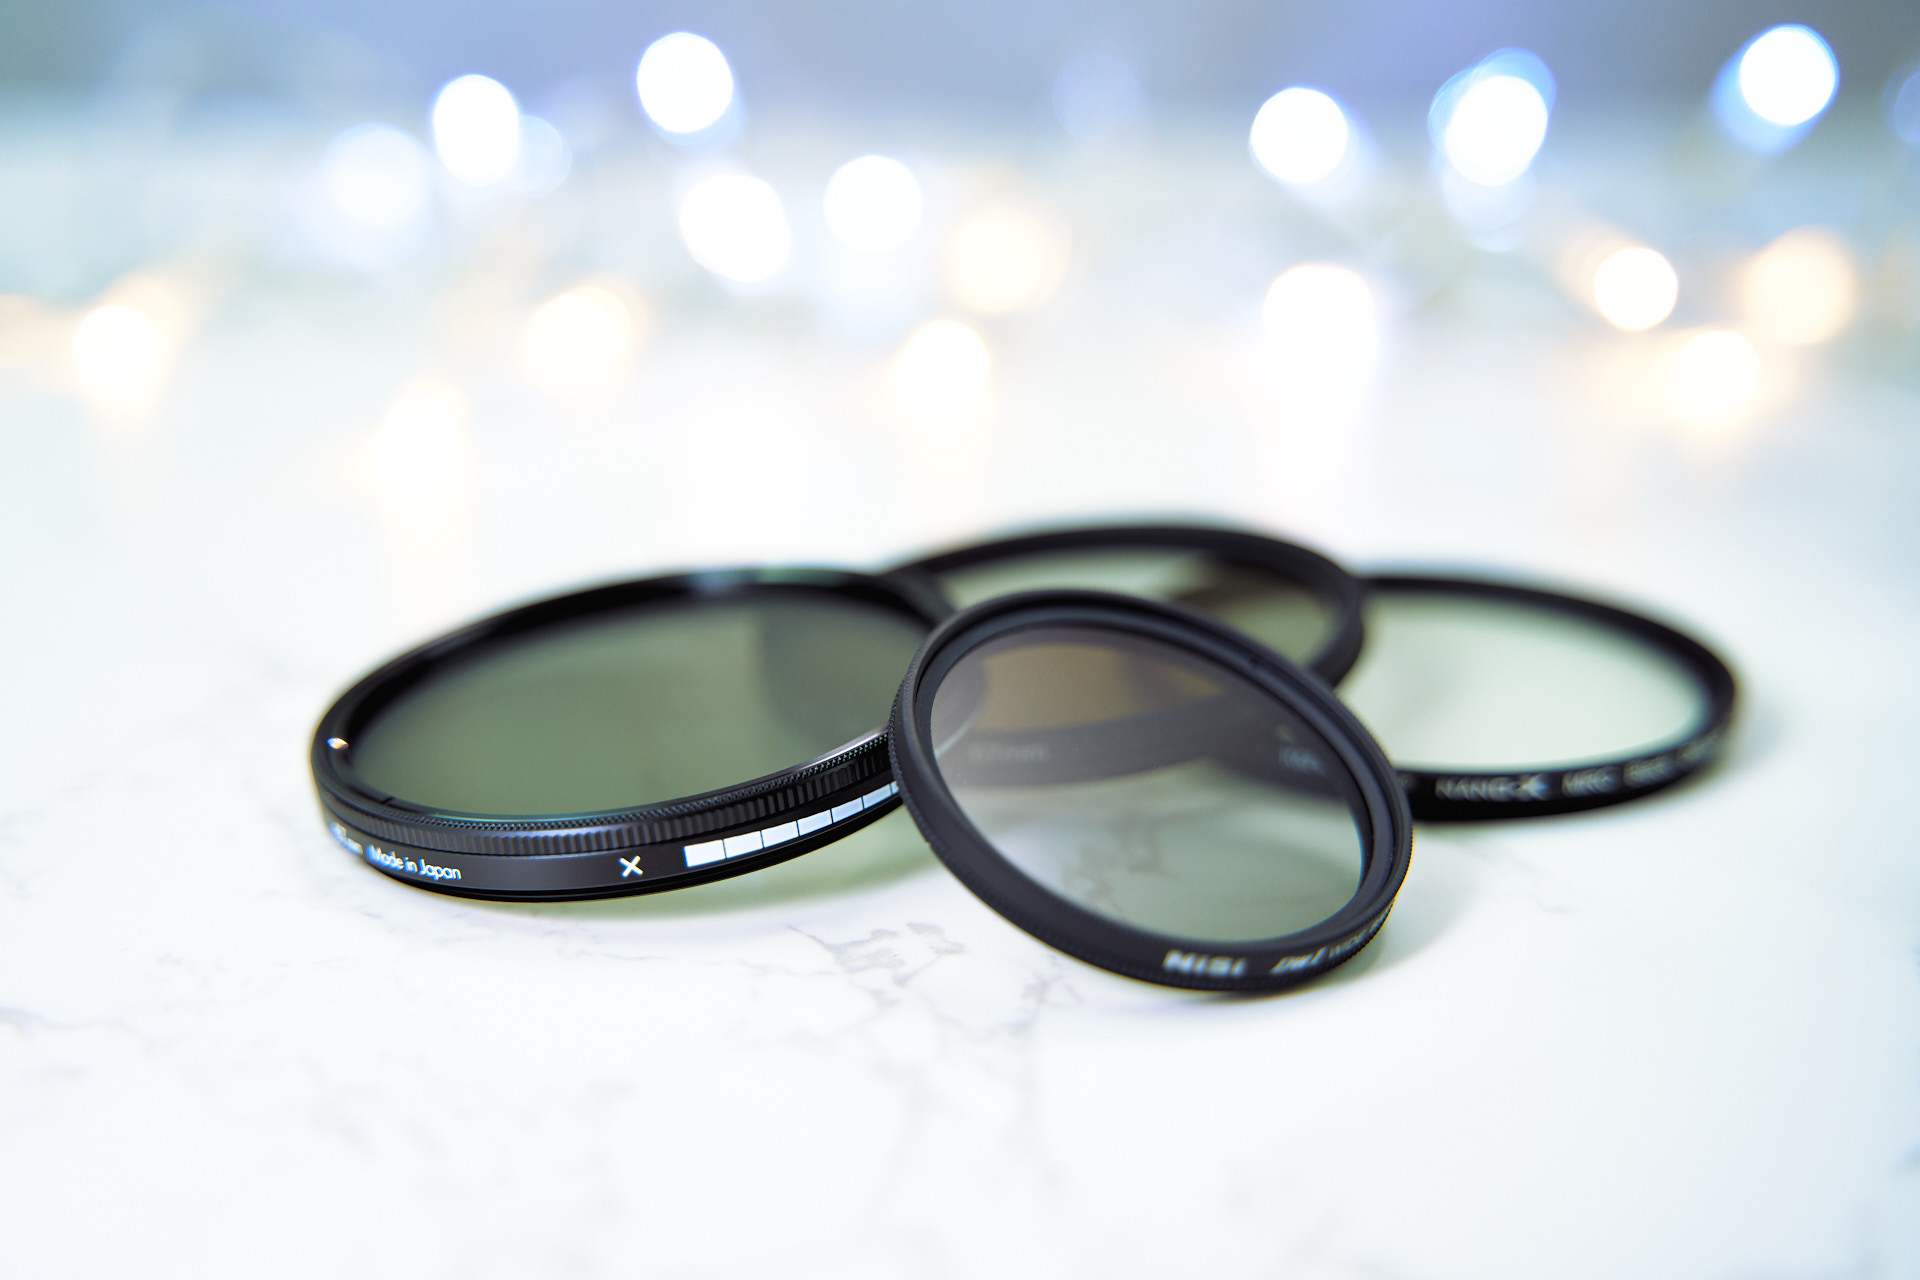
Any Other Special Effect Filters?
Yes! There are a few worth-mention filters, but I only use them in casual photoshoots. I prefer to keep my formal shots clean and clear, and there are workarounds to achieve similar filter effects.
Close-up filter. A screw-on type filter acts as an alternative to a dedicated macro lens. It has different multipliers, e.g., +2, +4, +10, etc. The larger multiplier, the higher the magnification effect. Besides, you can stack them to achieve a more significant magnification effect. However, the close-up filter has a limited close-focus distance range that restricts your lens from focusing anything further away. Therefore, you must take it off for regular shooting.
Tips #11
Some non-macro lenses can achieve an impressive 0.5x magnification ratio (e.g., Tamron VXD 70-180mm F2.8), thus reducing the need for a close-up filter.
ND filter. A black glass filter that darkens your exposure. It has different values, e.g., ND8, ND400, ND1000, etc. The higher value, the lower exposure. A professional camera has a native flash sync speed of 1/250s (some cameras only support a slower sync speed at 1/200s or 1/160s). An ND filter allows you to use a fast prime at F1.8/F1.4 with a flashlight on a sunny day.
Tips #12
Use a High-Speed Sync (HSS) instead of an ND filter if your camera and flashlight support HSS. It allows your camera and flashlight to sync at the fastest shutter speed your camera supports (e.g., 1/4000s, 1/8000s).
Blackmist filter. It softens the highlights and renders a dreamy effect. It has different strengths, e.g., 1/2, 1/4, and 1/8. The higher strength, the blurrier effect.
Tips #13
You can achieve a similar soft rendering in post-processing by adjusting the clarity of the highlights using luma-range selection.
Closing Thoughts
The lens is as critical as the camera in a photoshoot. Its focal length, optical rendering (sharpness, contrast, Bokeh, etc.), and AF performance dramatically affects the photo’s overall look and feel. For comfort-wise, you might start with a zoom lens and convert it to fast prime for a specific look when you are more comfortable in an event/wedding shoot.
Everyone has a different vision and preference in lens choice. You may use a 35/50mm fast prime, an F2.8 standard zoom, or a telephoto plus wide-angle lens combo. Regardless of the selection of lenses, the most important thing is to focus sharply on your subjects and capture the precious moment.
Feel free to leave your comments below if you have any doubts or suggestions for the lenses. Besides, I will discuss the accessories I used in events/wedding shoots in Part III (read here). Peace!
Leave a Reply