Honest and in-depth reviews of photography gear, software, and accessories. Make informed decisions with our hands-on experiences and comparisons to find the best tools that fit your style and budget.

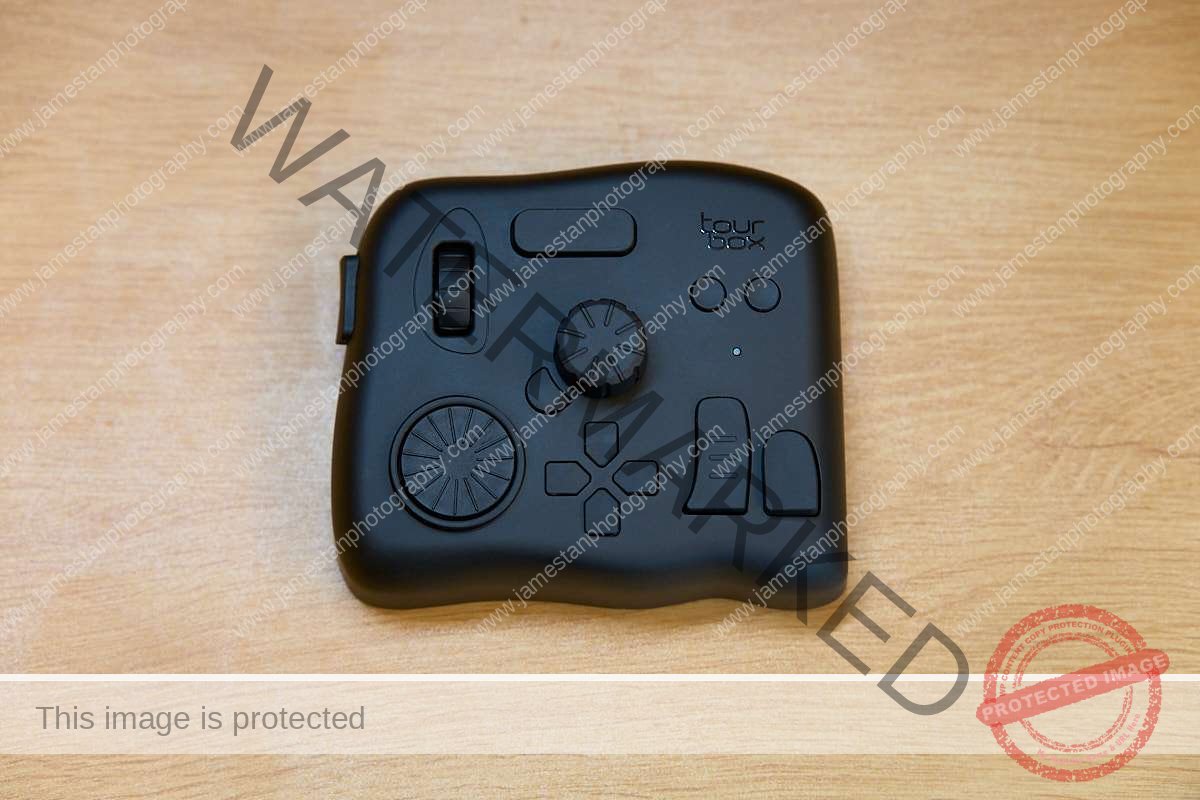
TourBox Elite
Last Updated On
I usually shoot less than two hundred photos per personal project and less than a thousand photos for my company’s internal events. Therefore, I couldn’t understand why someone would spend a few hundred dollars to get an editing controller instead of using keyboard shortcuts and a mouse/trackpad. What Change My Mind? My mindset changed after…
Sony A7 IV Bird Eye AF Test
Last Updated On
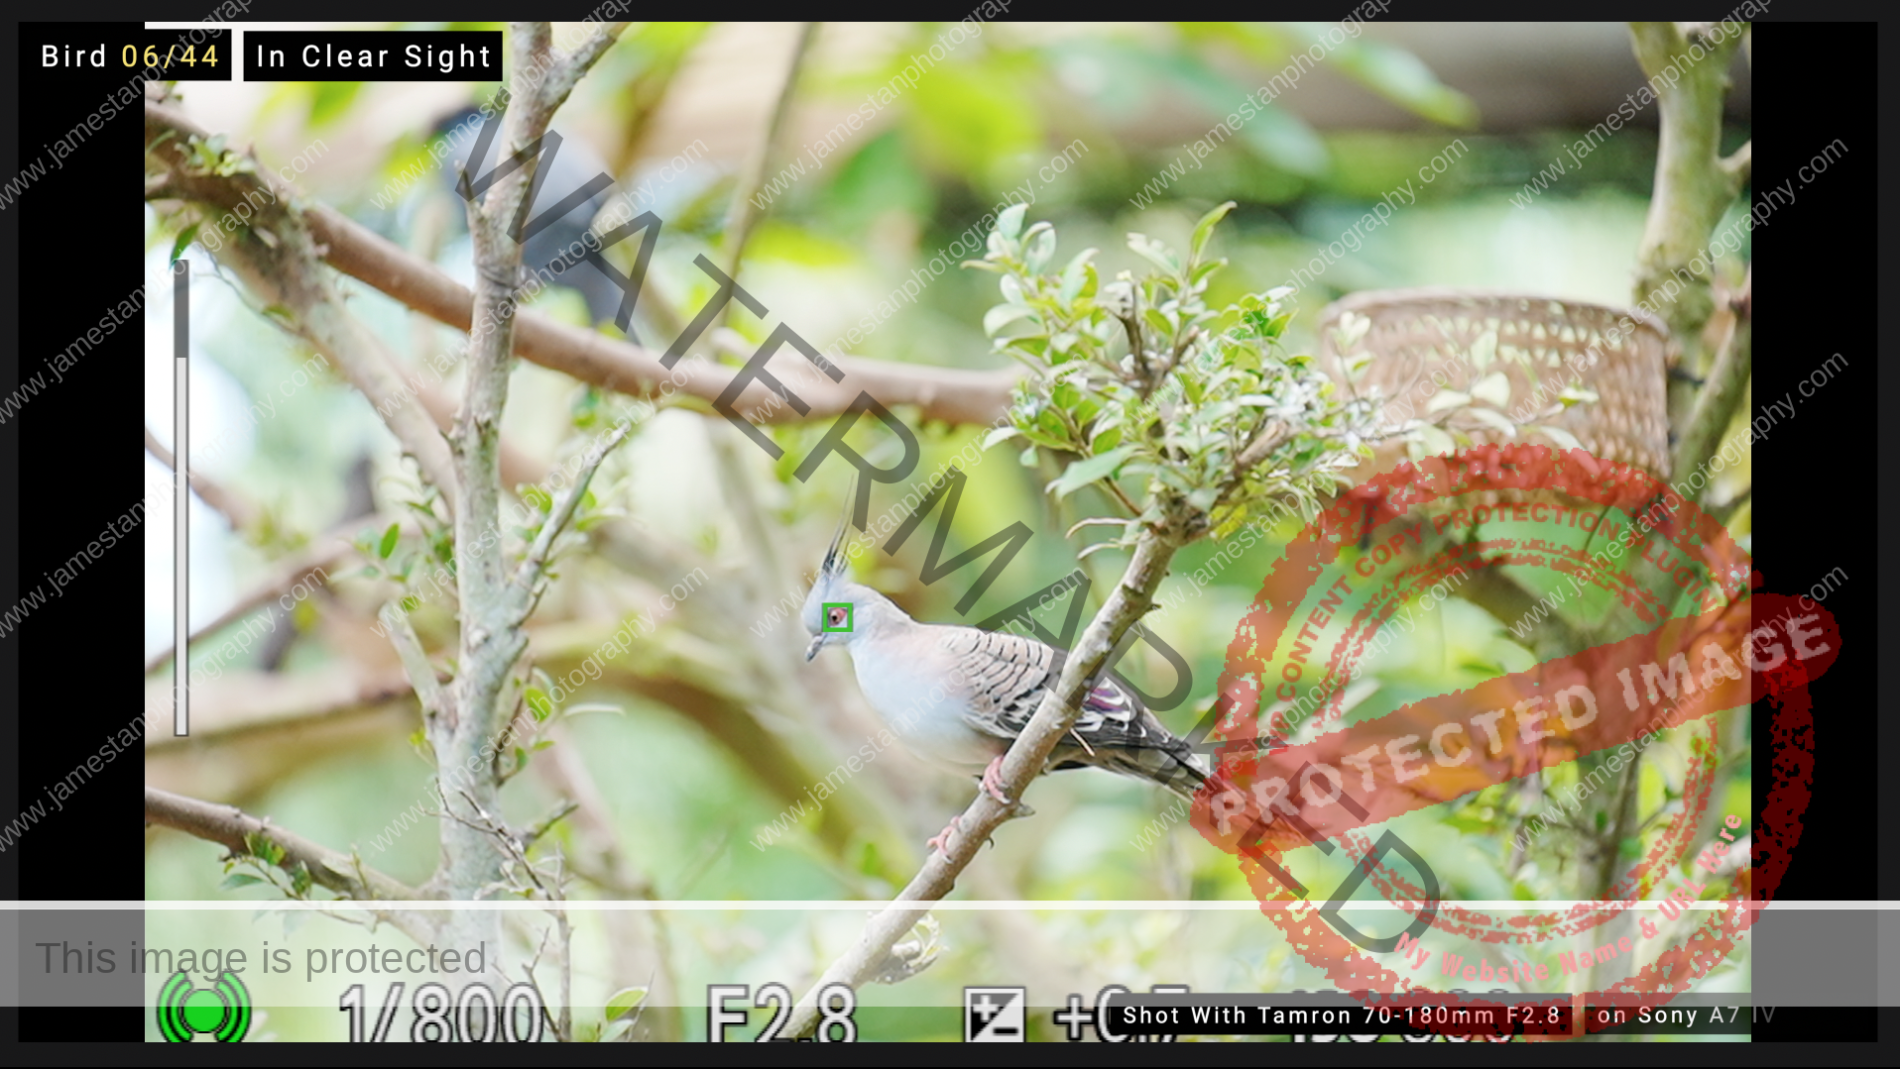
Could you rely on Sony A7 IV Bird Eye AF? What could you expect from it? I tested the Sony A7 IV (with firmware v1.10) Bird Eye AF with Tamron 70-180mm F2.8 over 70 birds and more than 200 test shots. Check out the testing on my YouTube channel here (or you can watch directly…
Do You Have To Upgrade Your Zeiss Batis 25mm F2?
Last Updated On
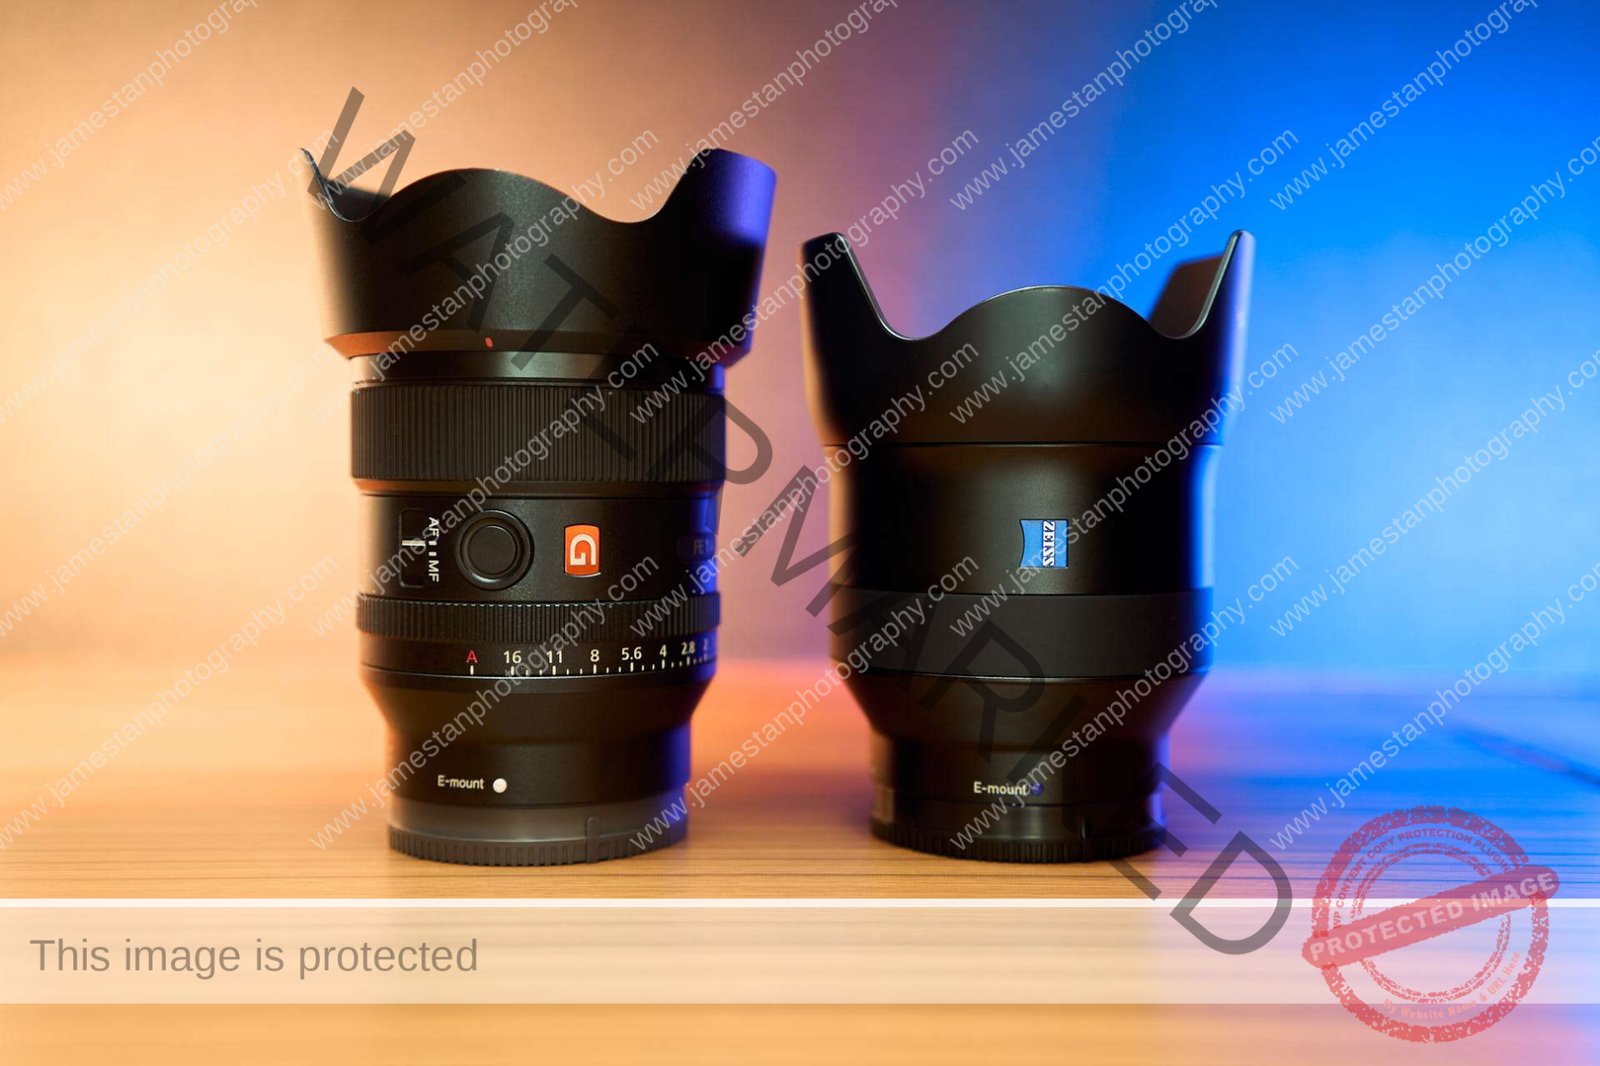
Is there any benefit to upgrading your current Zeiss Batis 25mm F2 to Sony 24mm GM F1.4? Or should you spend $200 more on the GM for your only 24mm fast prime? Let’s check it out!
Is Zeiss Batis 25mm F2 Still Worth The Premium in 2022?
Last Updated On
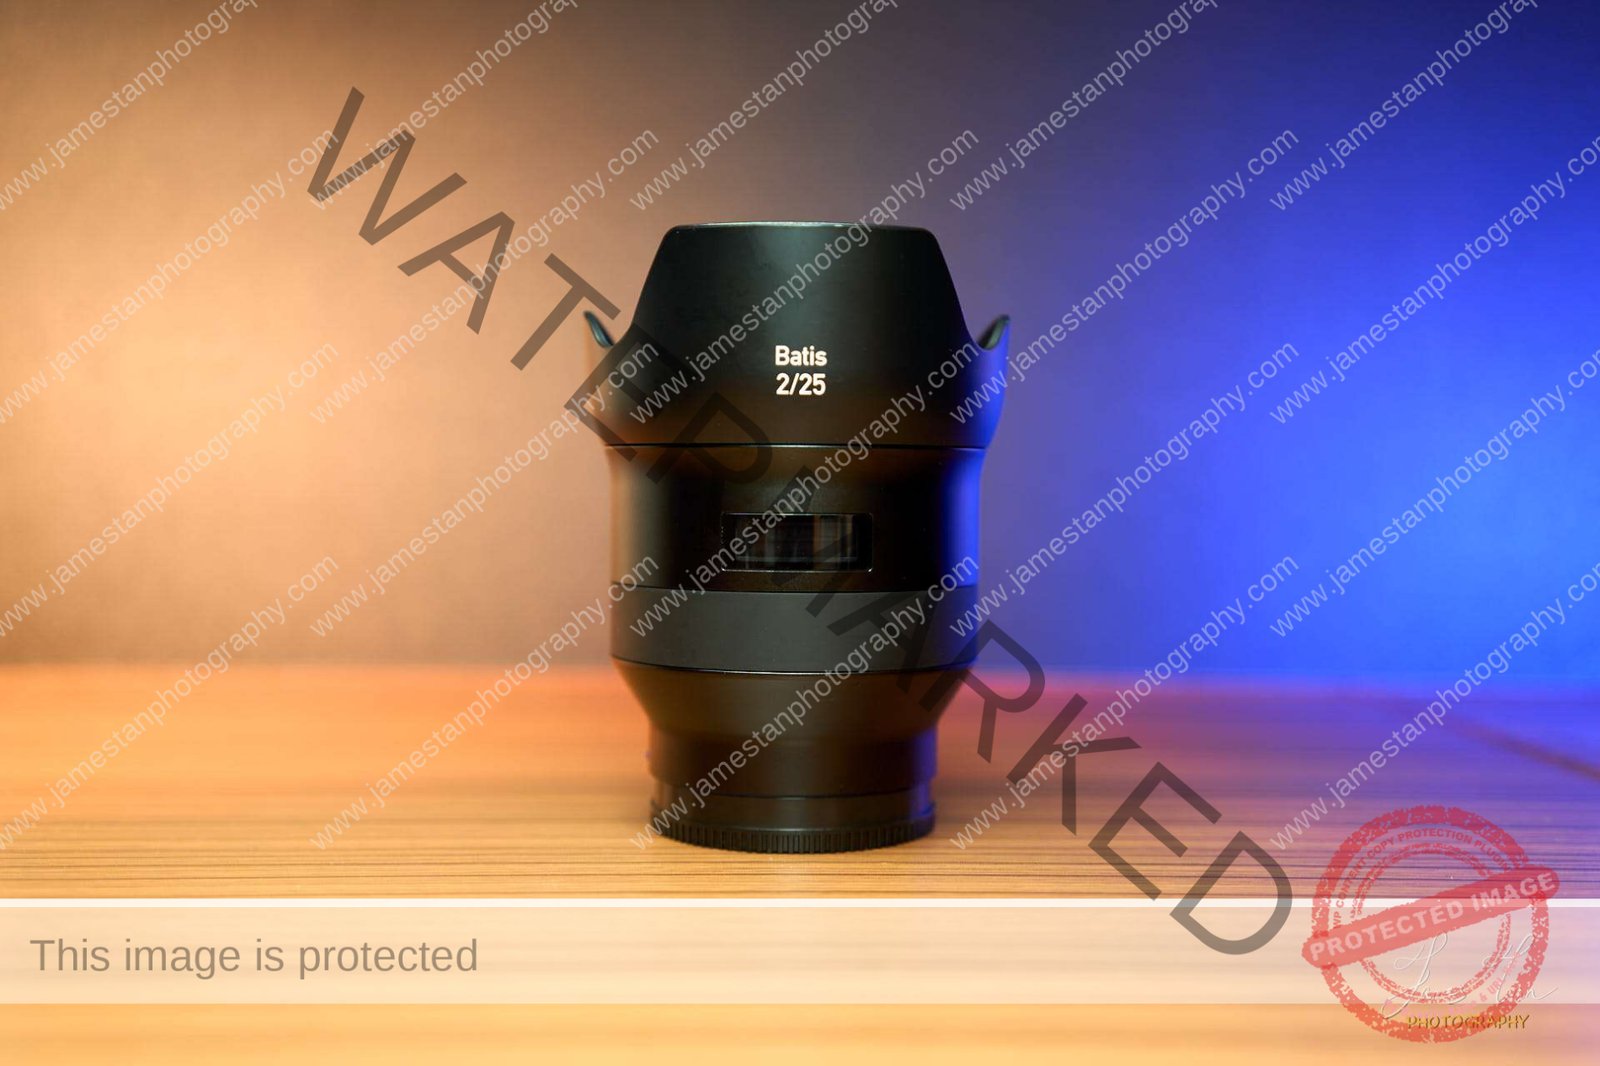
Would the Zeiss Batis 25mm F2 be outdated when paired with the latest entry-level full frame camera in 2022? Does it still worth the USD 1,200 premium?
[Impression] Tamron 35-150mm Di III VXD F2-F2.8 for Sony FE
Last Updated On
Are you tired of bringing the 24-70mm F2.8 and 70-200 F2.8 lenses to shoot the whole day? If you do not have 2 camera bodies, swapping the lenses frequently between the different scenarios is troublesome and time-consuming. If you choose an all-in-one zoom lens like a 24-200mm, the aperture at wide-open is pretty small, usually…
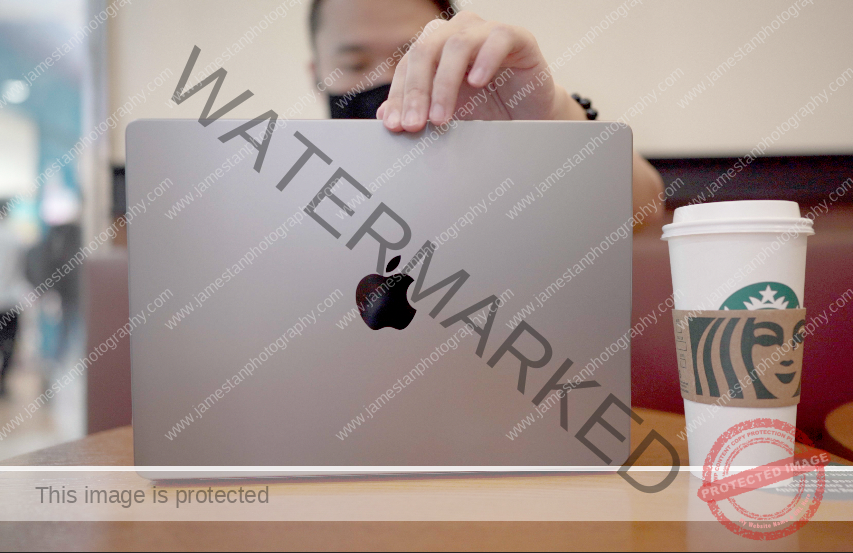
14″ M1 Max MacBook Pro for a Photographer and Creator?
Last Updated On
In 2021, Apple introduced the M1 Pro and M1 Max processors, the successor of the impressive M1 processor introduced in 2020. The previous 13-inch model is also upgraded to a 14-inch screen with the same chassis size as the 13-inch. The upgrade successfully made me order the new 14″ M1 Max MacBook Pro without hesitation.…
Samyang 24 mm F2.8 FE
Last Updated On
The first pancake 24 mm Sony FE lens from Samyang! Would it be one of your collections soon? Let’s check it out!
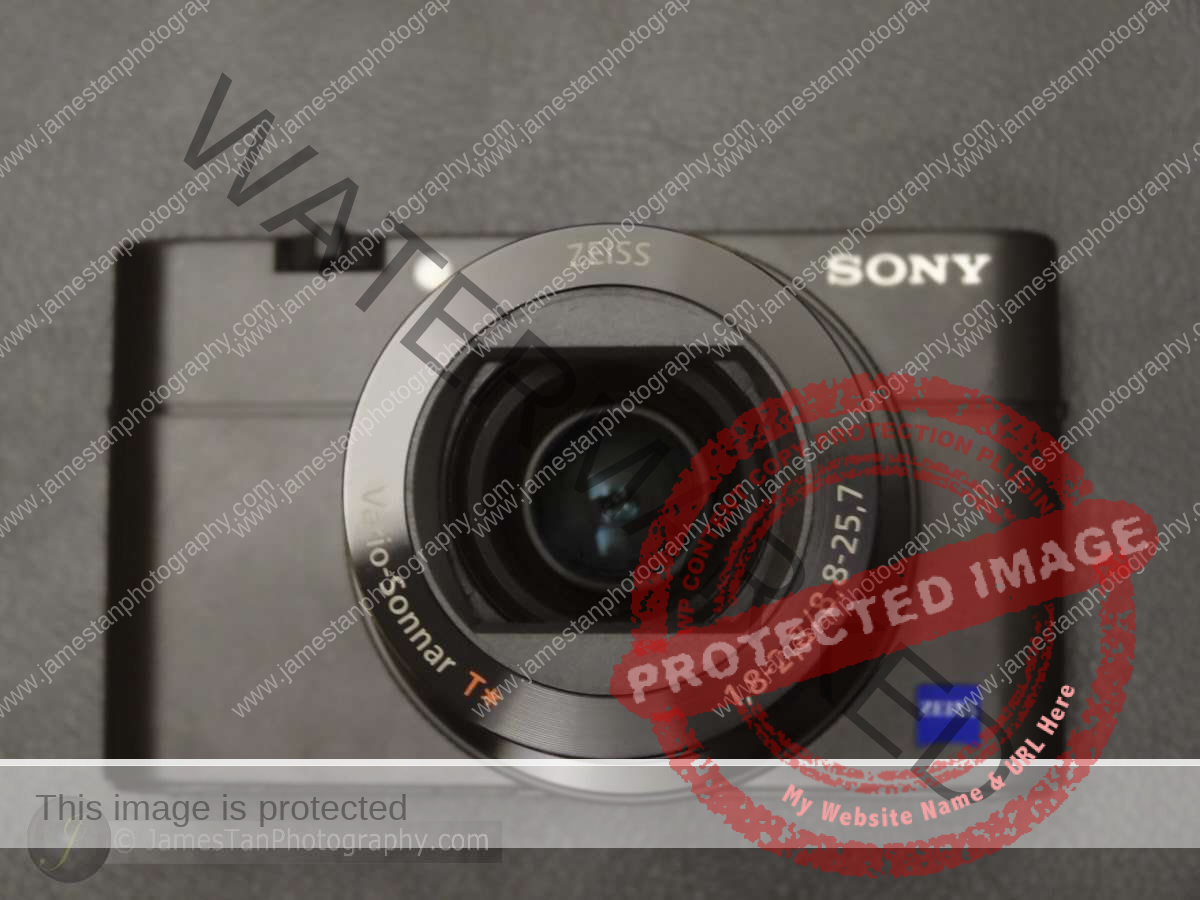
Sony RX100 V
Last Updated On
Sony RX100V is a pocket-size 1-inch sensor camera with an AF speed that could outperform a typical APS-C or even a full-frame camera. Let’s check out its AF performance and other amazing features!
Sony RX1R II
Last Updated On
A palm-size compact full-frame camera with 42MP high resolution and 35mm F2 fixed prime lens! Let’s check it out now!
Sony SEL1670Z APS-C Lens
Last Updated On
Sony SEL1670Z is the standard zoom lens for Sony APS-C E-mount cameras that covers an equivalent range of 24 mm to 105 mm with a constant F4 aperture. Would the little blue Zeiss badge give the assurance of its image quality? Let’s check it out!
Sony A7S II
Last Updated On
The 2nd generation of Sony full-frame low light monster camera – A7S II! Let’s check out how it performs with the new 5-axis image stabilizer!
![[Impression] Tamron 35-150mm Di III VXD F2-F2.8 for Sony FE](https://www.jamestanphotography.com/wp-content/uploads/2022/03/20211019_tamron35150_0001.jpg)