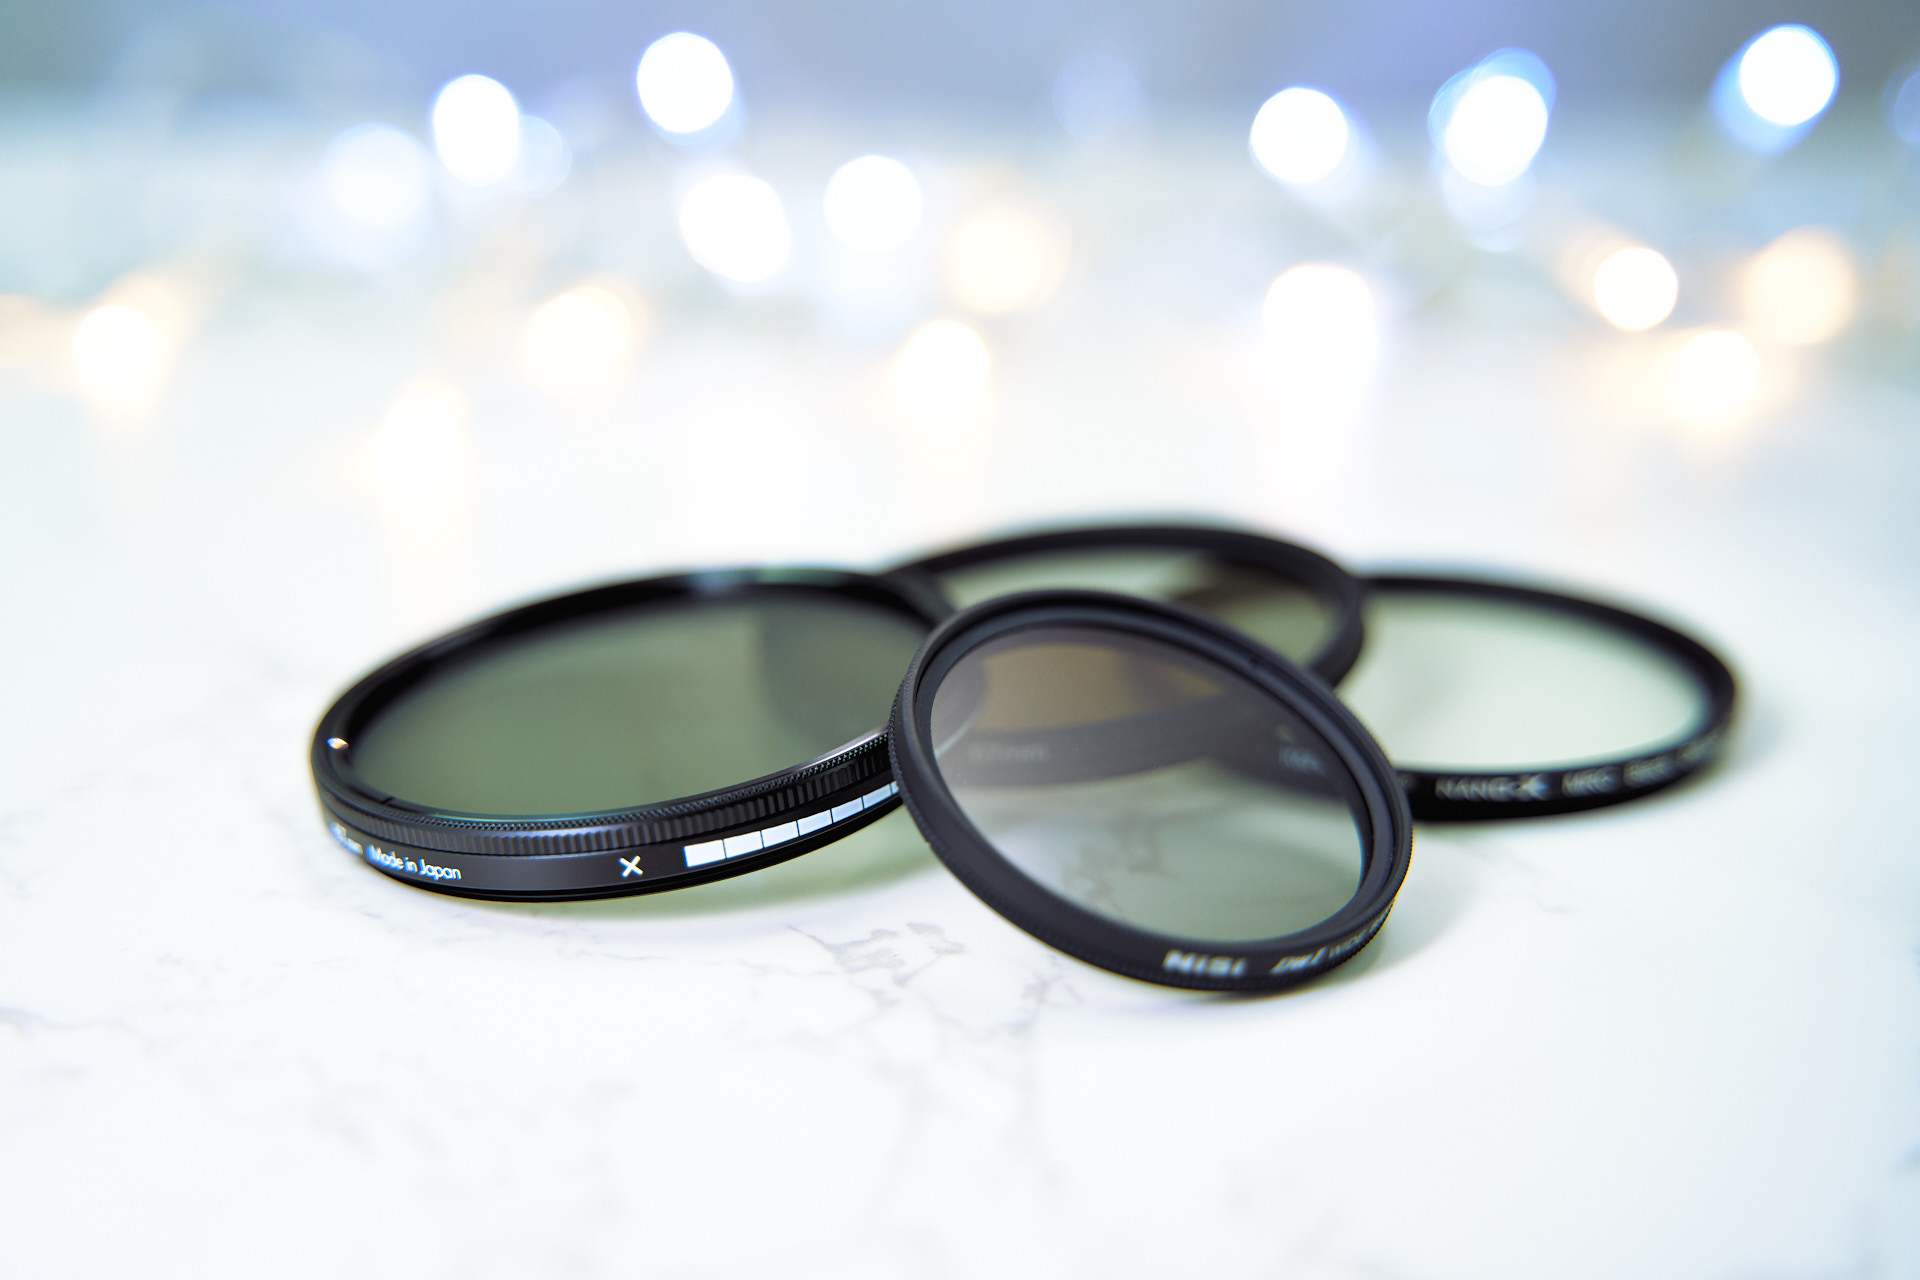
Should I Use a UV or Protector Filter for My Lens?
Last Updated On
The tests conducted in this post show that while low-quality UV or protector filters can affect sharpness and introduce ghosting and flare, higher-grade counterparts tend to have minimal to no impact. Investing in high-quality filters can provide added protection with minimal impact to the image quality.
What Should I Understand About a Lens?
Last Updated On
As a full-time photographer, I share my insights for beginner photographers on understanding a lens, covering basics like aperture, focal length, and autofocus mechanics. Besides, this post covers the general optical performance terms, and some debatable lens topics like using UV filter, OEM vs third party lenses, etc.
Do I Really Need a Dedicated Camera to Start Learning Photography?
Last Updated On
Modern smartphones are sufficient for learning photography basics, offering high image quality and advanced features. Users can practice composition, lighting, and manual controls. Experimenting with a smartphone helps determine if one enjoys photography before investing in a dedicated camera, which should be considered only if smartphone limitations hinder creativity.
What Affects Depth of Field in Photography?
Last Updated On
Have you ever wondered why some photos have a dreamy blurry background while others are sharp from edge to edge? That blurry background — often called bokeh — is the result of depth of field (DoF).
5 Factors Affected By Image Sensor Size
Last Updated On
You might hear of APS-C, full-frame, 1-inch, micro 4/3, etc. What are they? Does it really result in different image quality? Let’s check it out!
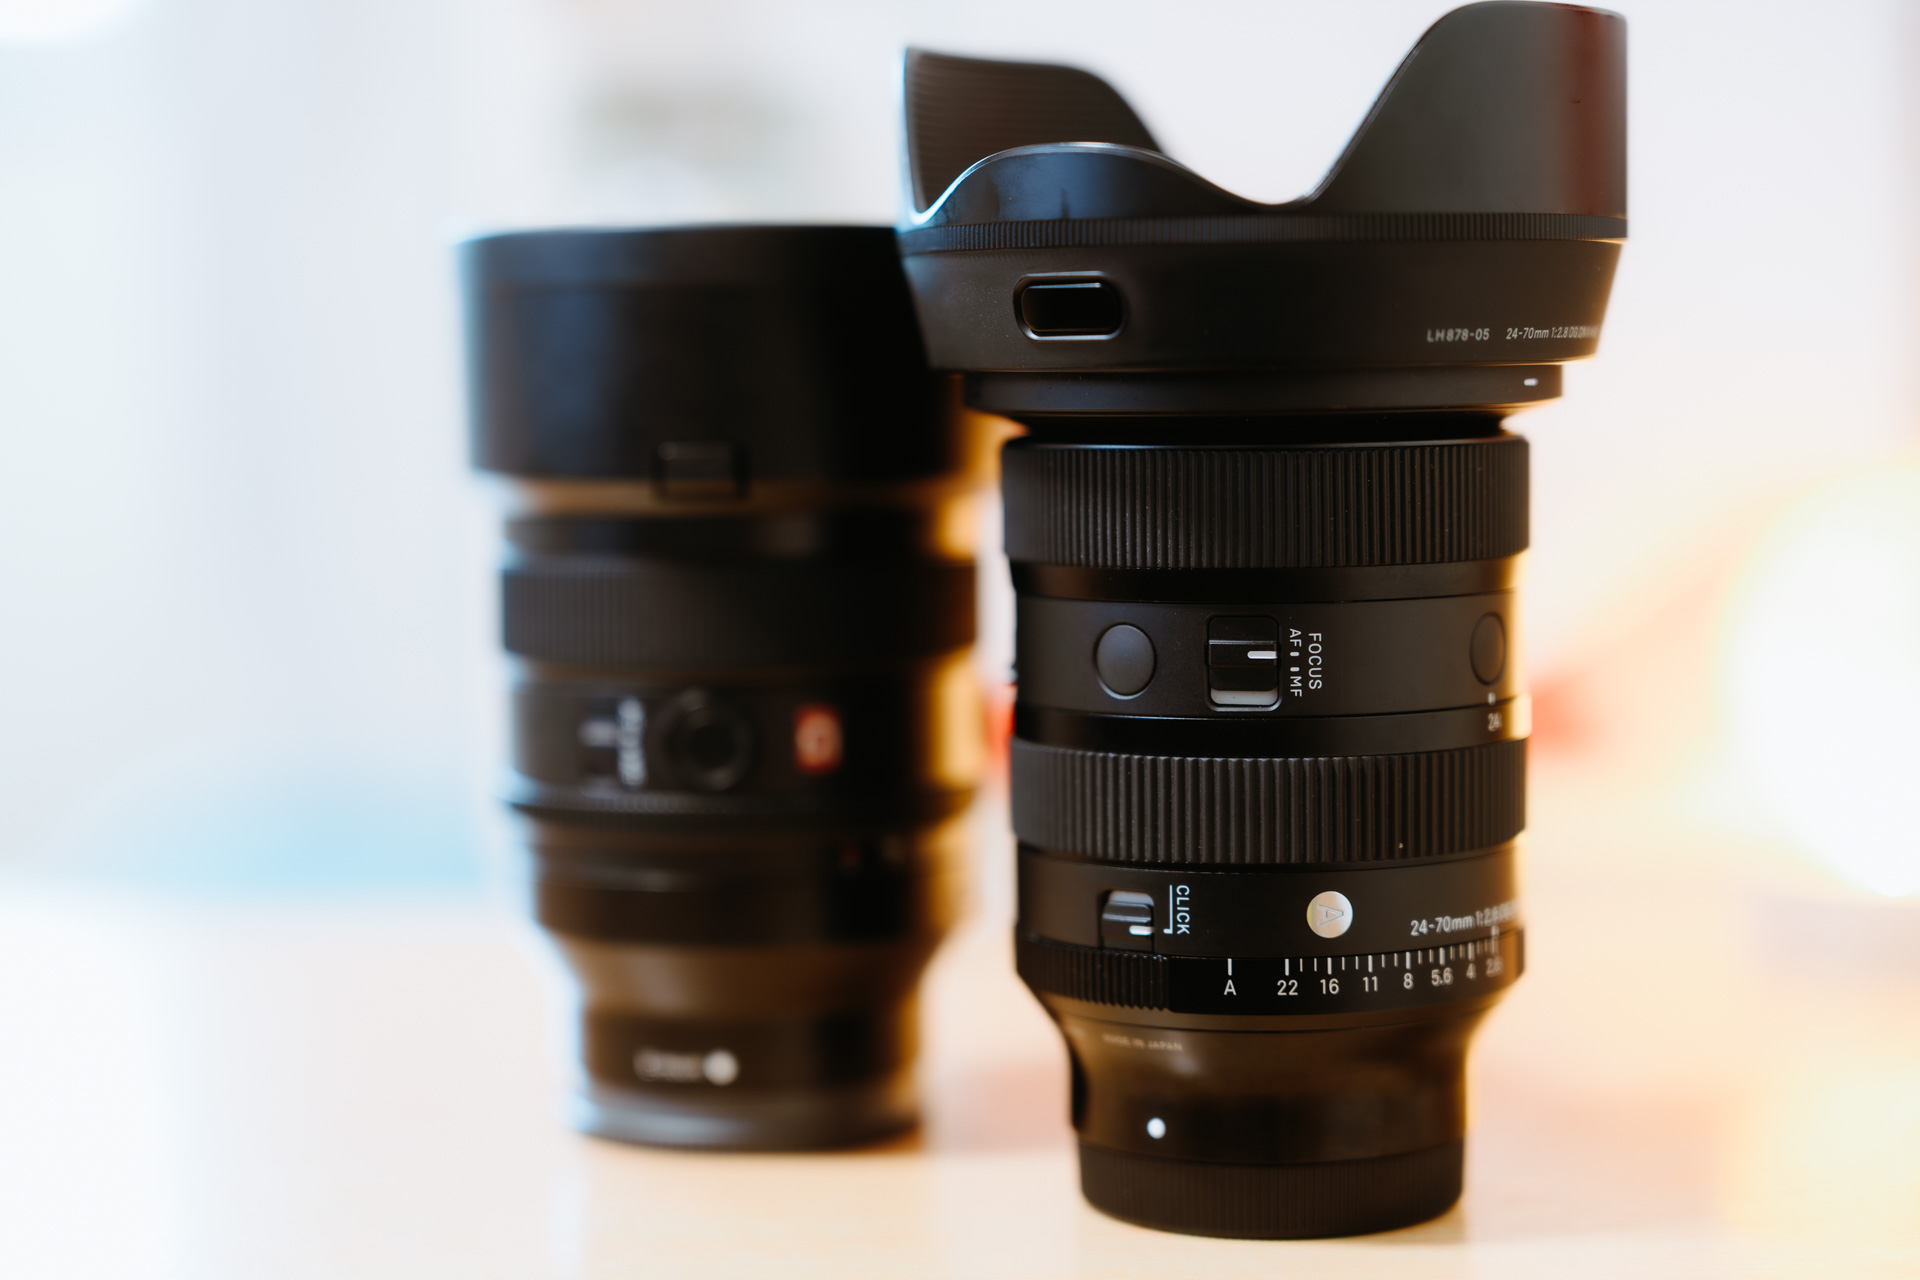
Photography Gear For Your First Event/Wedding Shoot – Part II
Last Updated On
It is Part II about the photography gear for your first event/wedding shoot. I will discuss the lenses I use and explain why I chose them for my event/wedding photoshoot. Please feel free to check out Part I (The Cameras – Read here) if you have not read it yet. 1. Lenses Most modern lenses…
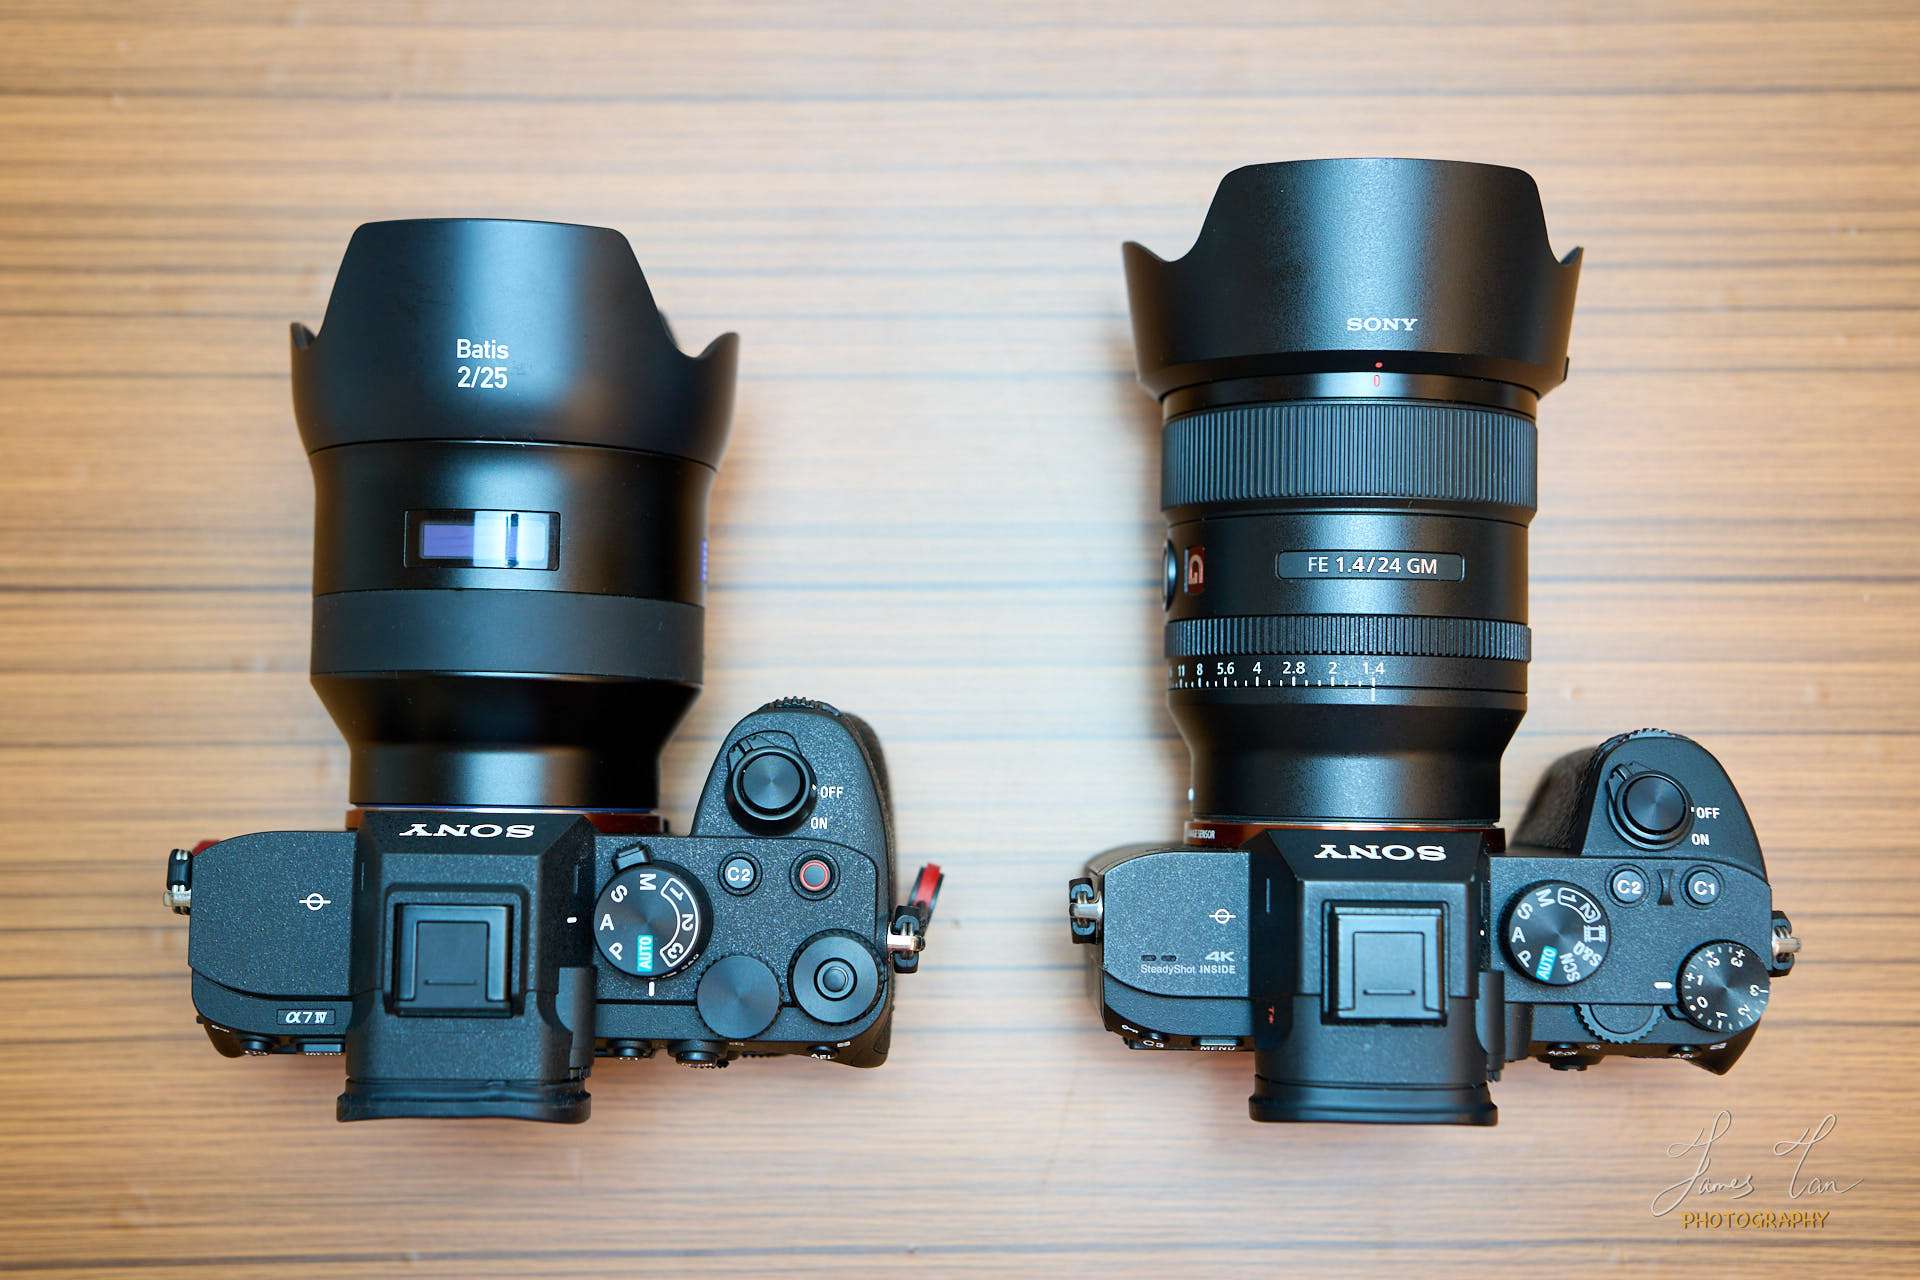
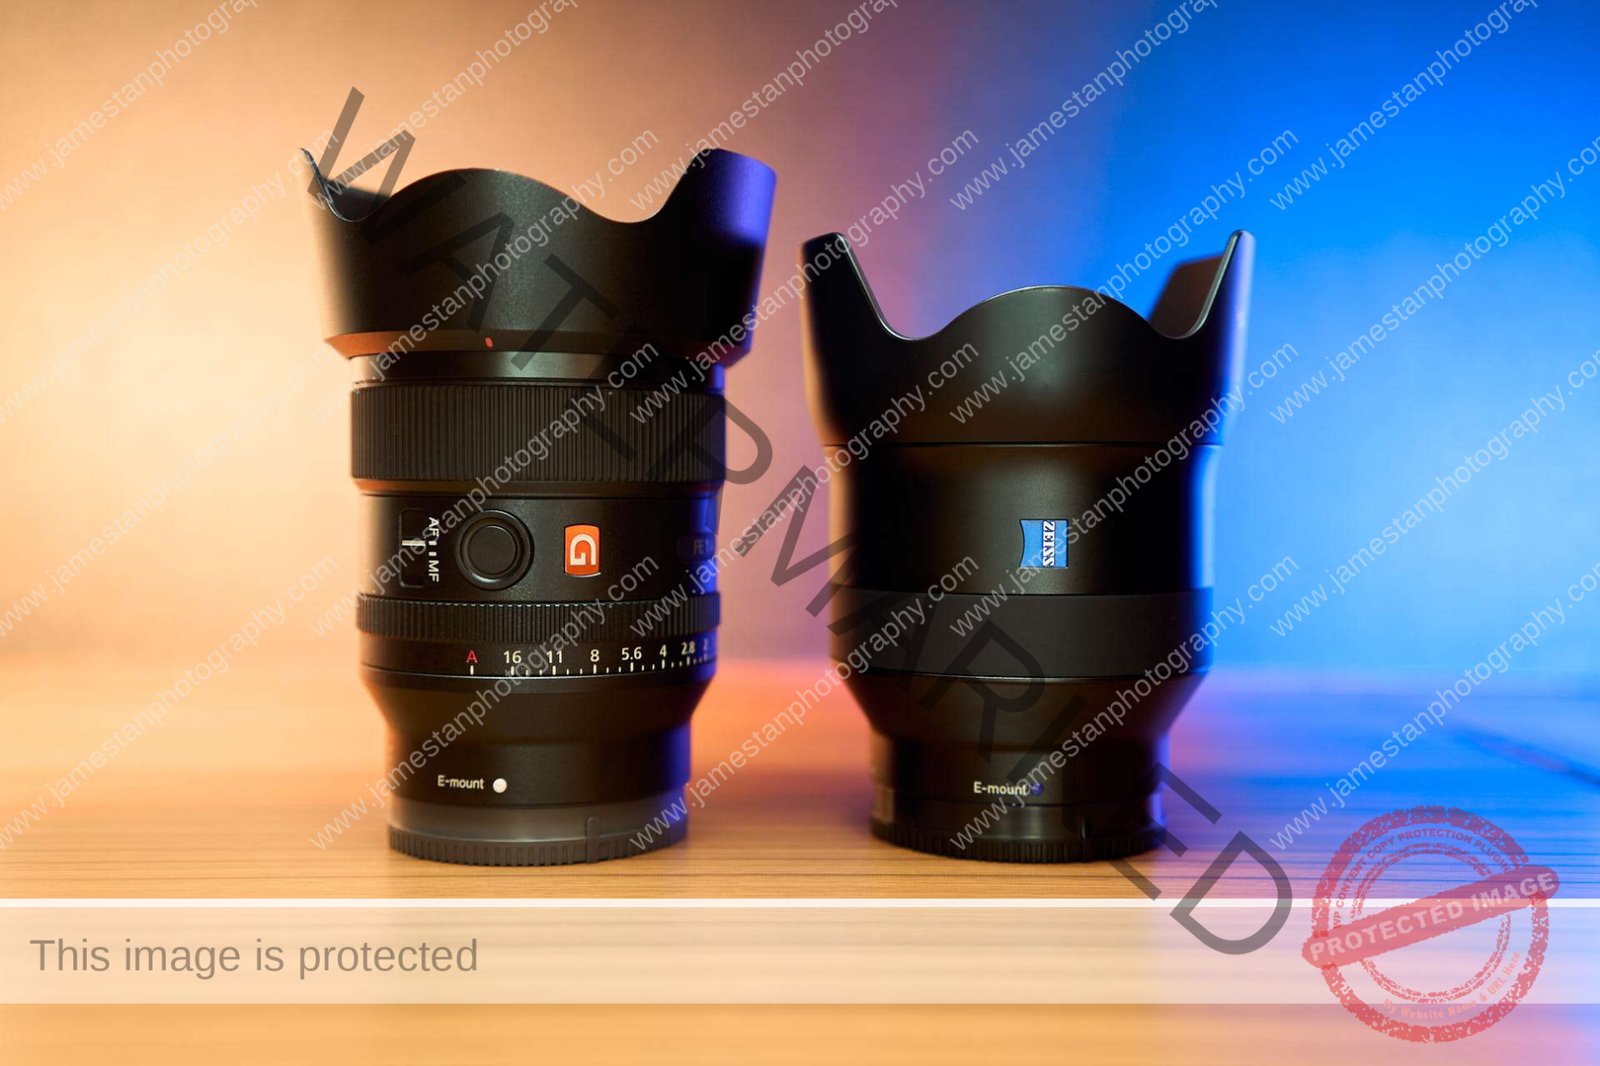
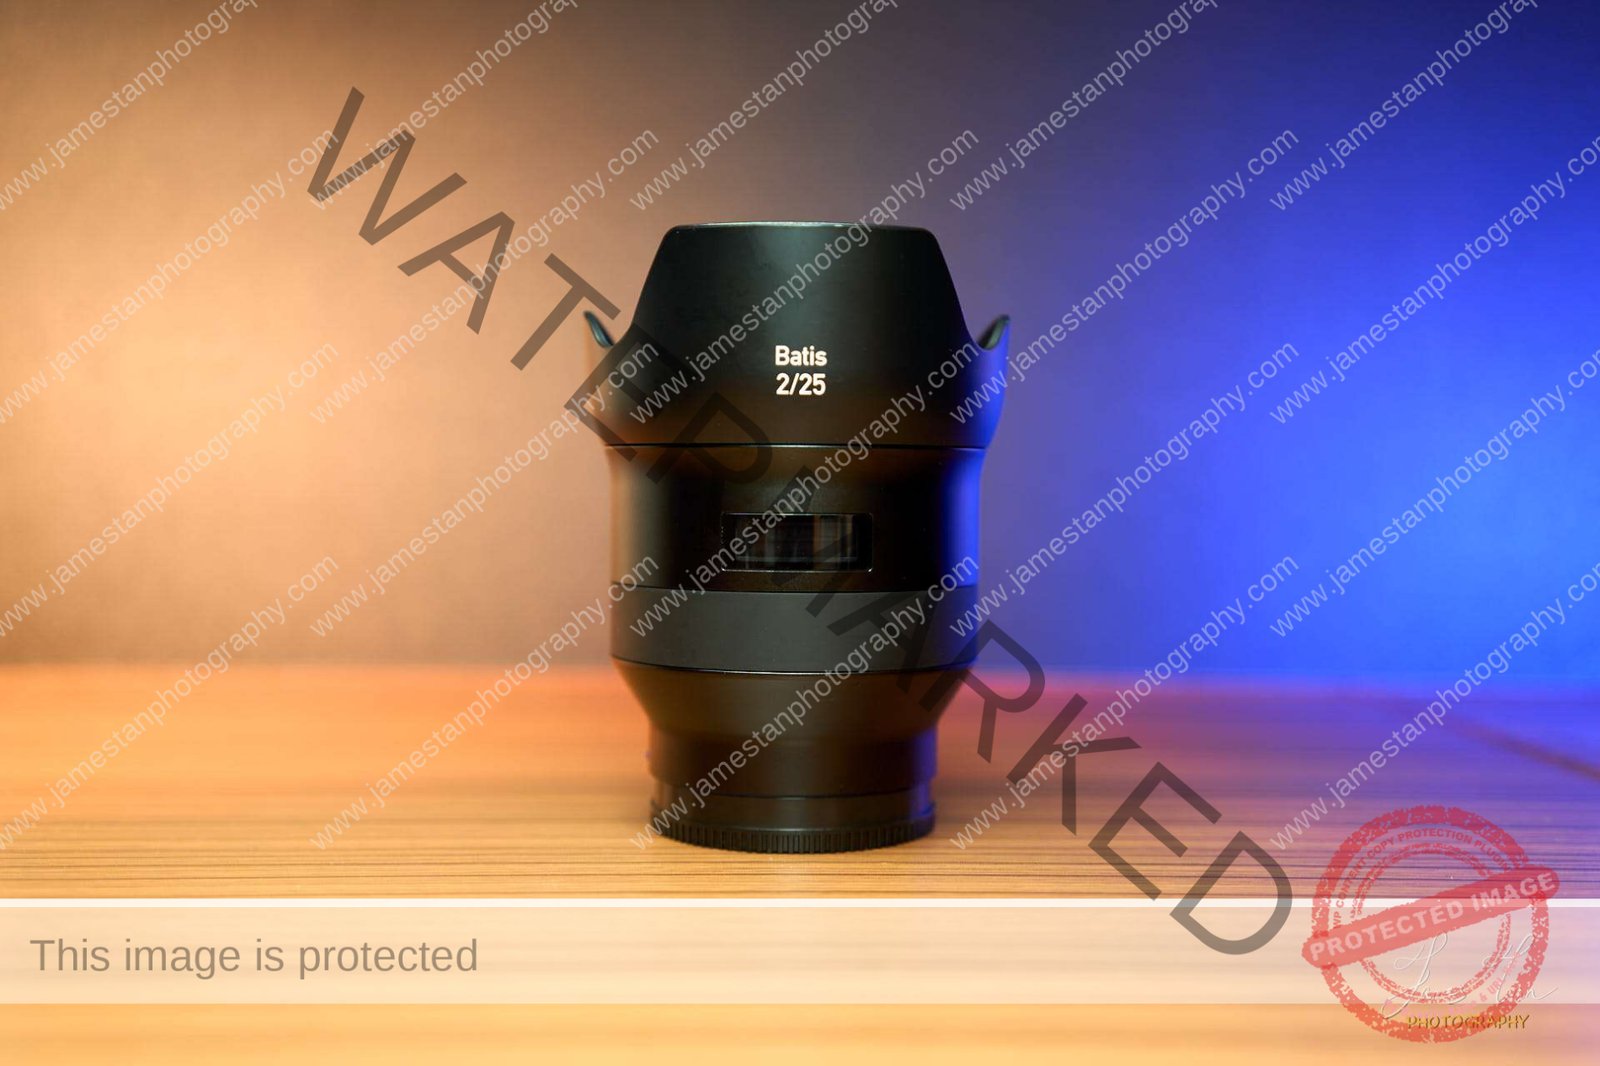
Do You Have To Upgrade Your Zeiss Batis 25mm F2?
Last Updated On
Is there any benefit to upgrading your current Zeiss Batis 25mm F2 to Sony 24mm GM F1.4? Or should you spend $200 more on the GM for your only 24mm fast prime? Let’s check it out!
Is Zeiss Batis 25mm F2 Still Worth The Premium in 2022?
Last Updated On
Would the Zeiss Batis 25mm F2 be outdated when paired with the latest entry-level full frame camera in 2022? Does it still worth the USD 1,200 premium?
Samyang 24 mm F2.8 FE
Last Updated On
The first pancake 24 mm Sony FE lens from Samyang! Would it be one of your collections soon? Let’s check it out!
Sony SEL1670Z APS-C Lens
Last Updated On
Sony SEL1670Z is the standard zoom lens for Sony APS-C E-mount cameras that covers an equivalent range of 24 mm to 105 mm with a constant F4 aperture. Would the little blue Zeiss badge give the assurance of its image quality? Let’s check it out!
Sony SEL2470Z
Last Updated On
Sony SEL2470Z is the first Sony FE standard zoom with the little blue Zeiss badge. Would it give a satisfying image quality to match its premium price tag? Let’s check it out!
DXO Optics Pro 10 vs Lightroom 5
Last Updated On
Are you having difficulty choosing the right post-processing software for your photos? Let’s check out the comparison between DXO Optics Pro 10 and Adobe Lightroom 5!