Introduction
The Sony SELP1650 is the new kit lens with the new NEX cameras like the NEX-5R, NEX-6, and NEX-3N. It has a filter size of 40.5 mm, and it allows us to us a filter on it easily.
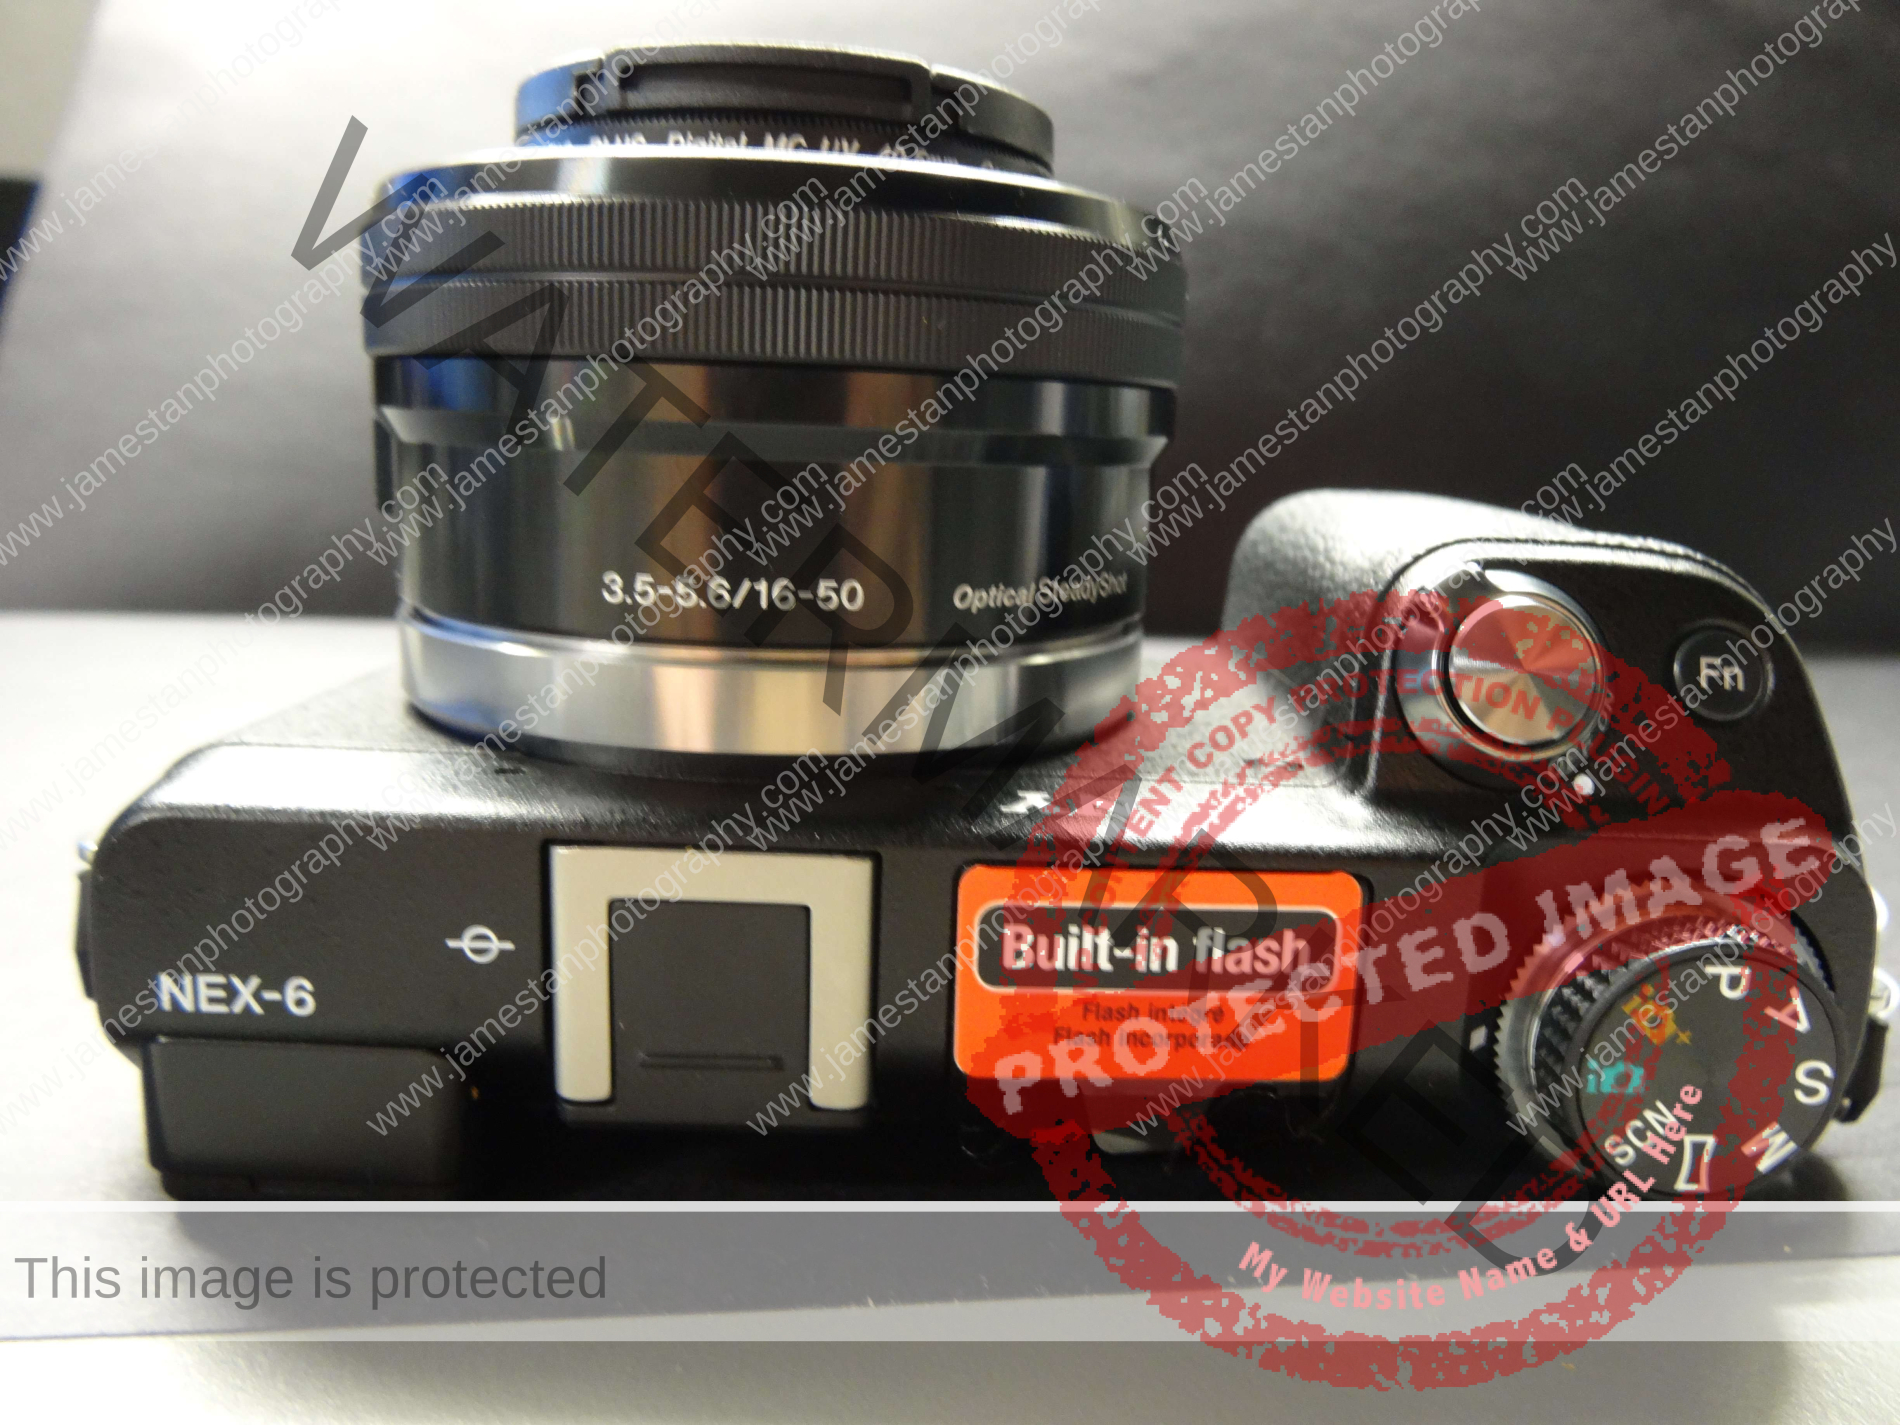
The Sony SELP1650 covers a 24mm – 75mm focal length in 35mm equivalent which is enough for the basic daily shooting. The maximum apertures are F3.5 and F5.6, and the minimum focus distances are at 25 cm and 30 cm on the wide-angle and telephoto side, respectively. It comes with the power zoom feature, which provides highly smooth zooming during the video recording. A focus/zoom ring is found at the front of the lens, it is smooth to turn, and there is no endpoint to stop turning the focus/zoom ring; it also has a built-in OSS, which is great and powerful for low light shooting or video recording.
This lens is retractable like a point-and-shoot camera. When the camera is powered on, this lens will need a few seconds to extend itself before being ready to use. It collapses itself when it is not in use, and the height is only around 3 cm! It’s so compact and looks like a pancake lens. It makes the NEX camera more compact and portable without having a cheap feel. However, the lens is criticized for its fish-eye-effect-like barrel distortion on the wide-angle side before being officially available on the market. So how is its optical performance? Is it worth your money to buy it for the compactness? Let’s look at the following review.
Key Specification
- 35 mm equivalent focal-length (on APS-C): 24 ~ 75 mm
- Lens groups / elements: 8 / 9
- Angle of view (on APS-C): 83′ ~ 32′
- Minimum aperture (F): 22 – 36
- Number of aperture blades: 7
- Circular aperture: Yes
- Minimum focus distance: 0.25 m
- Maximum magnification ratio: 0.215 x
- Filter diameter: 40.5 mm
- Dimensions (Diameter x Length) 66.7 x 30.2 mm
- Weight (approx.): 116 g
Pros and Cons
- Compact and lightweight
- Smooth focus/zoom ring
- Built-in OSS image stabilization
- Power zoom for smooth video recording zooming
- Internal focusing, lens barrel remains unchanged
- Fish-eye effect distortion on the wide-angle
- Need few seconds to extend the lens before ready to use
- Plastic feel of body build
- Relatively small diameter of the filter size compared to other E-mount lenses (49 mm and 62 mm)
- Power zoom is a little too sensitive, not easy to adjust to specific focal length
Look & Feel
The first impression of the lens is compact! It is retractable, works as a compact camera, extends when the power is on, and collapses when the power off. The black finish of the lens body is beautiful and matches my Sony NEX-6 black matte finish body. Detach it from the camera, and it feels so light in weight and only half the size of the SEL1855 kit lens. However, there will be a plastic sound and feel when you use your fingernail to knock at its body.
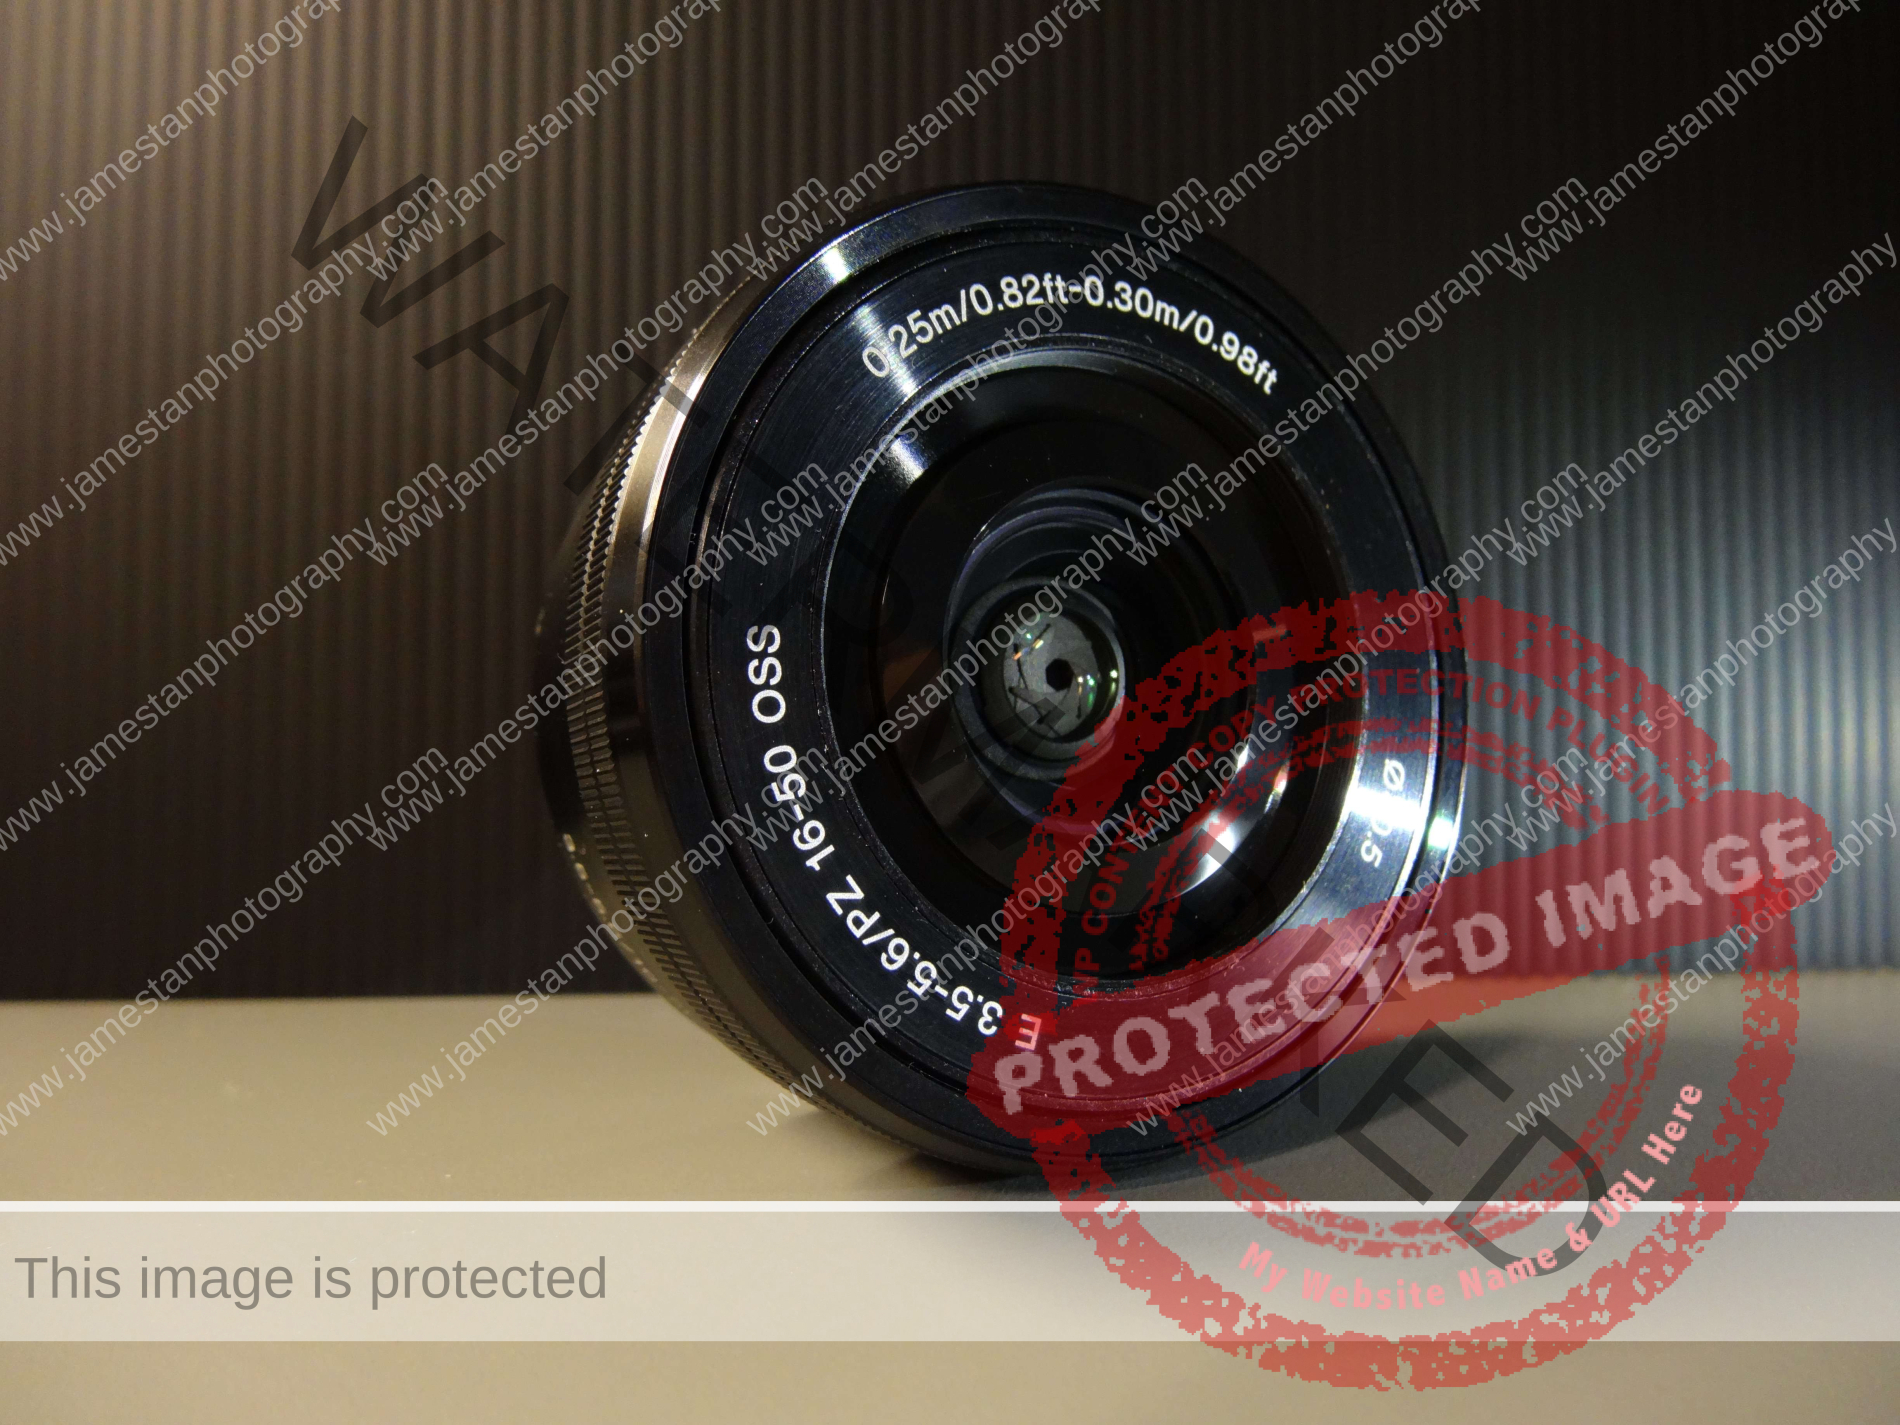
There is a typical focus/zoom ring on the lens barrel. The ring is a zoom ring in AF focus mode and a focus ring in MF mode. In DMF focus mode, the ring acts as a zoom ring and becomes a focus ring when you half-press the shutter button. This focus/zoom ring combo works smoothly, and the resistance amount is just right. It is easy to adjust the focal length for even a 1 mm difference once you get used to the focus/zoom ring.
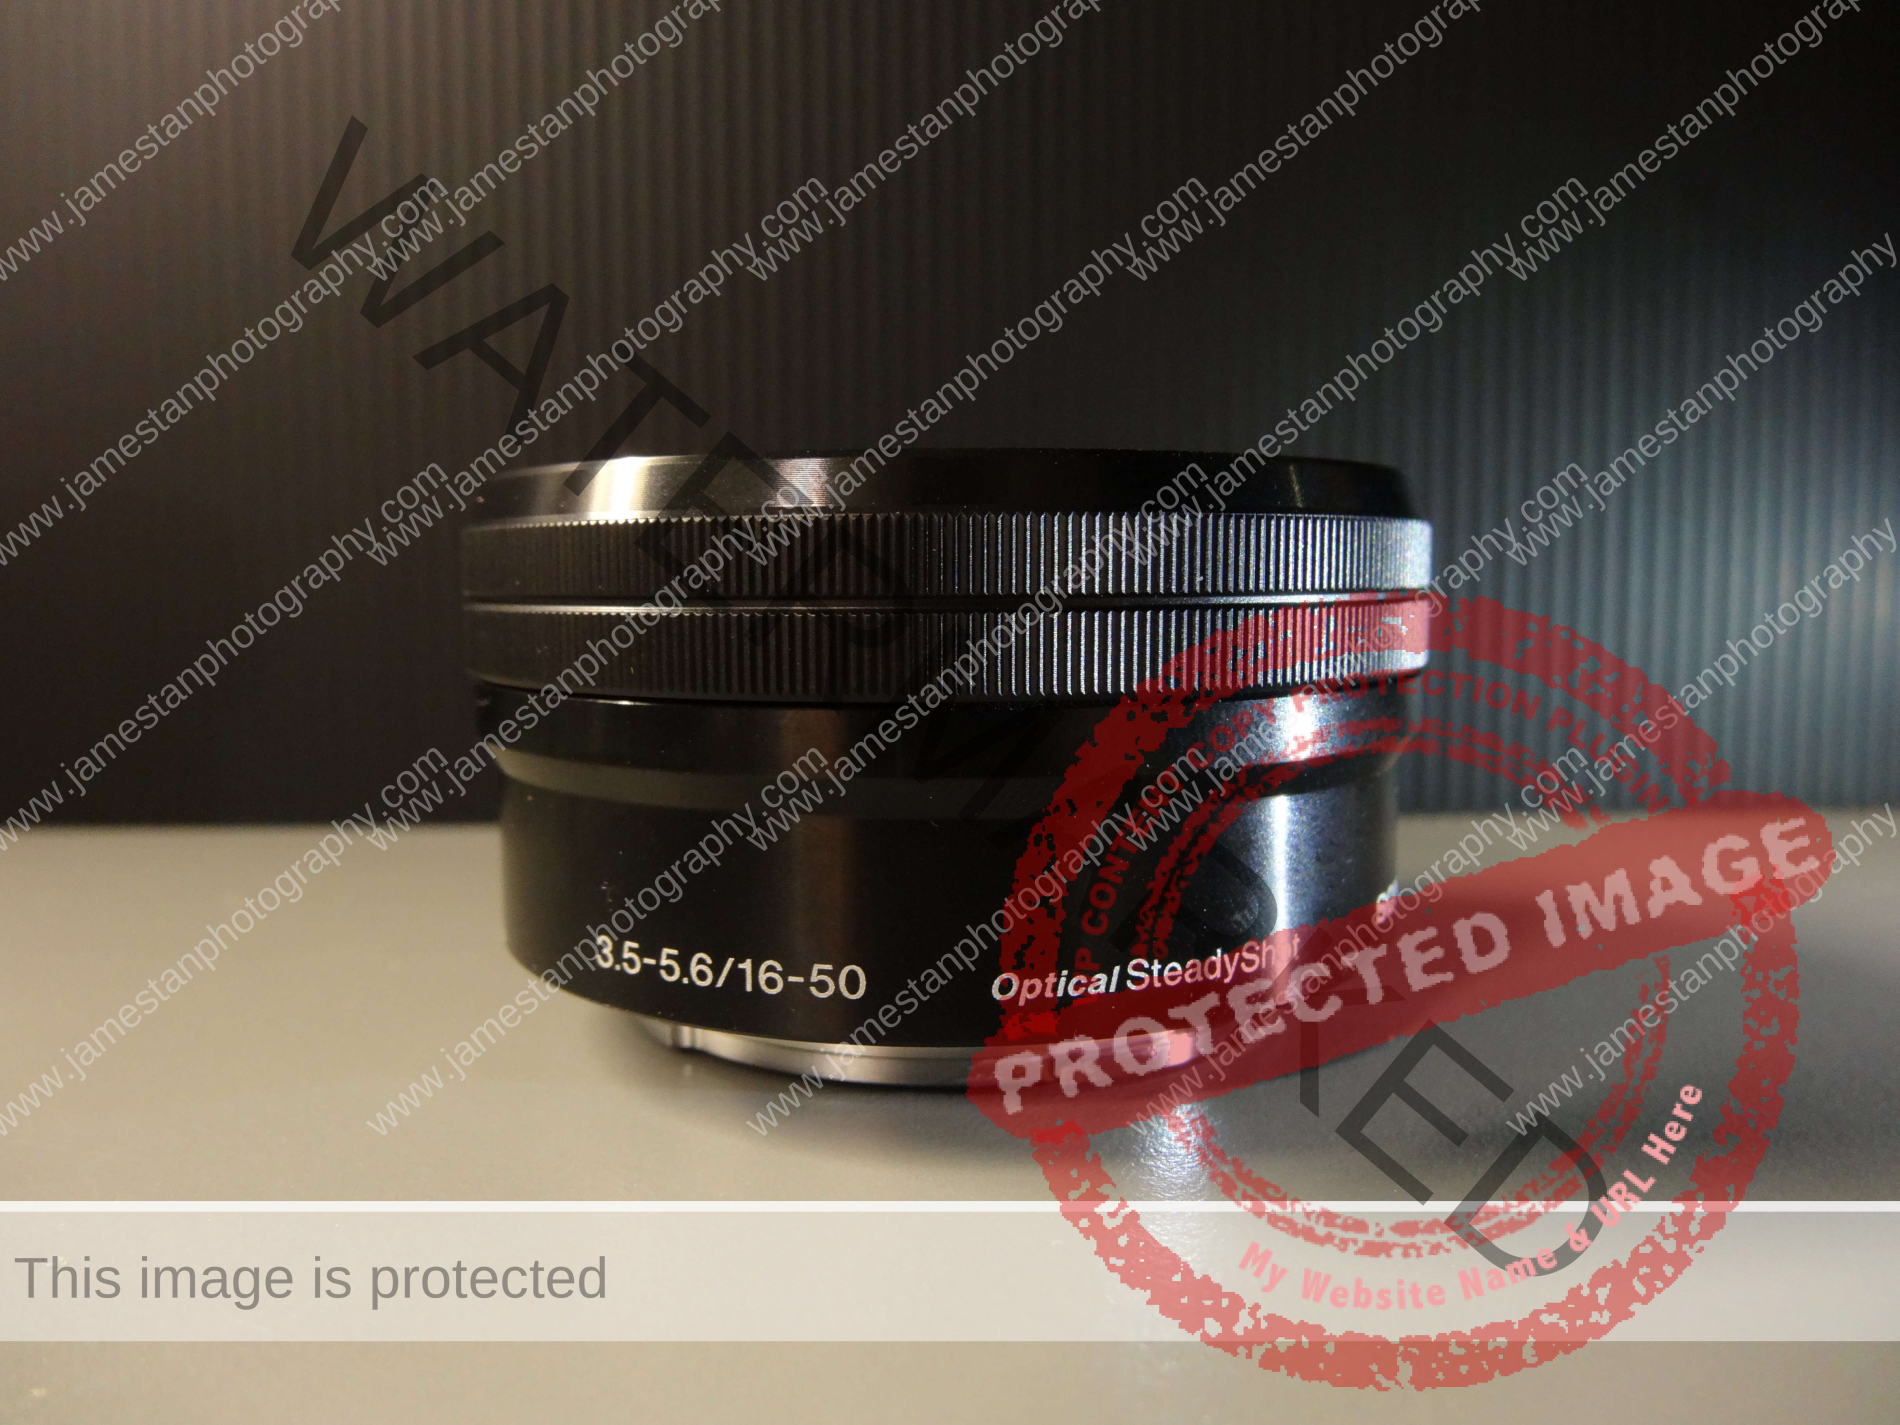
The power zoom slider is at the left-hand side of the lens body. It is responsive, a bit too responsive. It does not mean that the power zoom is terrible, but if you intend to use the lens at a specific focal length like 24 mm, 35 mm, then the front focus/zoom ring will be a better choice to adjust the focal length than the power zoom button. But if you use this lens for video recording, the power zoom slider will give you a perfectly smooth and joyful experience.
Sharpness
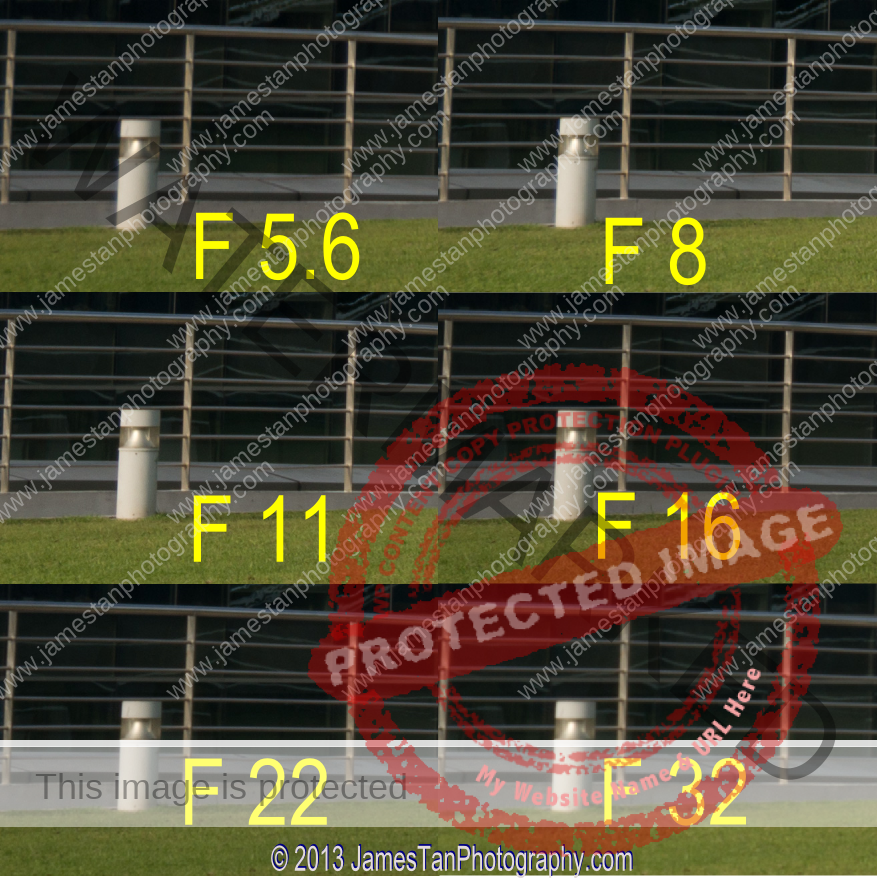
For the sharpness comparison, I cropped the center and the bottom right corner.
Sharpness at 16 mm
From the center crops comparison, the max sharpness is hit at F5.6 and drops at F8. The sharpness at F16 and F22 drop significantly.
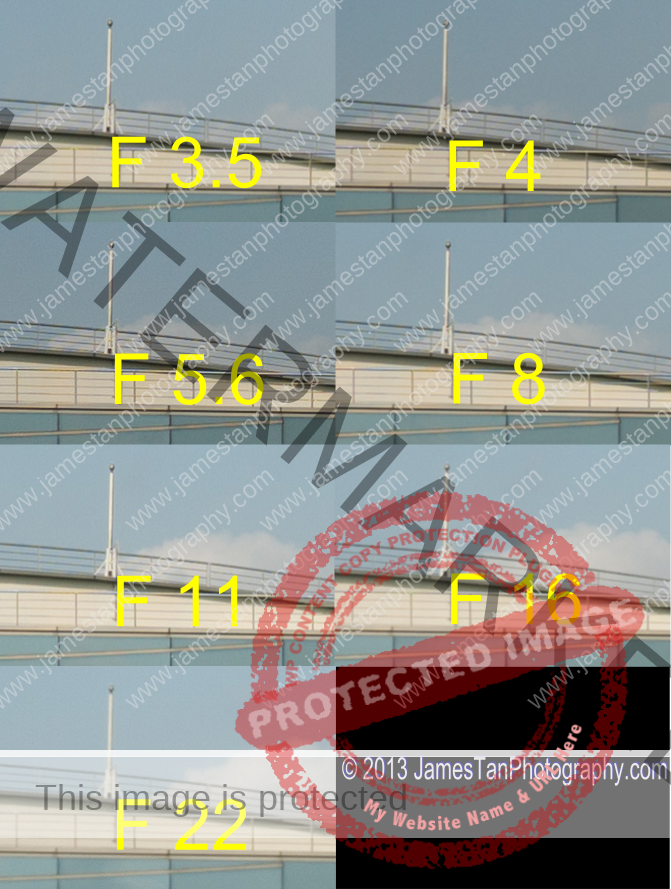
The corner crops look sharp from F5.6 to F16. Sharpness at F22 corner seems better than the sharpness at F22 center.
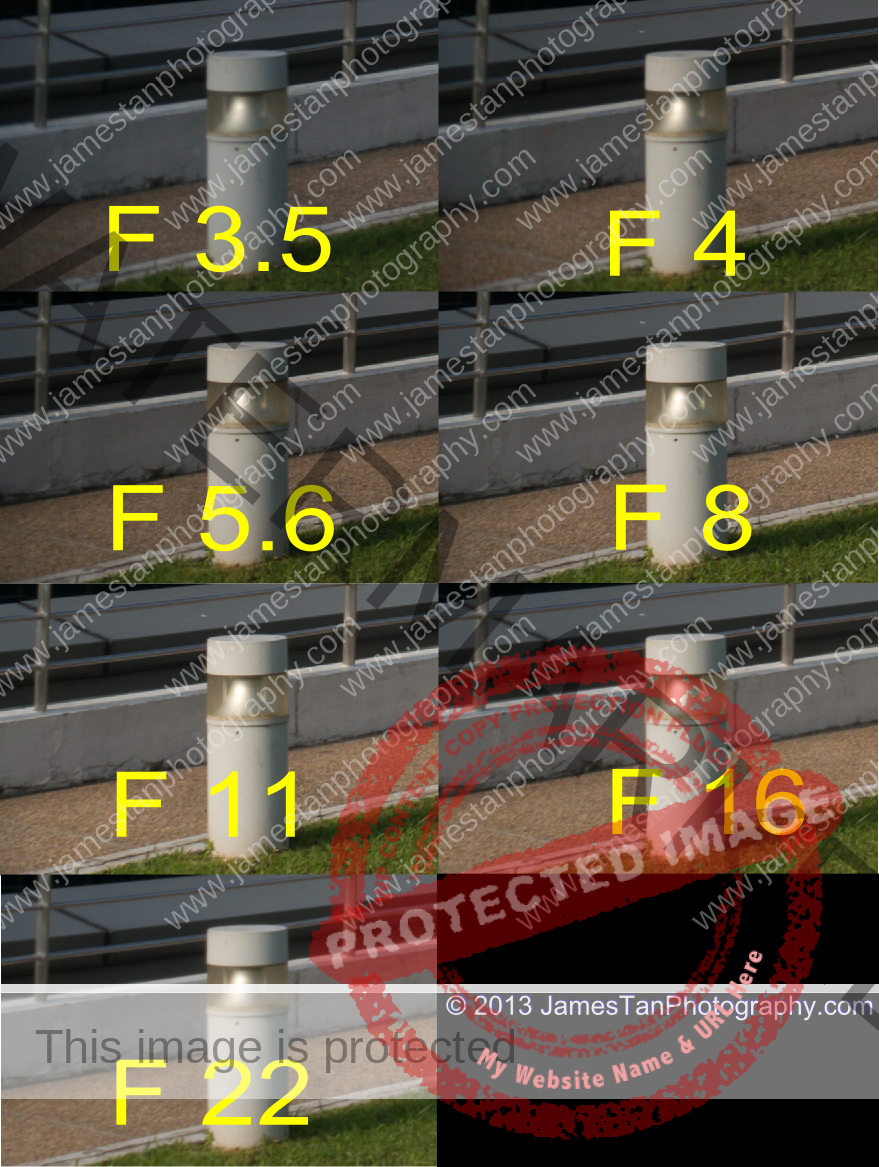
Sharpness at 24 mm
The center sharpness is boosted at F5.6, and the sharpness is max out at F8. The sharpness drops from F11, and the details lost significantly from F 22 onward.
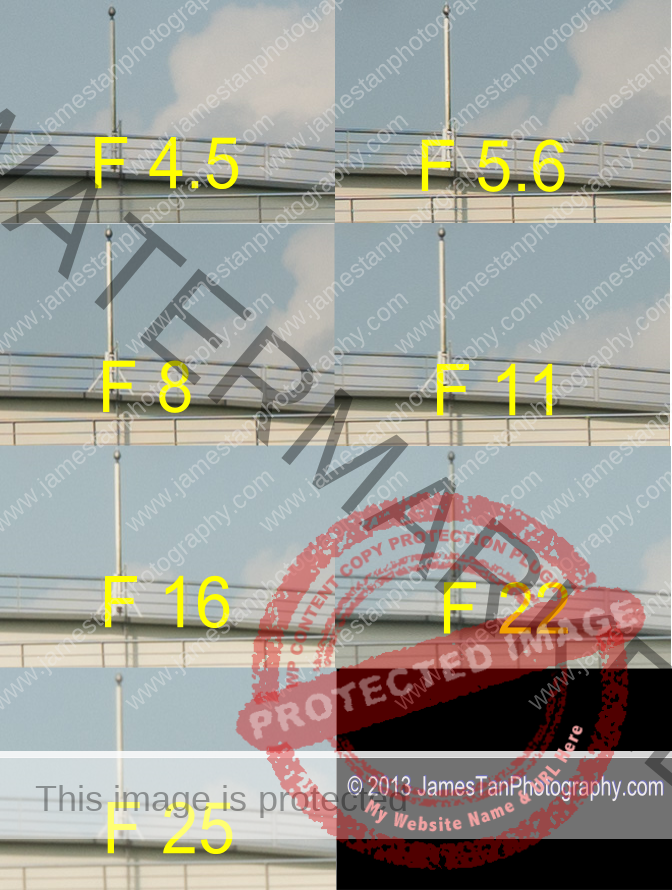
The corner sharpness also looked the best at F8, while the sharpness at F5.6 and F11 looks good. The sharpness starts to drop significantly from F16.
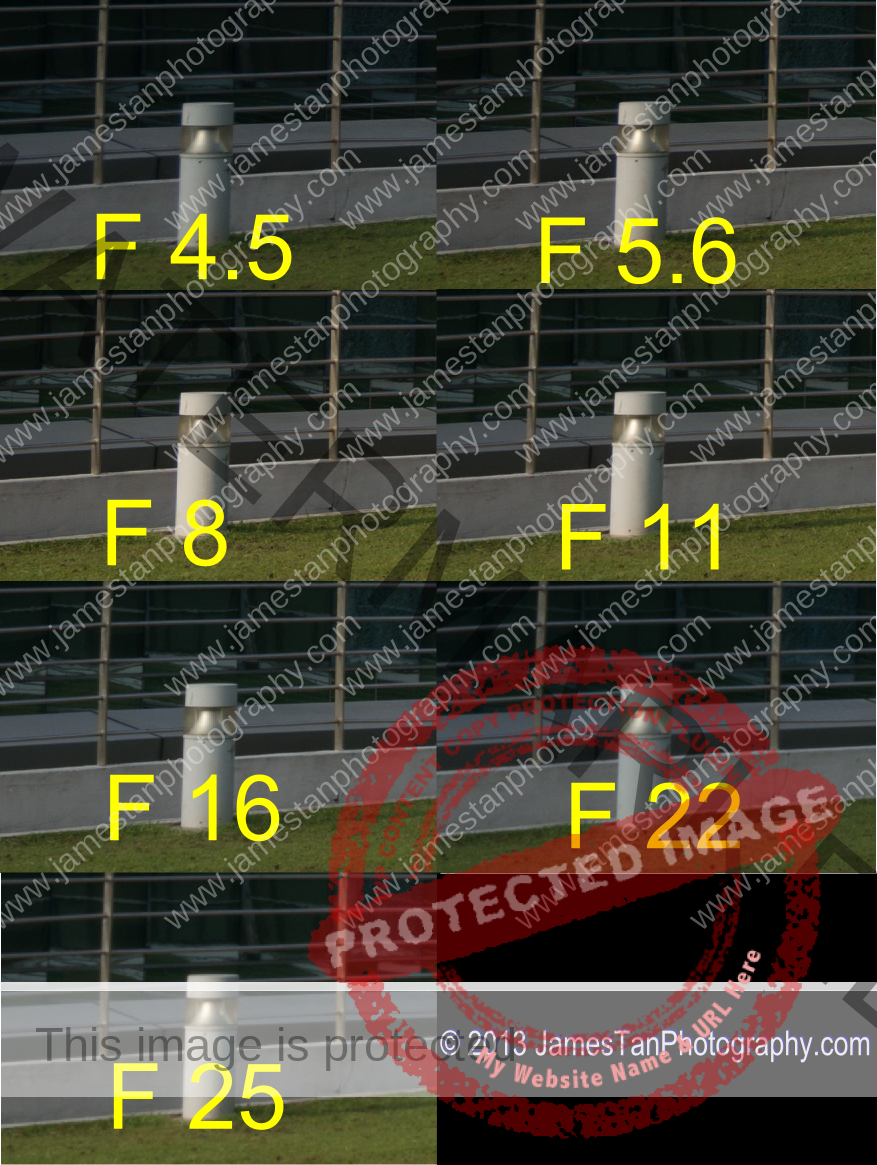
Sharpness at 35 mm
The sharpness maintains at a good details level at its largest aperture F5.6, and achieves the best at F8, then starts to drop at F11. Sharpness at F16 and F22 are still acceptable, while the shot at F32 lost a lot of details.
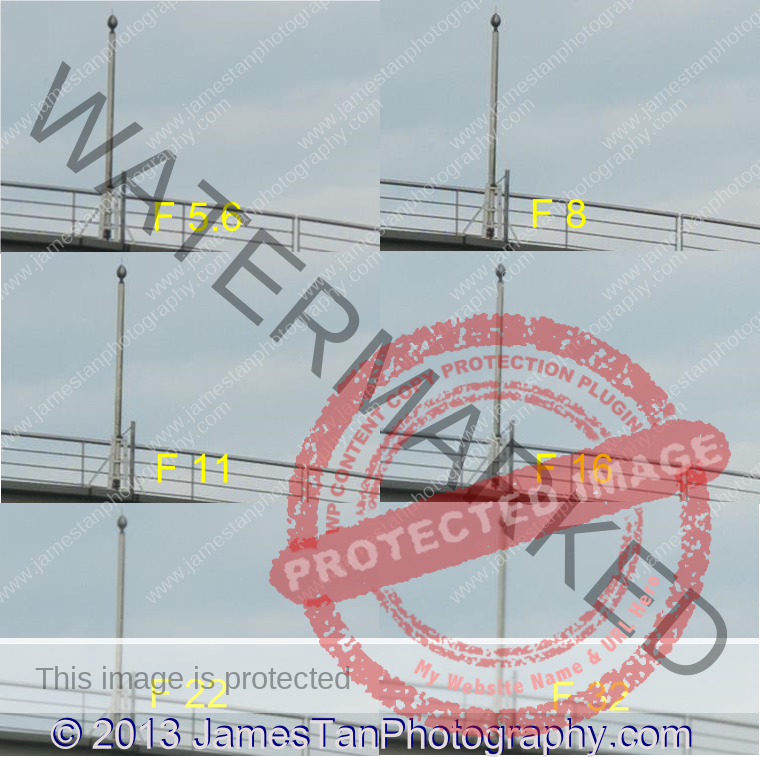
The corner sharpness hits the max at F8 while F11 and F16 corner sharpness are close to it. The sharpness at F22 drops slightly and becomes worse at F32, which likes its center sharpness performance.
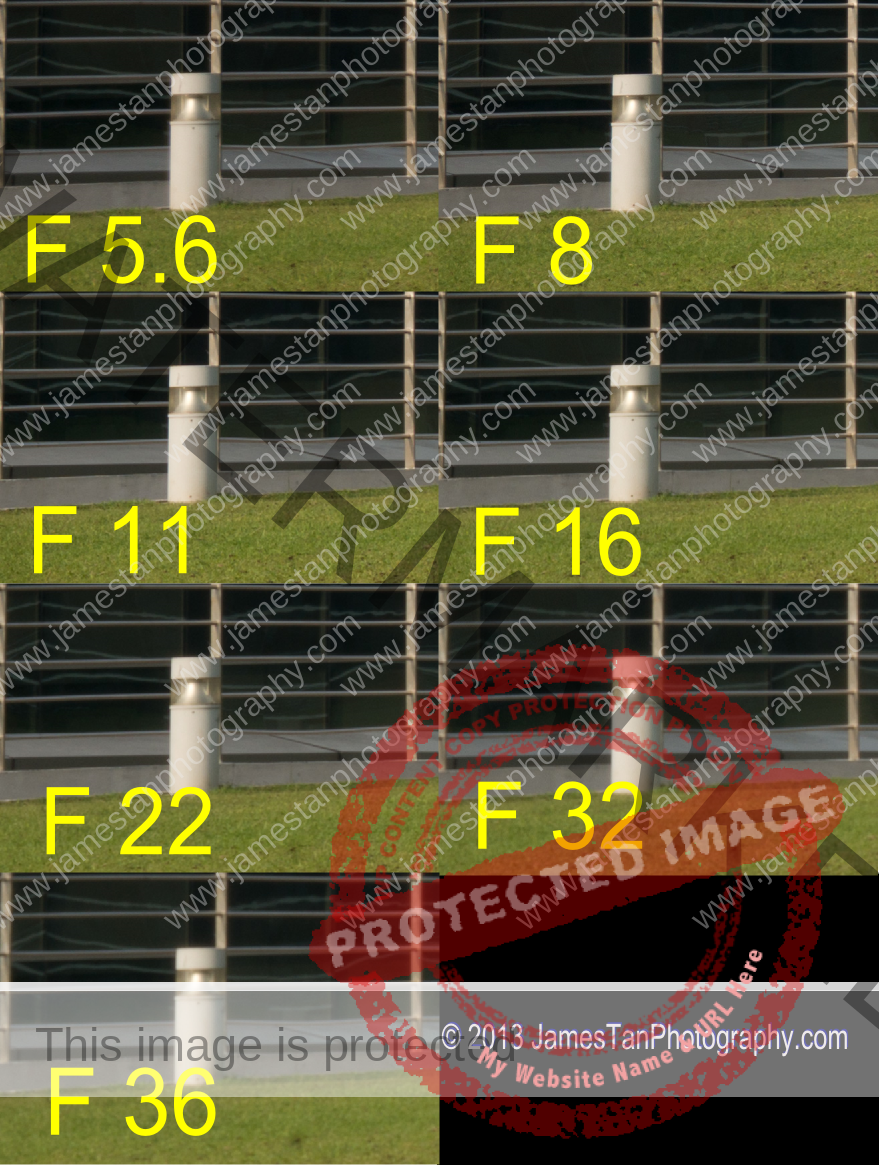
Sharpness at 50 mm
The center sharpness looks sharp enough from the beginning and hits the max at F8. The sharpness at F11 is good too, and not bad at F16 either. It started to drop from F22 and lost its details significantly at F32 and F36.
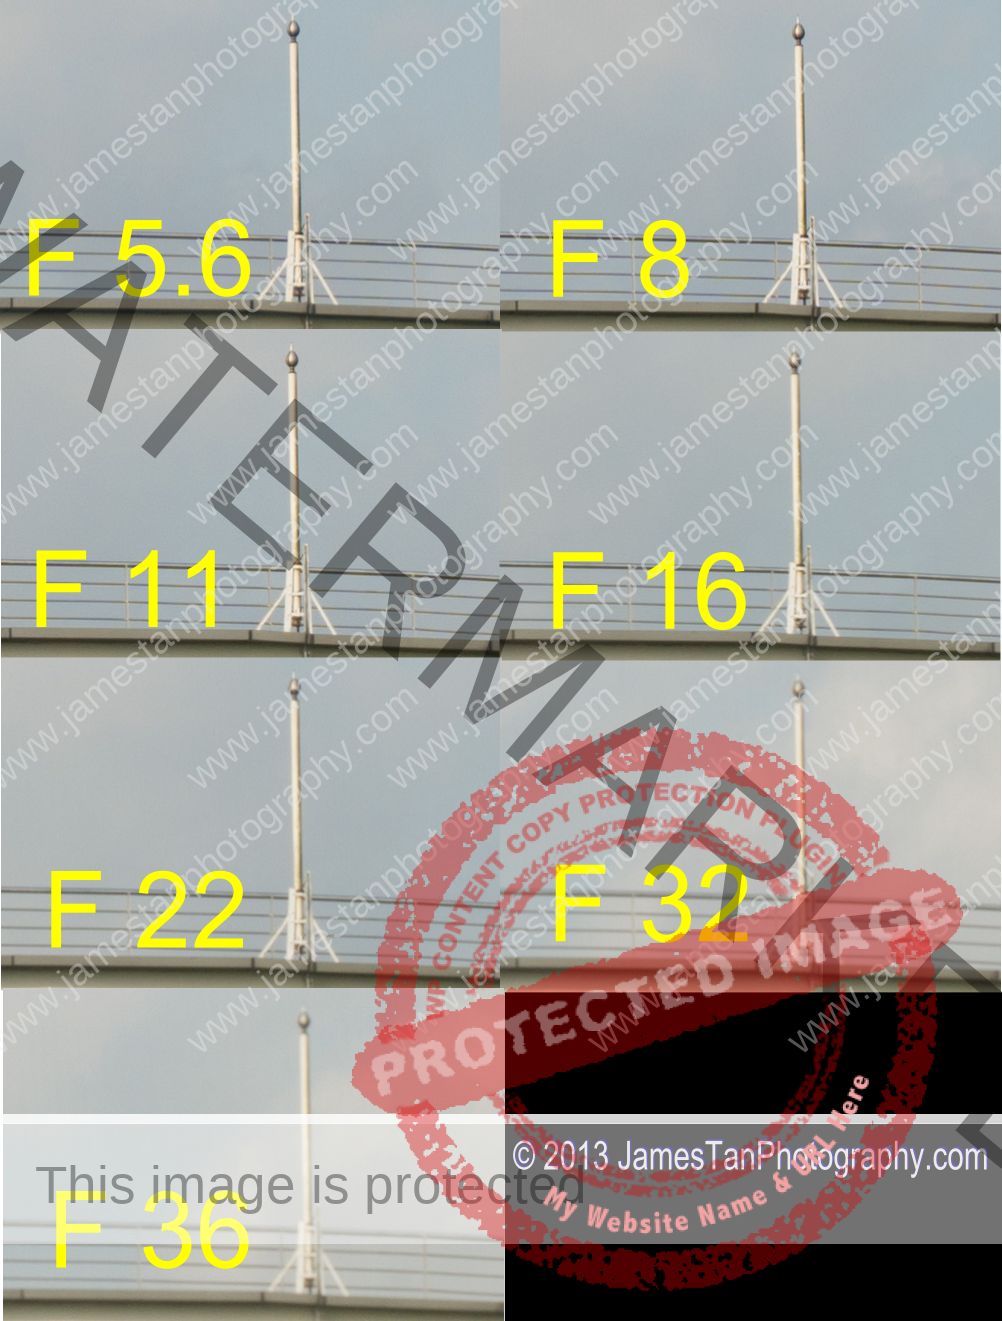
The corner sharpness at F5.6 is not as sharp as the F8 corner sharpness as we had seen from its center sharpness. The sharpness at F8, F11, and F16 are close to each other, which are the best apertures. The sharpness also dropped significantly at F32 and F36.
Macro Performance
This lens has a maximum magnification ratio of 0.215x, which can be achieved at 50 mm with a minimum 30 cm focus distance. The following are the macro samples at the various focal length.
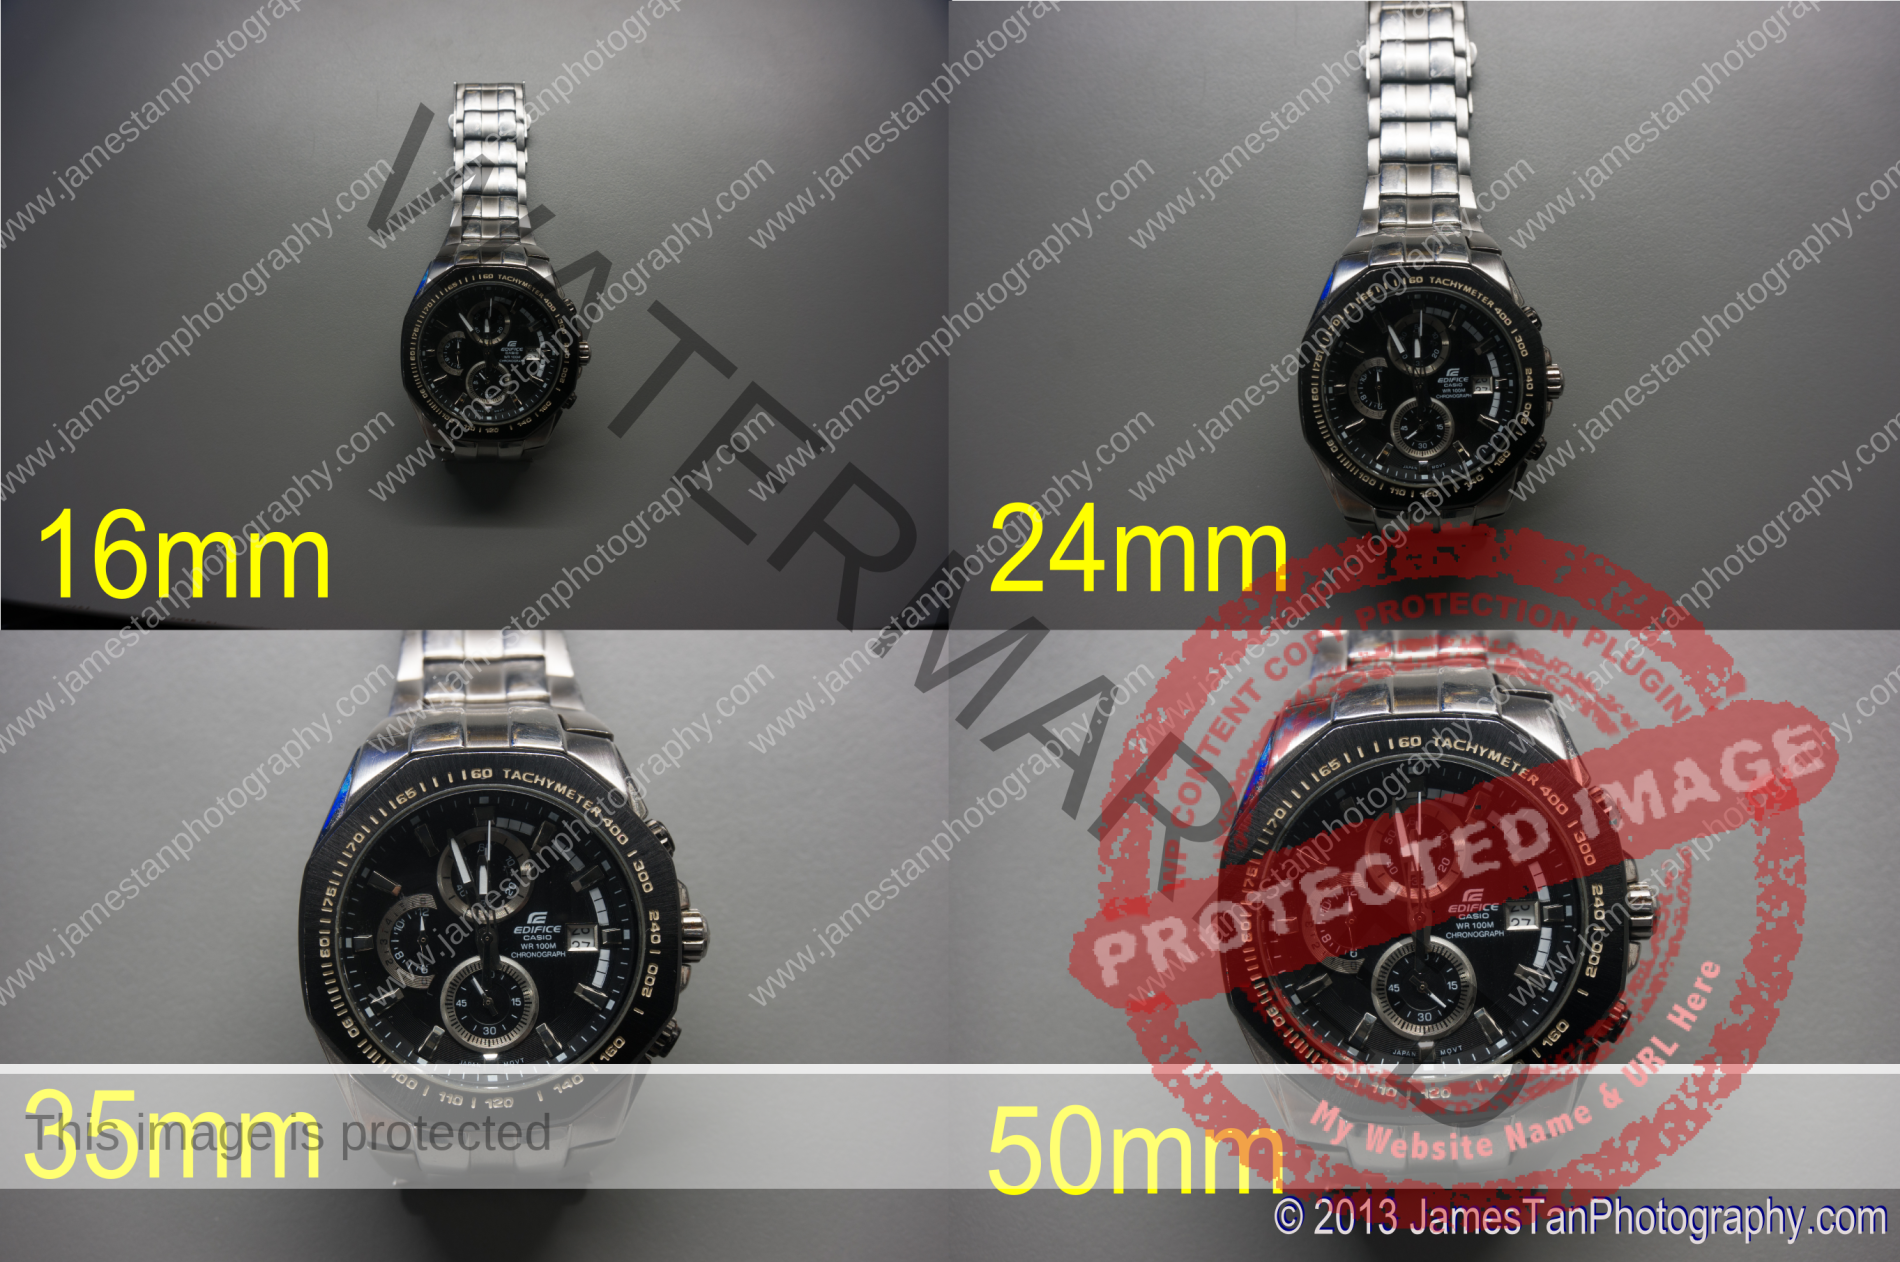
The close-up capability at 16 mm and 24 mm is not impressive at all. When changing the focal length to 35 mm, the close-up shot boosts its magnification ratio, which is close to the max magnification ratio at 50 mm. Let’s see the 100% crops comparison for the close-up shots:
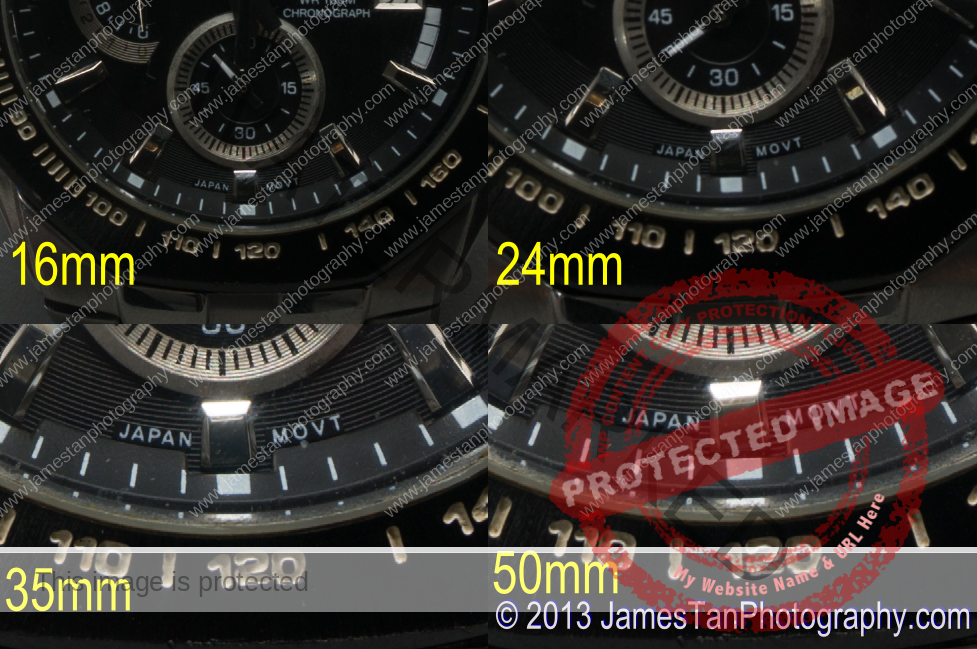
From the 100% crops above, the close-up shot sharpness of Sony SELP1650 is quite good enough for a kit lens. As you could see above, the magnification ratio at 35 mm is close to the lens 50 mm maximum magnification ratio, and their sharpness is pretty good.
Distortion
Distortion at 16 mm

At 16 mm, the lens suffers a lot from barrel distortion. The camera distortion compensation is forced to enable by default once this lens is attached to the camera. When shot as the camera built-in JPEG format, the camera distortion compensation did a great job here.
Distortion at 24 mm

At 24 mm, the barrel distortion is found here, but it is much better than the distortion at 16 mm.
Distortion at 35 mm

At 35 mm, there is almost no distortion can be found.
Distortion at 50 mm

At 50 mm, minor pincushion distortion is found. The images are not much different between RAW and JPEG (after lens correction).
Vignetting
Vignetting at 16 mm
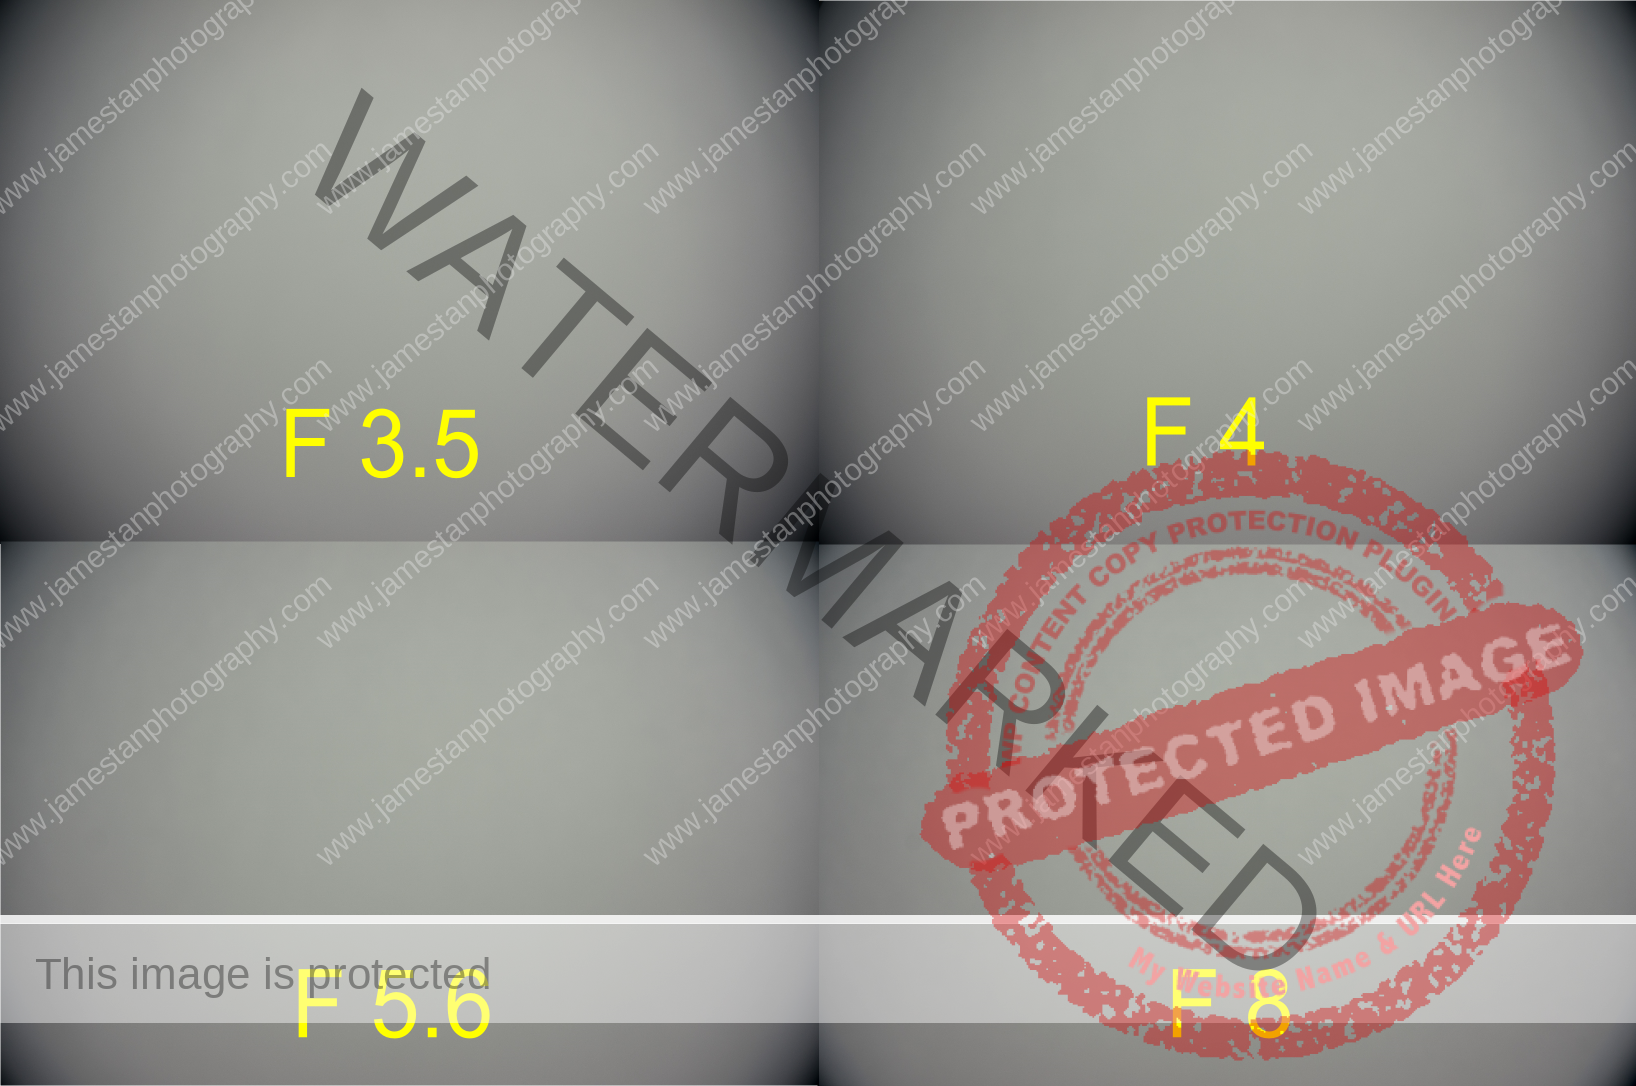
Vignetting at 24 mm
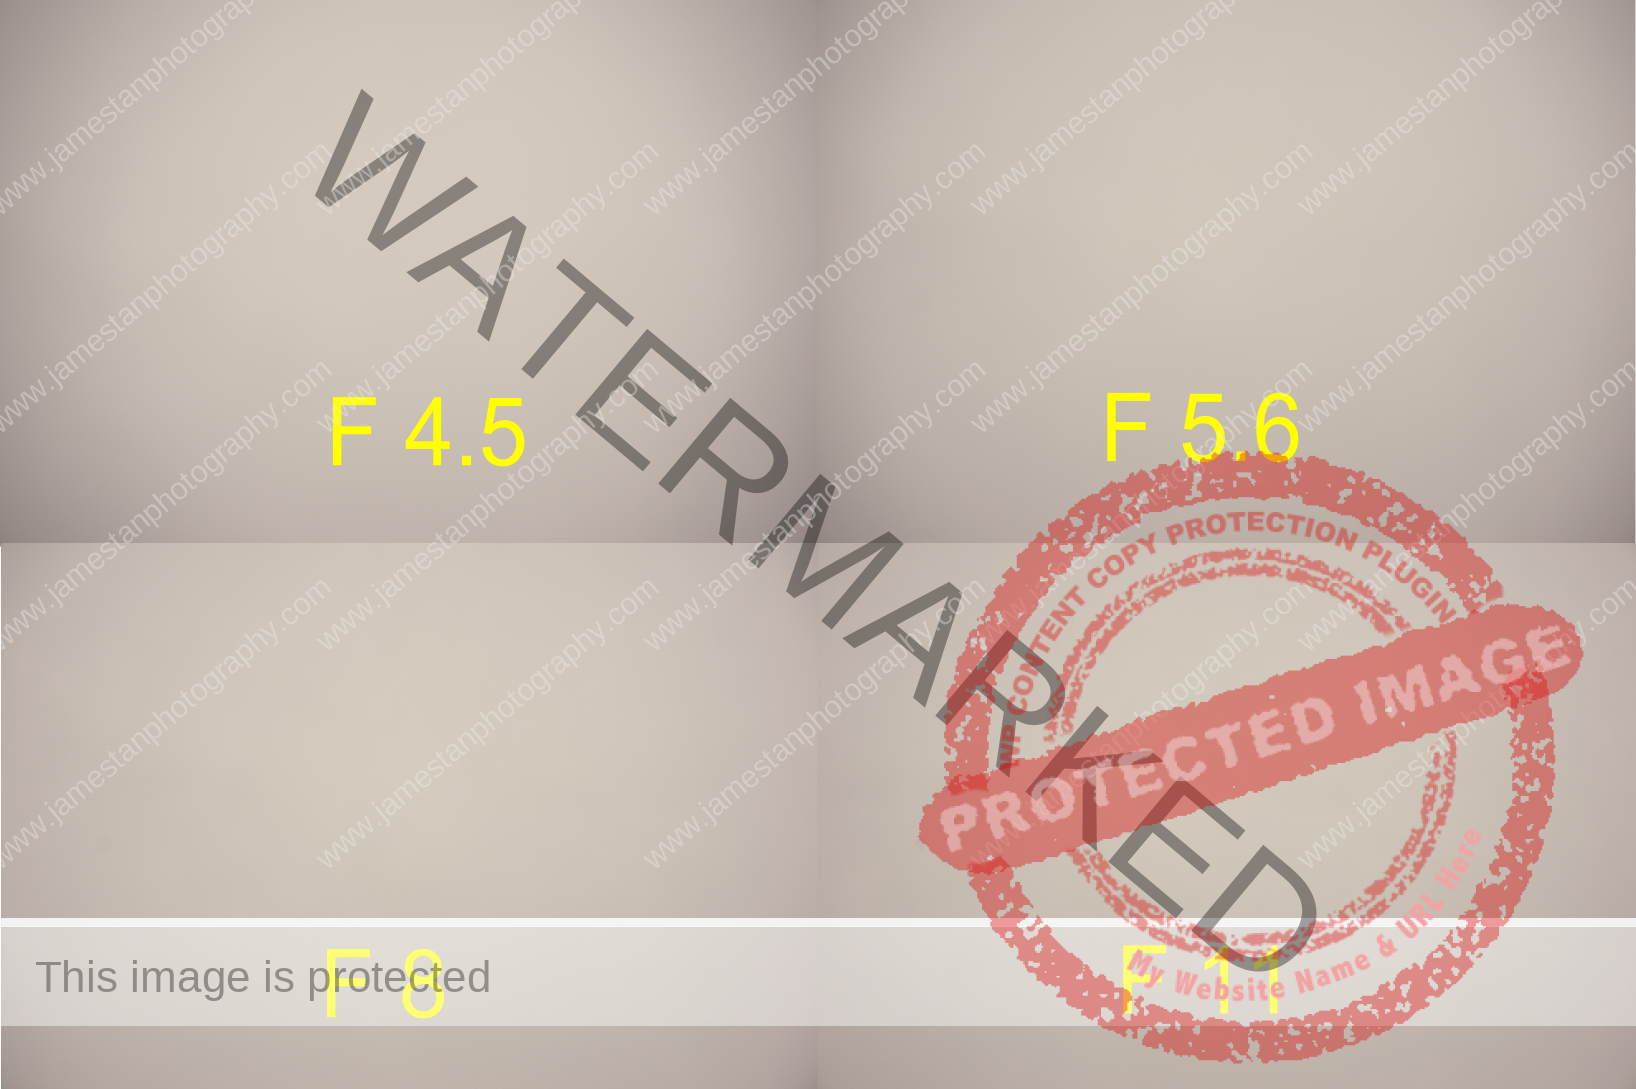
Vignetting at 35 mm
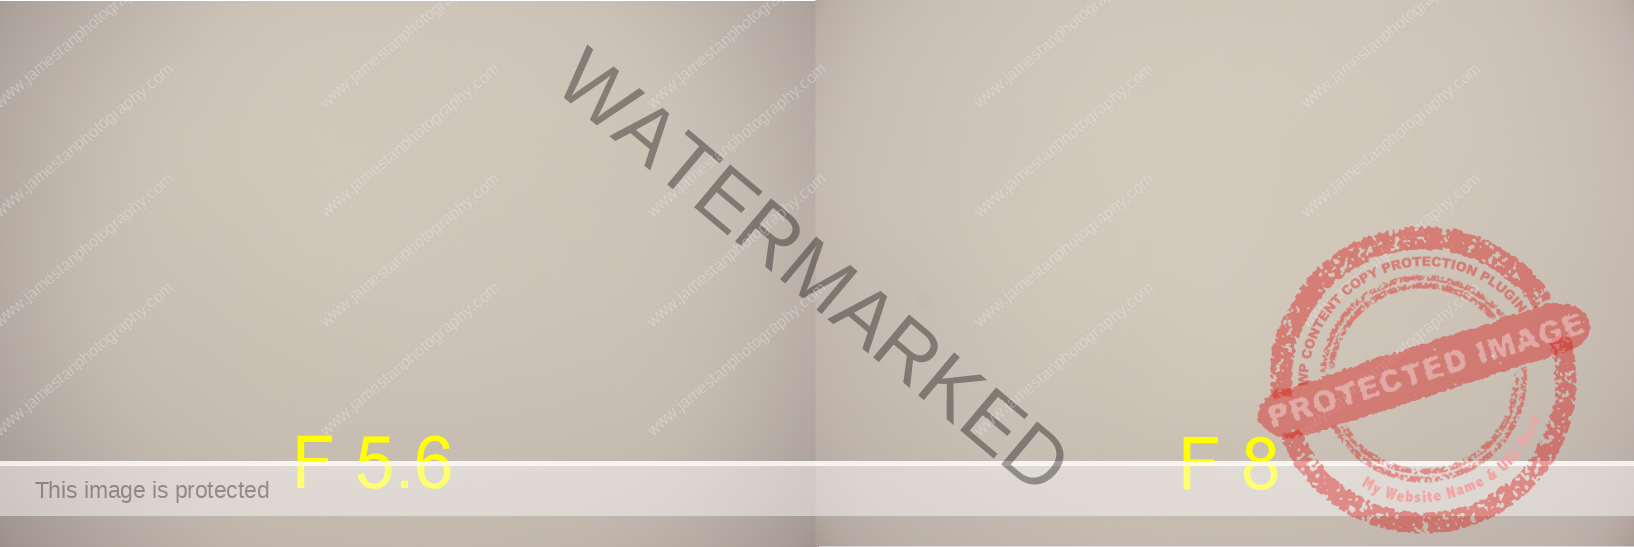
Vignetting at 50 mm
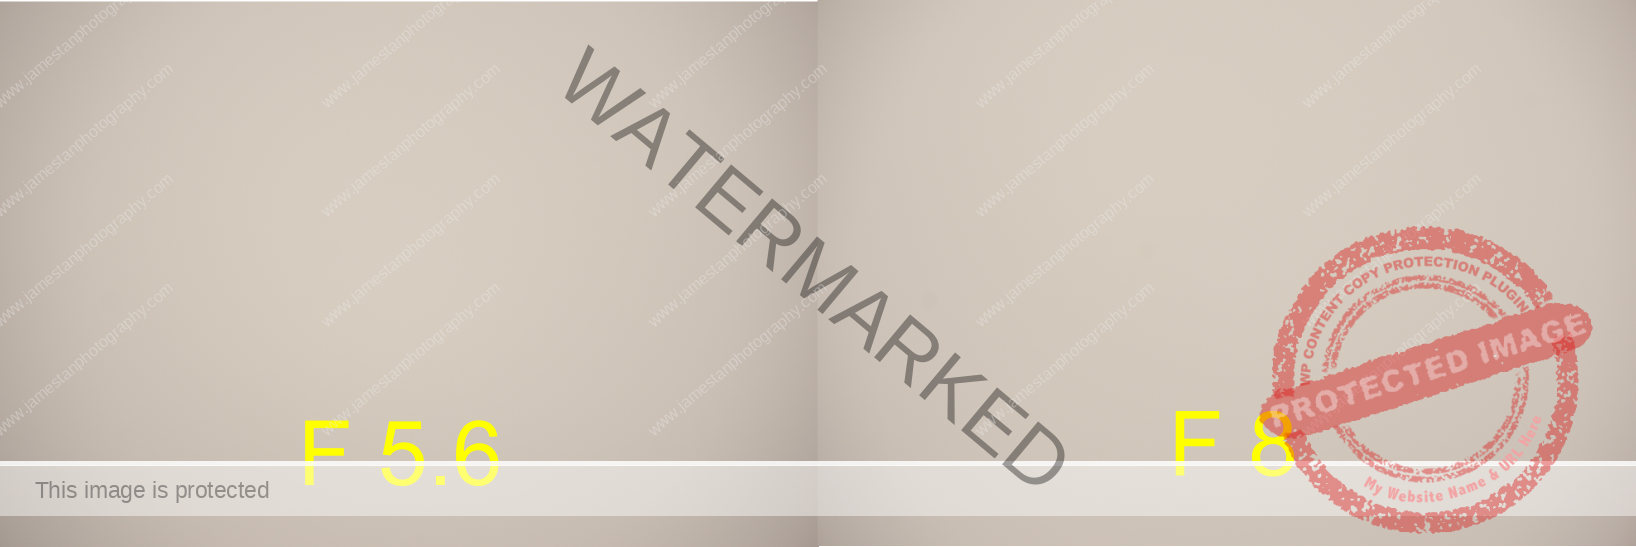
The SELP1650 exhibits heavy vignetting at 16 mm. The vignetting still appears significantly at F5.6; stopping down to F8 will reduce the vignetting a lot but cannot altogether remove it. Vignetting of the rest of the focal length is much better than vignetting at 16 mm. Significant vignetting was still spotted at F5.6 but significantly/completely reduced from F8 onward. I took all these shots without the shading compensation; hence the vignetting control would be better if I turned on the compensation.
Chromatic Aberration
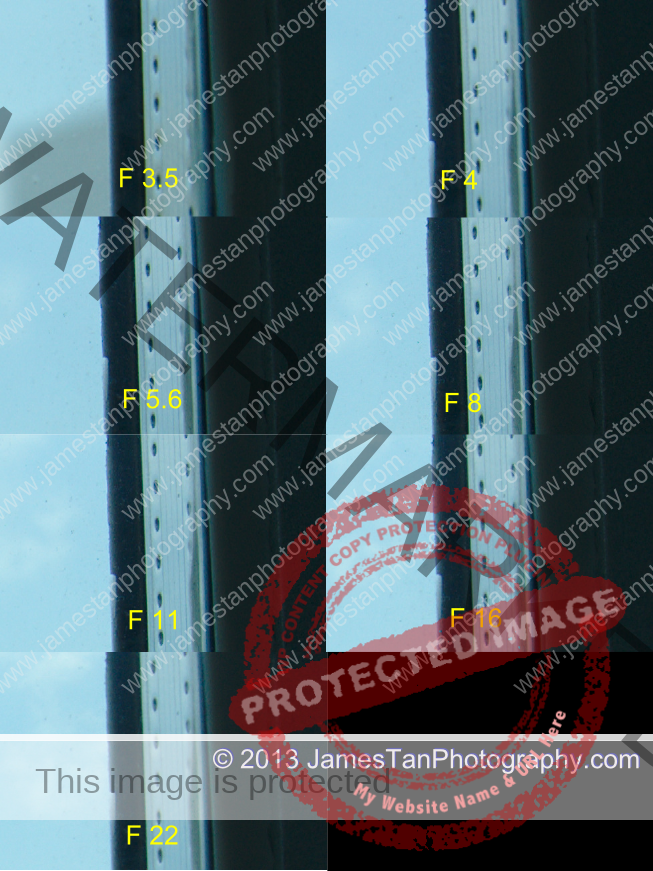
The Sony SELP1650 did a good job of CA control. It is tough to find any CA problem here.
Ghosting and Flare
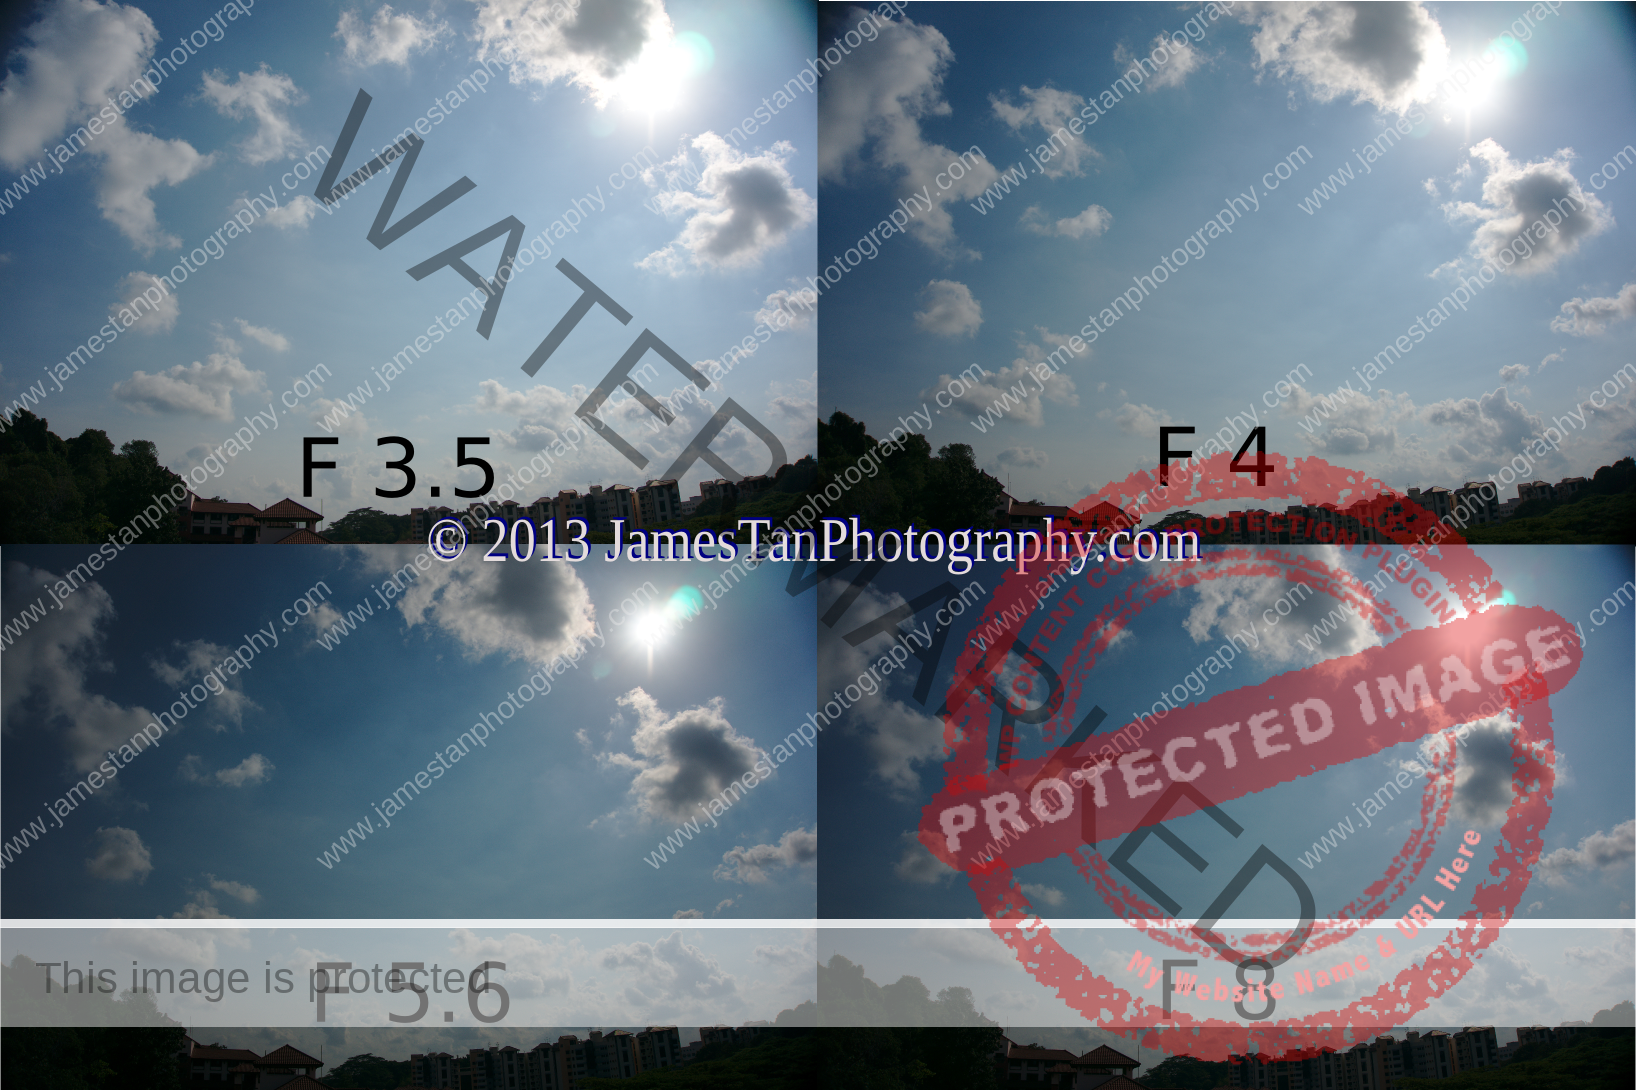
There are some blobs found around the sun. The ghosting and flare are well controlled, and the contrast is nicely held up too. Only a few blobs were spotted near the sun.
Bokeh Effect
When this lens is claimed to have a circular aperture, which allowing the Bokeh to remain circular after two stops down from its largest aperture. So how good is it? Let’s look at the comparison at different focal lengths with different apertures.
Bokeh at 16 mm
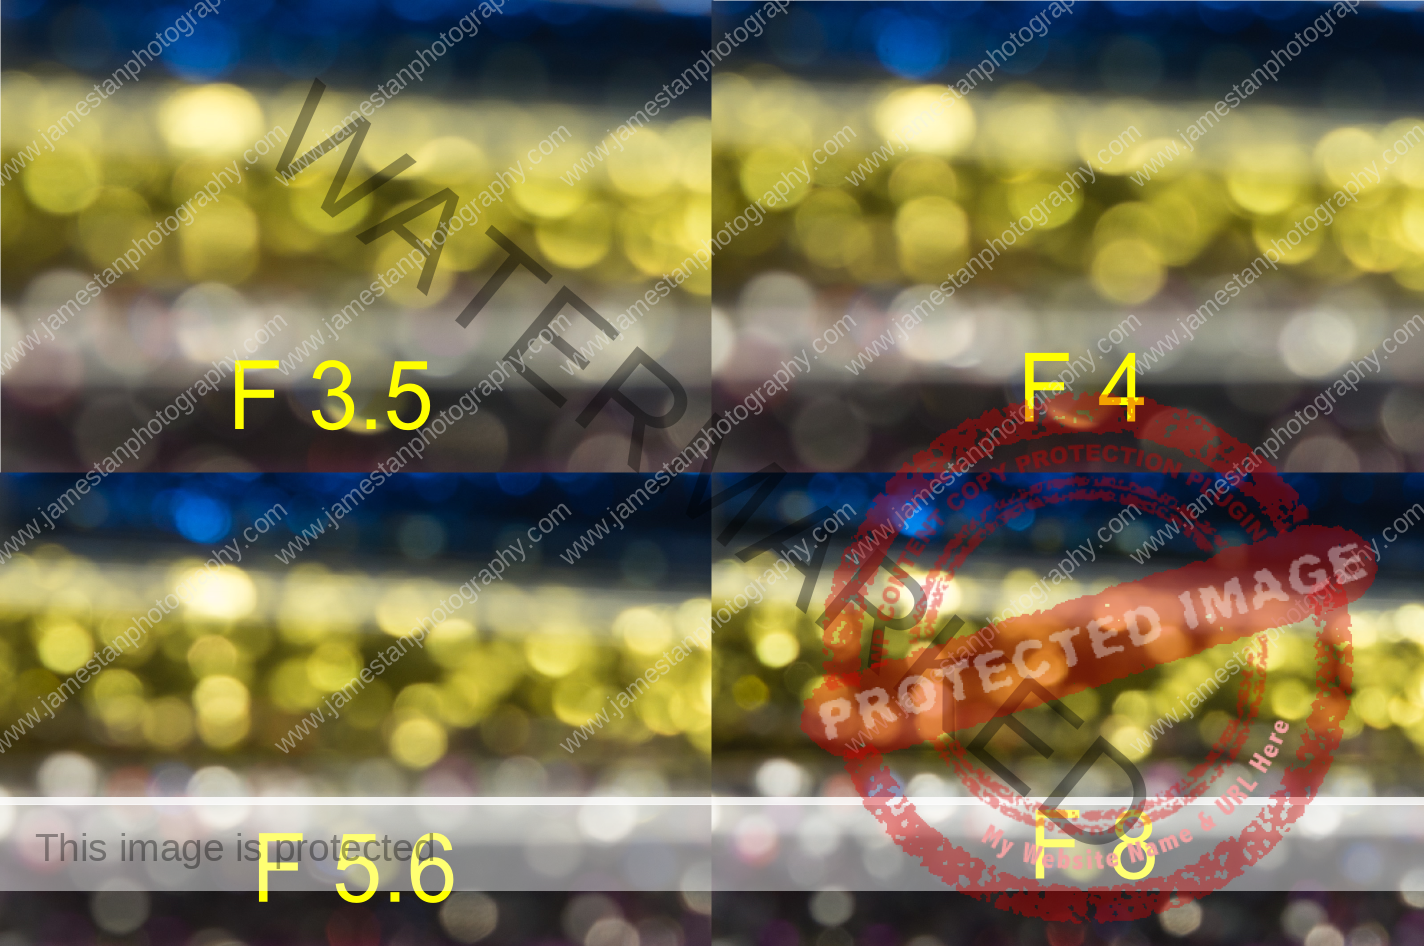
Bokeh at F3.5 and F4 are in good circular shapes, while some of them become polygon after two stops down to F5.6.
Bokeh at 24 mm
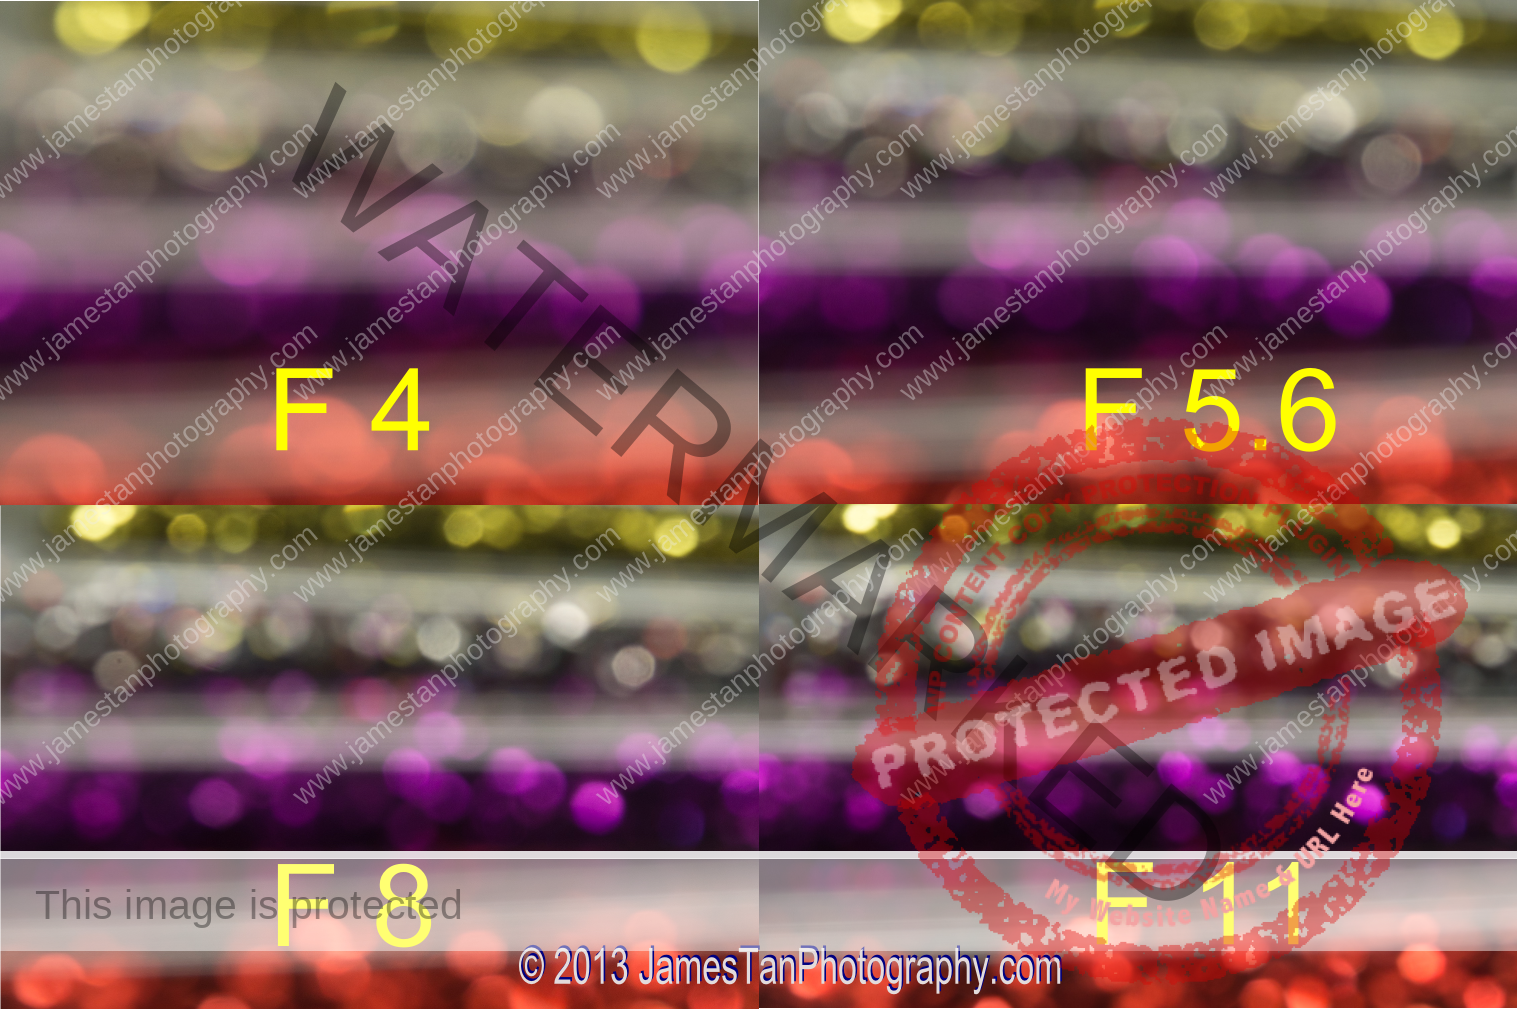
Bokeh remains circular at its largest aperture F4 at 24 mm. Most of the Bokeh at F5.6 remain circular, but few of them are in the polygon shape (somewhere near the top center).
Bokeh at 35 mm
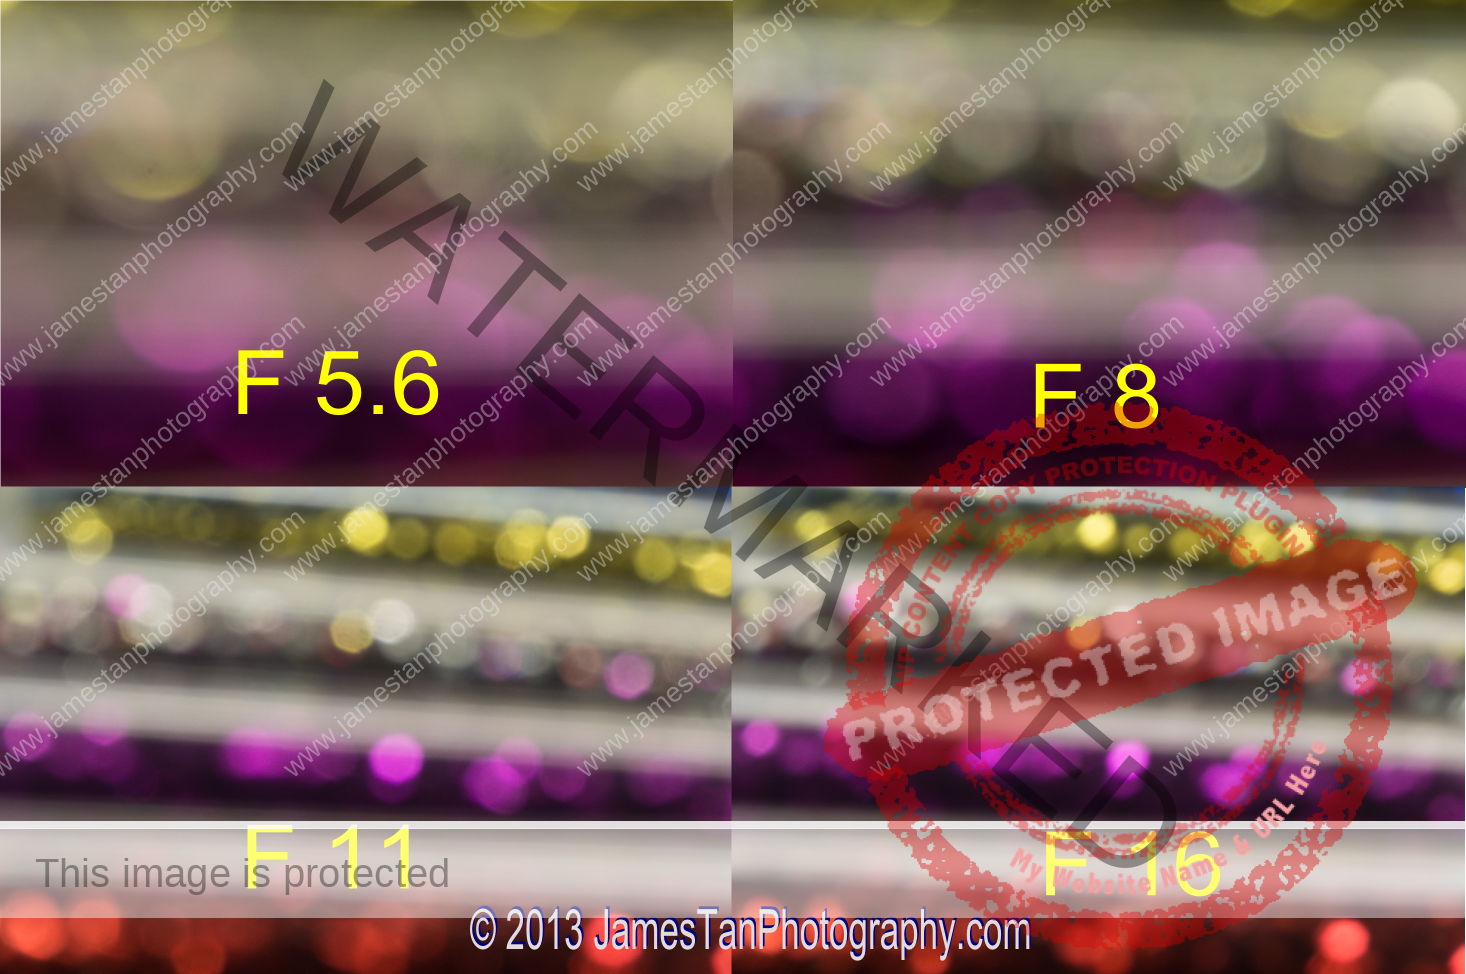
The Bokeh at F5.6 are circular enough, and some polygon Bokeh appear after one stop down to F8 at 35 mm. Bokeh quality drops significantly from F 11 and onward, which is expected as they are small apertures.
Bokeh at 50 mm
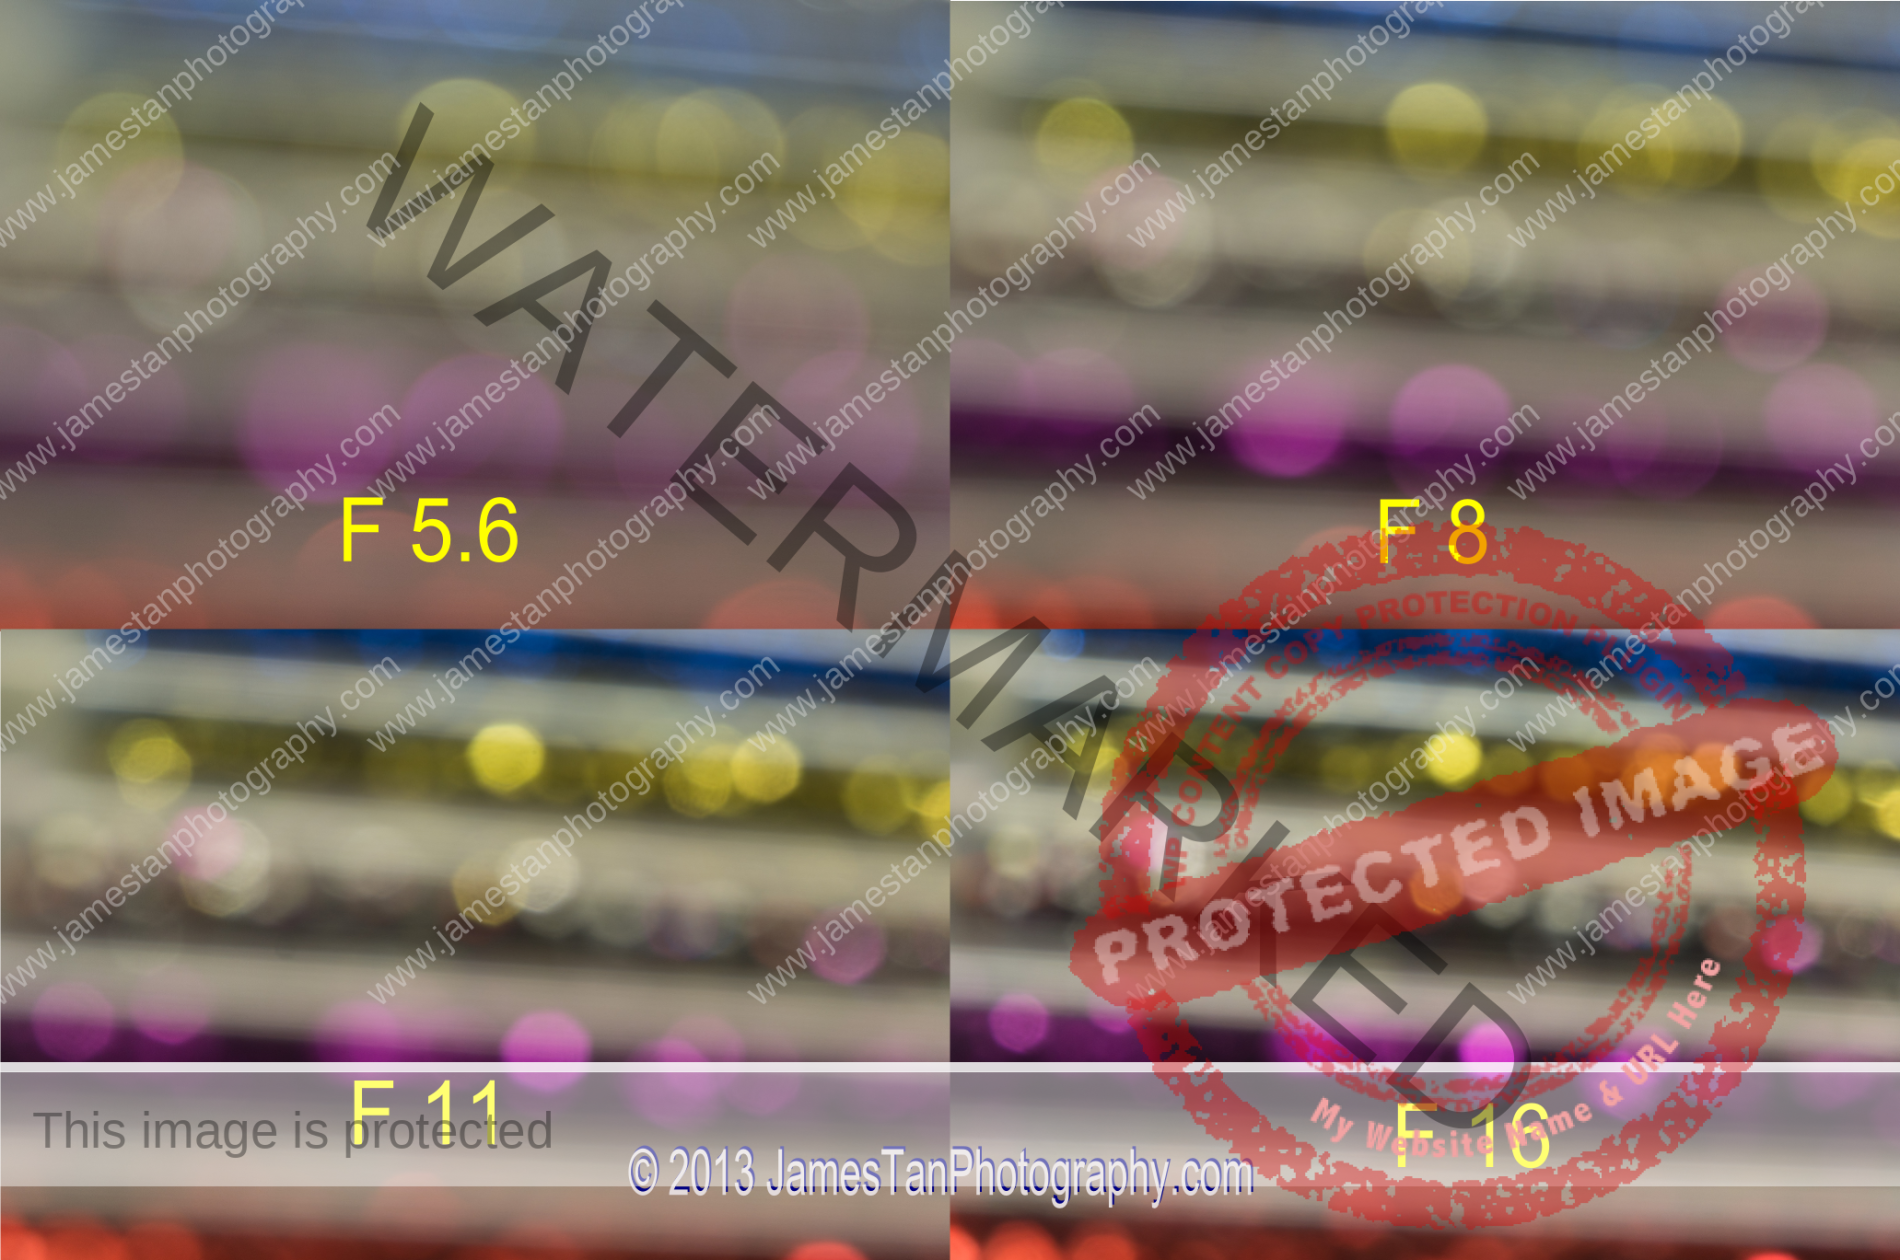
At 50 mm Bokeh performance are similar to 35 mm bokeh performance. Bokeh after F8 are in polygon shape significantly.
Unfortunately, the circular aperture does not work as great as an advertisement in this lens from the above comparison. The aperture usually remains circular after one stop down from its largest aperture, and the edges become apparent after two stops down. However, we do not expect the zoom kit lens provides such a creamy smooth bokeh as those prime lenses like SEL35F18, SEL24F18Z did. The Sony SELP1650 provides reasonably good circular Bokeh at its largest and one stop down the aperture.
Handheld Low Light Performance
The Sony SELP1650 has a built-in OSS image stabilization, which helps shoot in low light conditions.
OSS Off

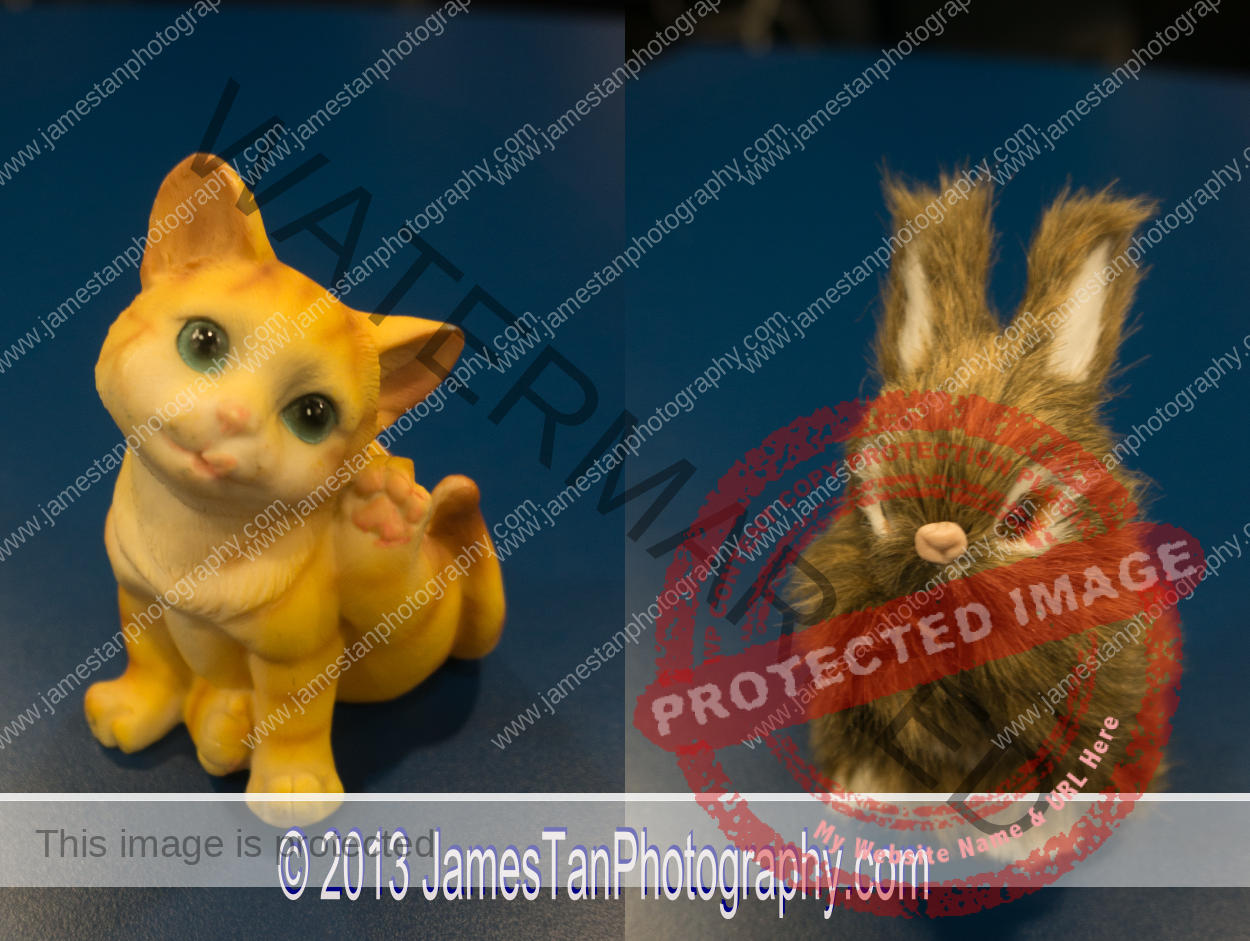
Without the OSS, I still managed to get a clear and sharp image at 1/13 second. Any shots slower than 1/13 second will result in a slight blur image.
OSS On

The lens can achieve a blur-free image easily at 1/10 second. Taking 1/6 second blur-free image is still possible if your hand is firm and steady enough. 1/5 and any slower shutter speed are challenging for me to take a blur-free image even though the OSS is on. More handheld night shots can be found in the bottom line section below.
Bottom Line
As a kit lens, the Sony SELP1650 performance is still acceptable. It is compact, lightweight, and has a decent appearance. Although it suffered a lot from barrel distortion and light fall-off (vignetting/shading) at the wide-angle (at 16 mm), but if you only shoot in JPEG format, then the problems would not bother you at all. Its power zoom offers a smooth zooming experience for video recording. At the same time, the OSS is useful for shooting in low light condition and help a lot for stable video recording. The sharpness of photos may not please everyone here, but it won’t let you down (so much) neither.
For those who own the Sony SEL1855, you may keep it currently unless you would like to go for the Sony SELP1650 compactness and power zoom by sacrificing a little image quality (or just equal to the SEL1855). Whoever owns this lens as a come-along kit lens, set the focal length to 20 mm onward to get rid of the terrible fish-eye like distortion, then you may use it happily as at the price it bundles with the camera (around SGD 200 +), we can’t say much. Below are some shots from the Sony SELP1650 to show you how this lens performs in the real-life shooting.


If you have any experience about the Sony SELP1650, you’re welcome to share with us here. Thanks for reading, and I hope you enjoy it 😉


Leave a Reply