
Today, I would like to review the Sony Zeiss SEL24F18Z prime lens, as mentioned in the previous post. Although the SEL24F18Z was introduced and released in 2011 December, it is still one of the best prime lenses in the market. Besides, I prefer to do a specific review for each E-mount lens before comparing them (e.g., the SEL24F18Z, SEL35F18, and perhaps the Carl Zeiss Touit 32 mm).
Introduction

Sony introduced and released their “home-made” Zeiss E-mount prime lens – the Sony Zeiss SEL24F18Z in 2011 December. This lens aims to deliver superior corner-to-corner sharpness with minimum distortion even at the largest aperture F1.8. The SEL24F18Z performance had been praised and complimented by most of its owners, but it comes with an extremely high price tag (SGD 1,699). So is it worth the price for you to purchase it? And so, how does it perform?
Pros & Cons
- Large aperture of F 1.8
- Carl Zeiss Sonnar T* coating for stand-out image dimensionality and presence
- Corner-to-corner sharpness at wide open (see more details in the sharpness section below)
- Solid metal build and feel
- Good performance in the low light situation
- Quiet and smooth AF
- Extremely expensive
- Sharpness at wide open (see more details in the sharpness section below)
- No OSS (although short focal length prime lenses usually do not come with an image stabilizer as it will not be so effective)
- Bokeh is not so smooth and creamy
Key Specification
| Aperture (Max.) | f/1.8 |
| Aperture (Min.) | f/22 |
| Focal Length (35mm equivalent) | 36mm |
| Filter Diameter : 49mm | 49mm |
| Lens Groups-Elements | 7 groups, 8 elements (2 aspheric surfaces, 1 ED) |
| Minimum Focus Distance | 6.2″ (16cm) |
| Aperture Blade | 7 blades (Circular aperture) |
| Aspheric Elements | 2 aspheric surfaces |
| Dimensions (Max. Diameter x Length) | 2-3/8 x 2-1/2″ (63 x65.5mm) |
| Exterior Finish | Metal |
| Internal Motor | Yes (Stepping motor) |
| Lens Weight | 7.9 oz (225g) |
| Maximum Magnification | x0.25 |
| Mount Material | Metal |
Look and Feel
From the time I first touched the SEL24F18Z, it really gave me a WOW! Regardless of the matte black body finish, the metal-built exterior body, or even the weight, none of them make this lens feel cheap (you won’t hear a plastic sound or feel when you used your fingernail to knock at it). This is really a piece of serious prime lens for any serious photographer and photo enthusiast. The SEL24F18Z is quite heavy and not so compact in size. However, its weight and matte-finished metal body make you feel it is rock solid. When attached to the Sony NEX-6, they are well balanced in weight and have a perfect match appearance due to the matte black body for both the lens and the camera body.

The SEL24F18Z comes with a well-made pleather pouch, a standard lens cap, and a plastic hood. There are many cases where the plastic hood can be pulled into two different pieces easily due to the improper glued portions issue. Fortunately, my lens hood is a fine piece, so I hoped that it is because Sony had realized this issue and taken care of it.
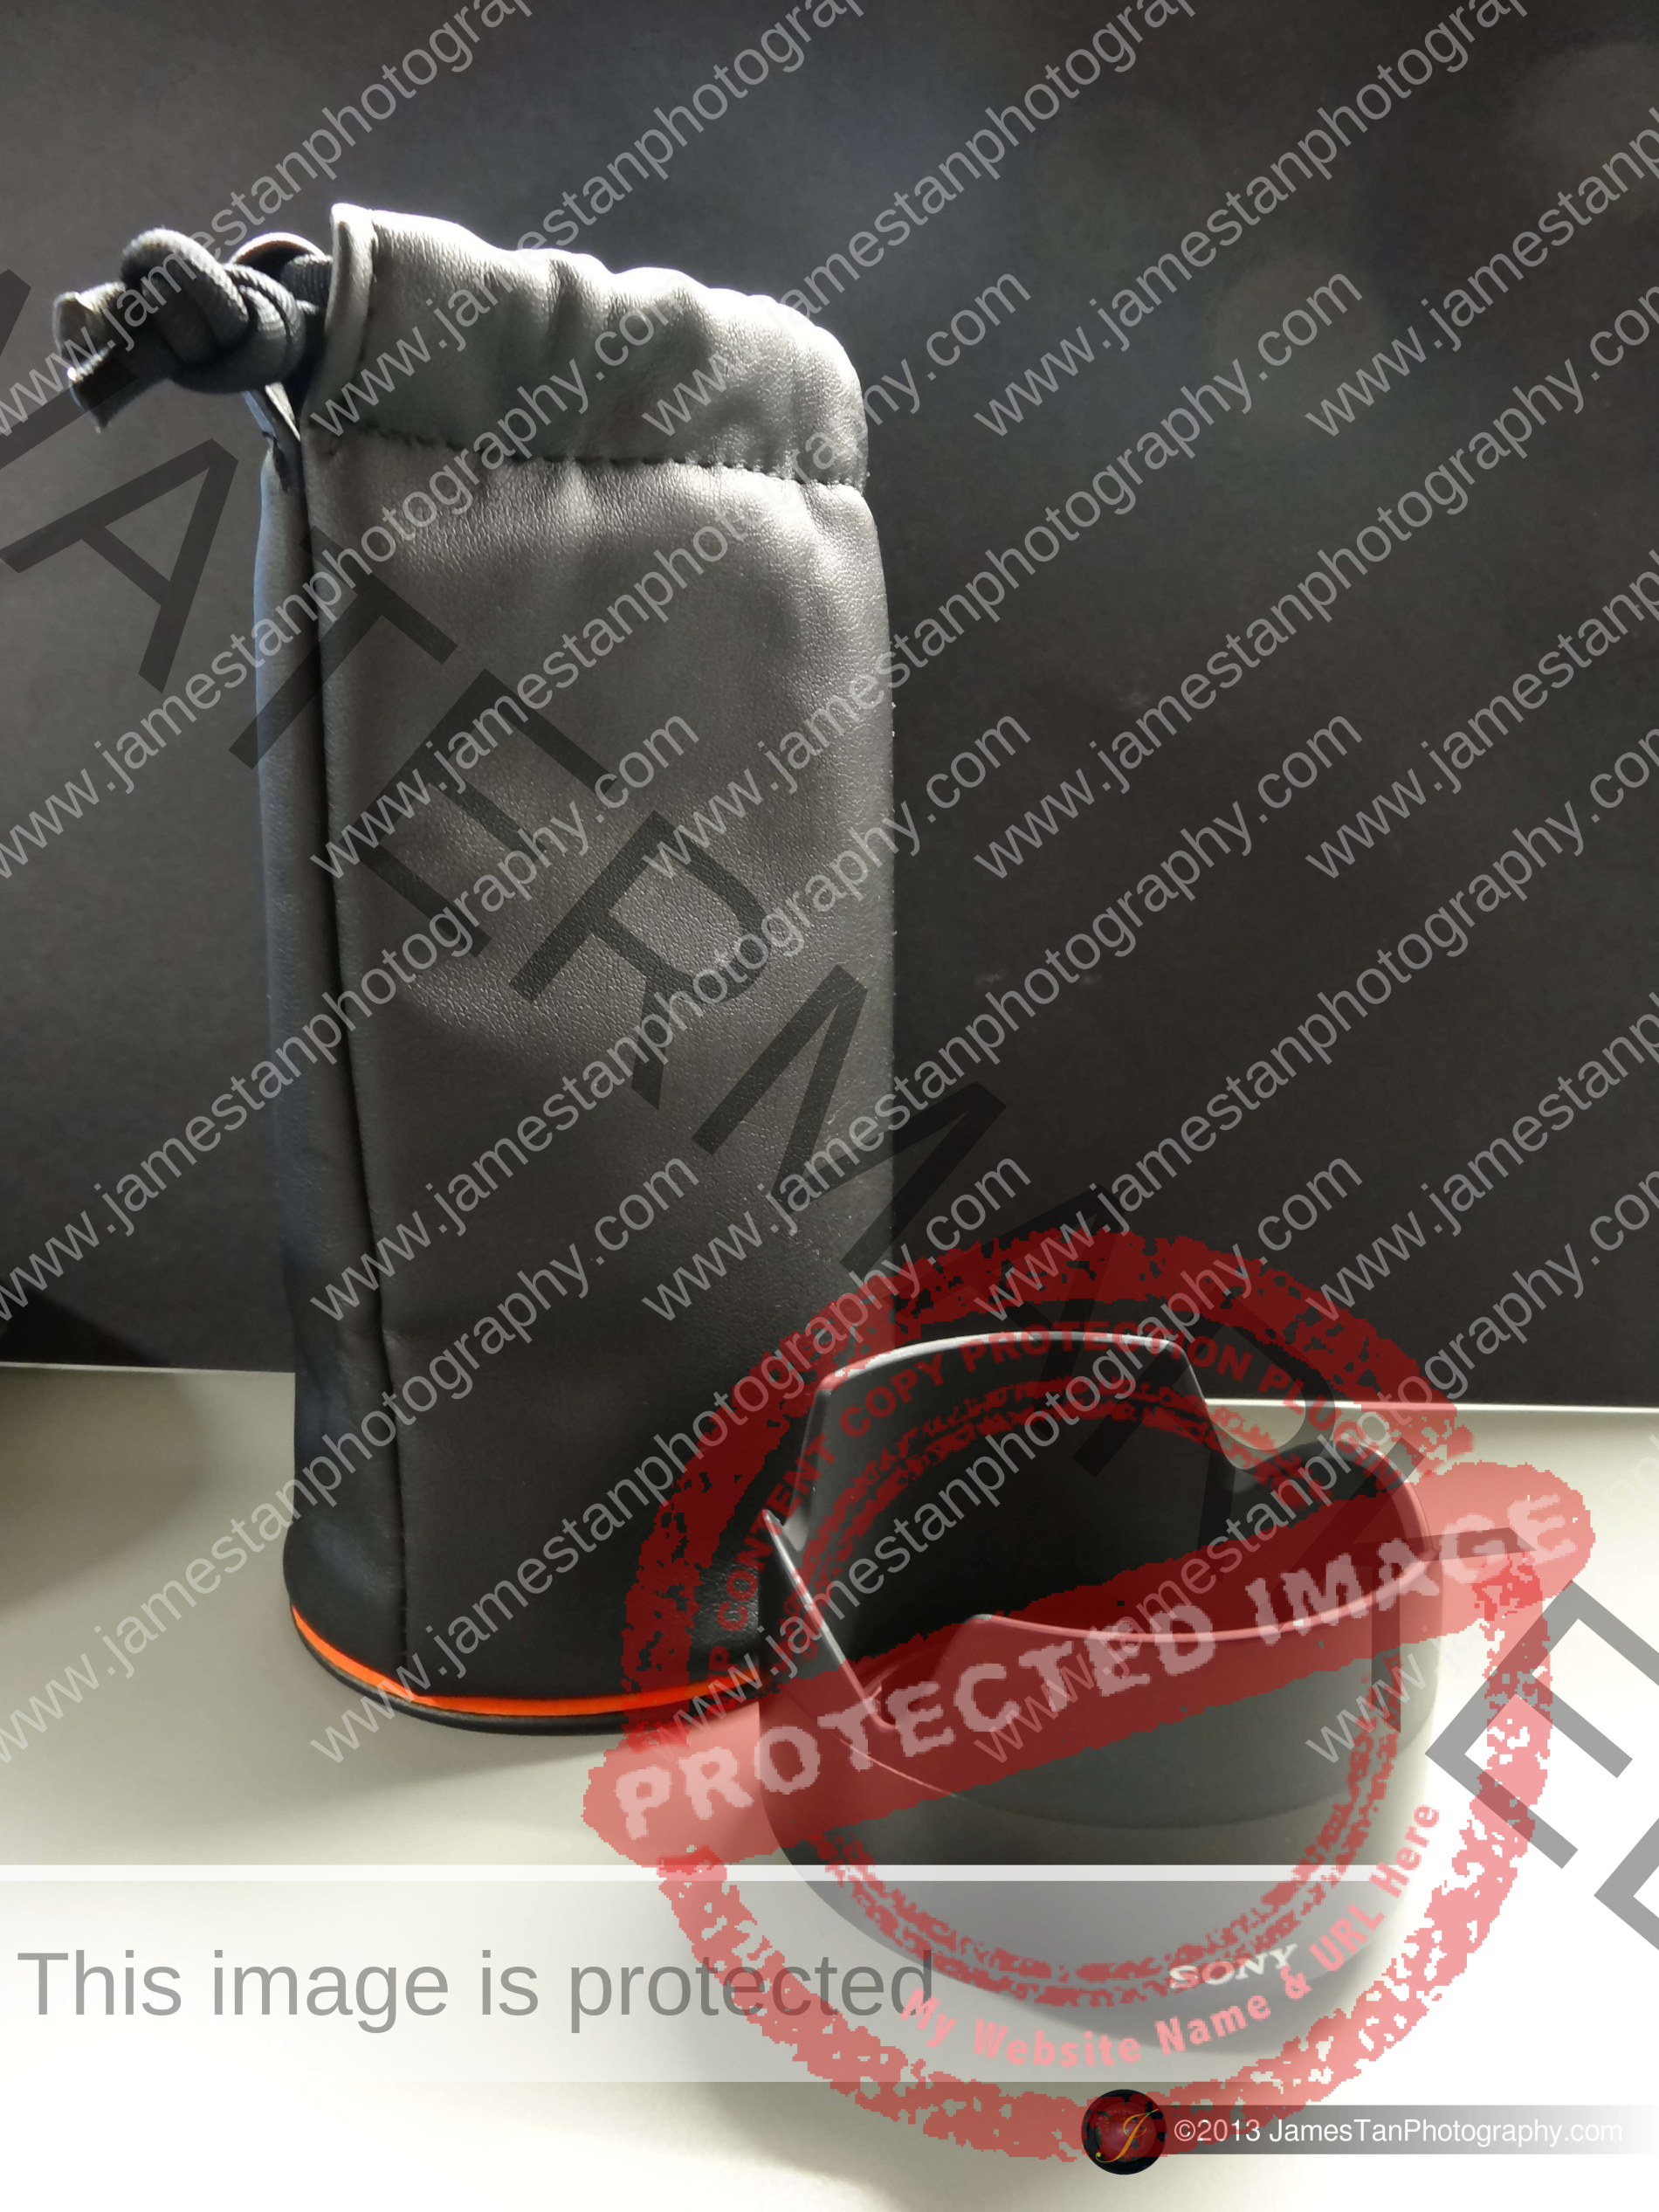
Notice the little blue Zeiss logo?

It really makes the lens look and feel premium.

The lens hood is kind of “gigantic” when attached to the lens, as you can see the difference from the photos above. If you attached it oppositely, as shown below, it will cover almost the whole focus ring part such that the DMF and MF cannot be used at all.

Sharpness (Infinity)
I had taken shots from the scene below and cropped the center and bottom-right corner for sharpness comparison.

Center Sharpness
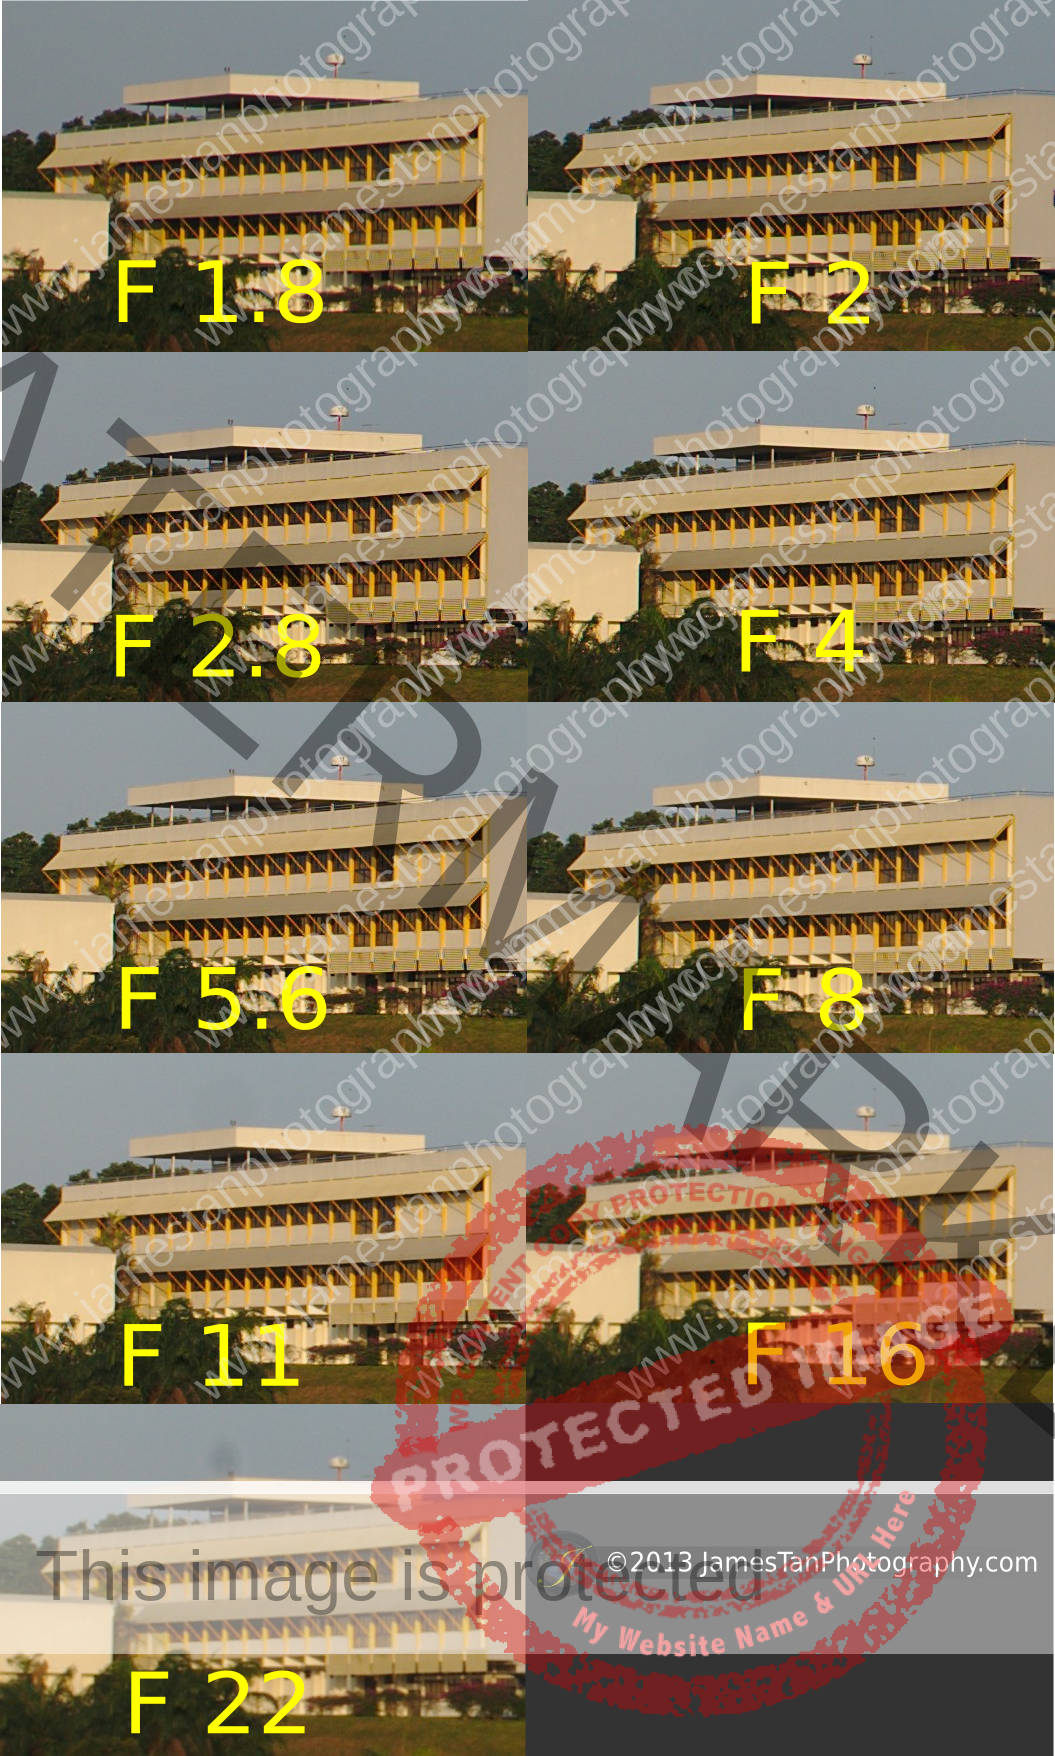
The center sharpness at the lens’s largest aperture F1.8, and the following F2 are a little grainy. Stopped down to F2.8, the sharpness is boosted significantly and retain sharp until F8. Sharpness started to drop at F 11 and decreased substantially from F16 to F22, which performed worse than the sharpness at F1.8. Maximum center sharpness hit at F4.
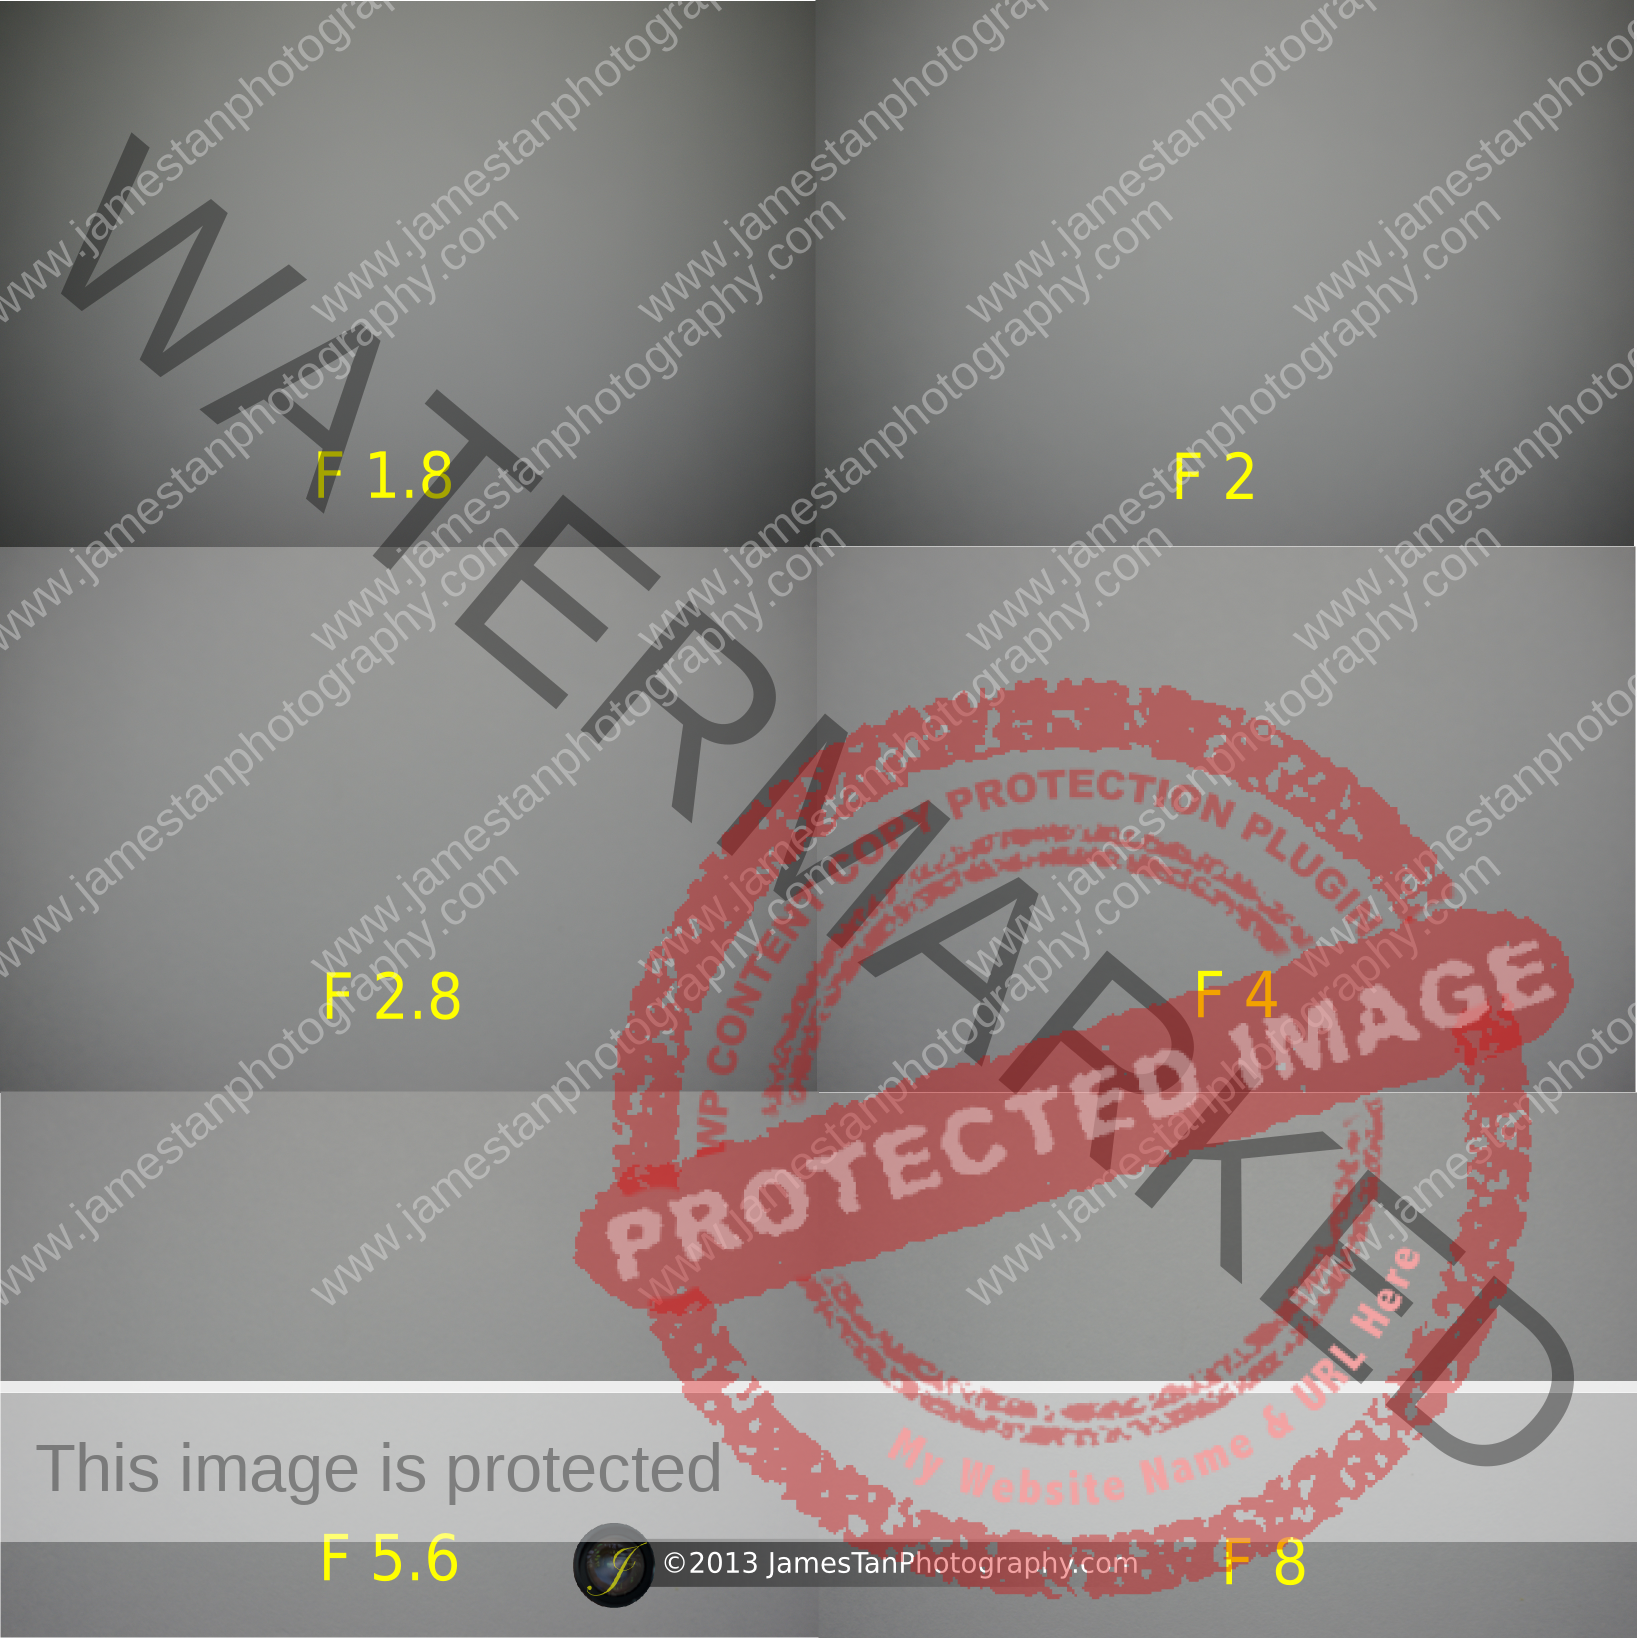
Corner Sharpness

Corner sharpness was affected by the vignetting at F1.8 and F2. Stopping down to F2.8 did eliminate the vignetting issue but did not help much with the sharpness. Sharpness becomes better from F4 and hits the maximum sharpness at F8. Sharpness and details are well-retain from F8 until F16 while it slightly dropped at F22. In corner sharpness, the smaller/smallest aperture like F16 and F22 outperformed the corner sharpness at F2.8 and larger apertures.
Macro Performance
The SEL24F18Z can shoot 1/4 macro shots. Its closest focus distance of 16 cm is an advantage for macro shooting as well. With the “gigantic” lens hood attached, you will almost touch your subject and still keep your subject in focus. Let’s see how the SEL24F18Z close-up shot performance from the shot below.t below.

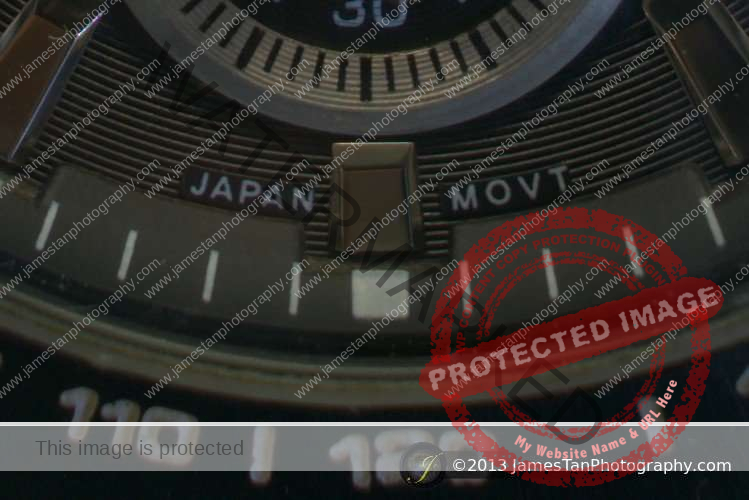
The shot above was captured at the aperture F 5.6. From the 100% cropped sample, the tiny words and the background pattern at the bottom of the watch are very sharp indeed.
Distortion
Usually, a wide-angle lens will have some barrel distortion, but the SEL24F18Z has some minor pincushion distortion. Look carefully at the top of the shots and compare the RAW image with the camera JPEG image. Then, you will know what I’m talking about.

Vignetting
Shots at F1.8 and F2 suffered from the vignetting significantly. Stopping down to F2.8 had improved the vignetting issue a lot, and the lens got rid of the vignetting problem from F4 (there is still having very minor vignetting at F4, but I believe it won’t bother you at all) and onward.
Chromatic Aberration
The SEL24F18Z did a great job in CA control. I take the center-cropped, and top-left corner cropped from the shot below for the CA comparison.

Center Chromatic Aberration

Corner Chromatic Aberration

I had tested with few different sets of CA shots at various scenes, and each of them has no problem with the center CA control. However, very minor magenta is found at the corner, but you have to zoom it in and compare very carefully to find it out. The magenta CA may become more evident if you shot at something really high contrast, for example, the white painted wall whose edge is just right in front of some dark background under a sunny day.
Ghosting and Flare
Ghosting and flare control are also not a problem to the SEL24F18Z. No weird streak or bright spot appears in the shots.

Bokeh Effect
The Bokeh of SEL24F18Z may not be so great as other prime lenses. Edges start to appear at F2.8 and fully become polygon shapes in F4.

The photo above shows that the Bokeh is not circular even though it was taken at F2.8.
Handheld Low Light Performance
The SEL24F18Z does not have the Sony OSS (image stabilizer). So theoretically, its minimum required shutter speed is 1/36″ (most cameras only available with 1/40″ instead). So how does this lens performs if the shutter speed stops down to 1/30″ and slower?

I manually focused on the right eye of the Pool (your left-hand side), shooting at F 1.8 with ISO 100. With a steady and firm hand, shot at 1/15″ can still produce blur-free sharp images. Slower the shutter speed to 1/13″ will be a challenge to get blur-free images while it is nearly impossible to do so at 1/10″.
From my experience, if you do some night street photography with the SEL24F18Z, it is better to ensure that the shutter speed maintains at 1/40″ or faster shutter speed. Use the aperture at F1.8 (that’s what you pay for, right?), and then boost up the ISO to ISO 400 or ISO 800 to get blur-free and sharp shots. If you take night landscape or portrait shots, just use your tripod and forget what I mentioned earlier.
Bottom Line
The Sony Zeiss SEL24F18Z is an excellent prime lens regardless of its premium look and feel or excellent optics performance. It did a great job on the distortion control as well as the CA control. The sharpness is great from F2.8 onward but not from its largest aperture F1.8. The minimum focus distance of 16 cm and 0.25x magnification ratio gives a bonus to the close-up shot. Bokeh is pleasing but not so smooth and creamy, and it does not remain circular from F2.8 onward.
With its overall pros and cons, this lens will not likely let you down. However, this lens is really an expensive lens that is sold at a high price tag of SGD 1,699, where you have to think twice or more before you buy it.
In conclusion, the is no other lens that provides a similar focal length when writing this review; thus, it might be your only option right now. However, you may consider the much affordable alternative – Sony SEL35F18 (SGD 629); or the slightly cheaper alternative – Zeiss Touit 32 mm (SGD 1,599) for the more creamy and smooth Bokeh.
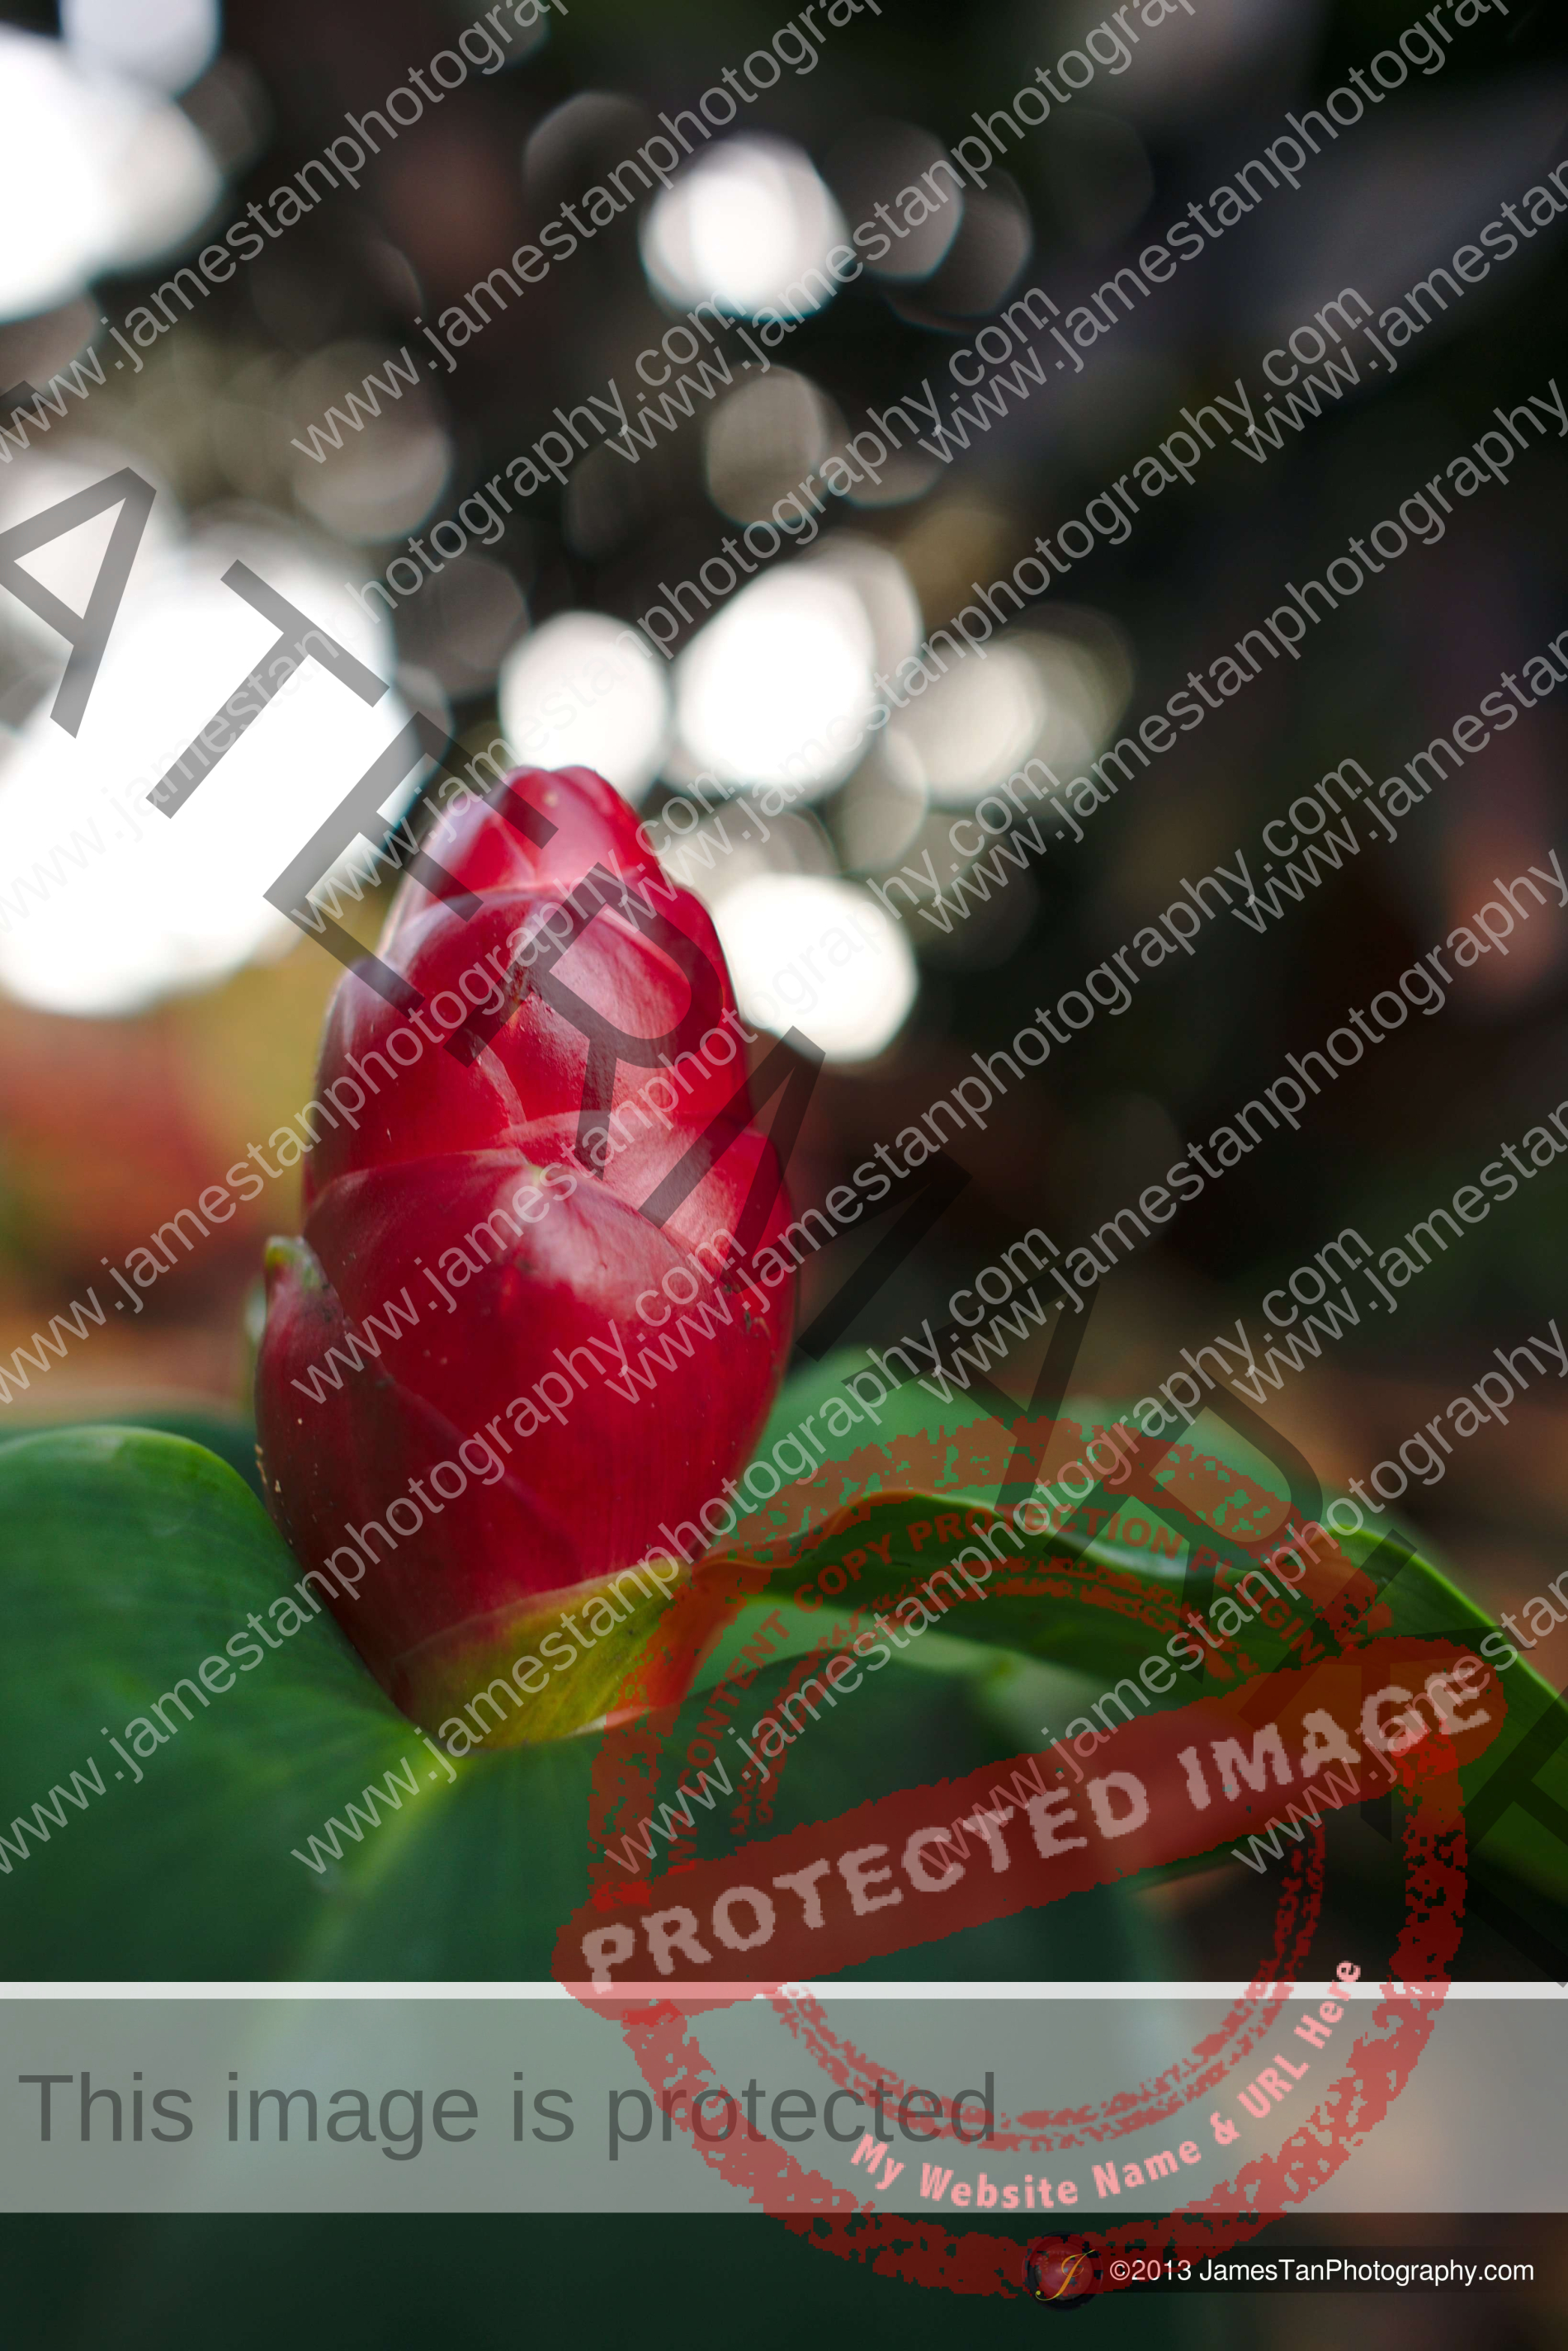
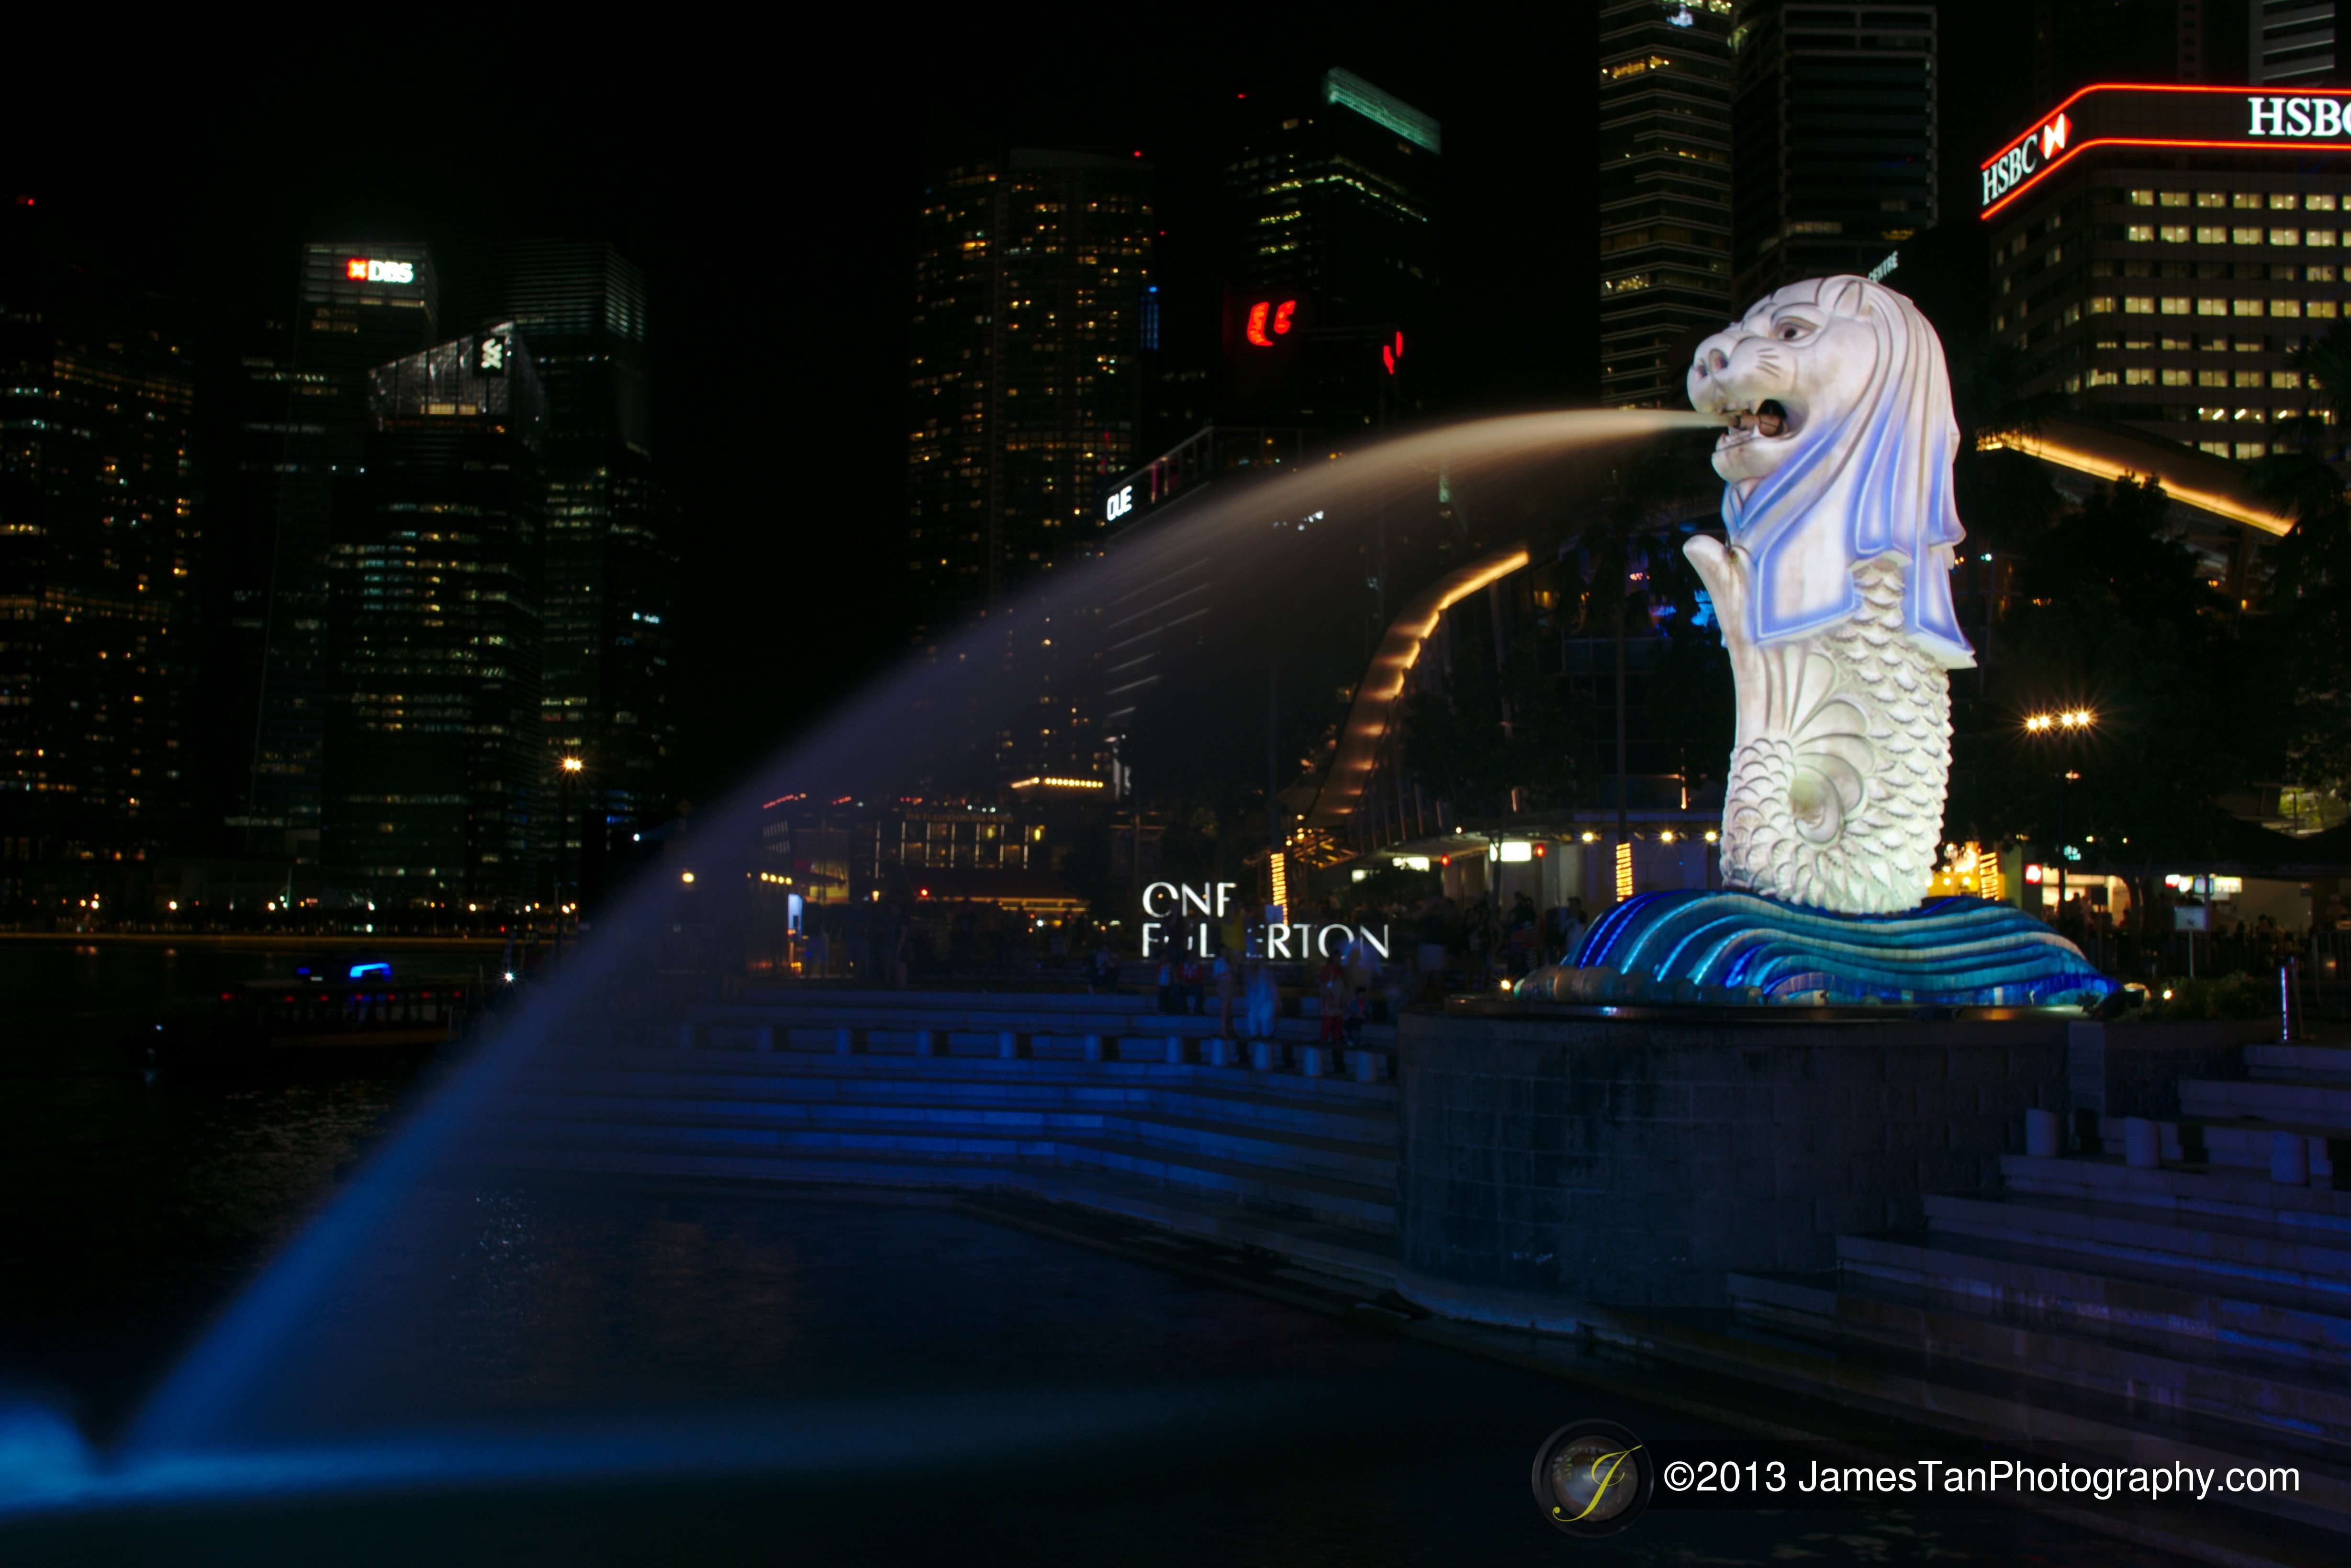
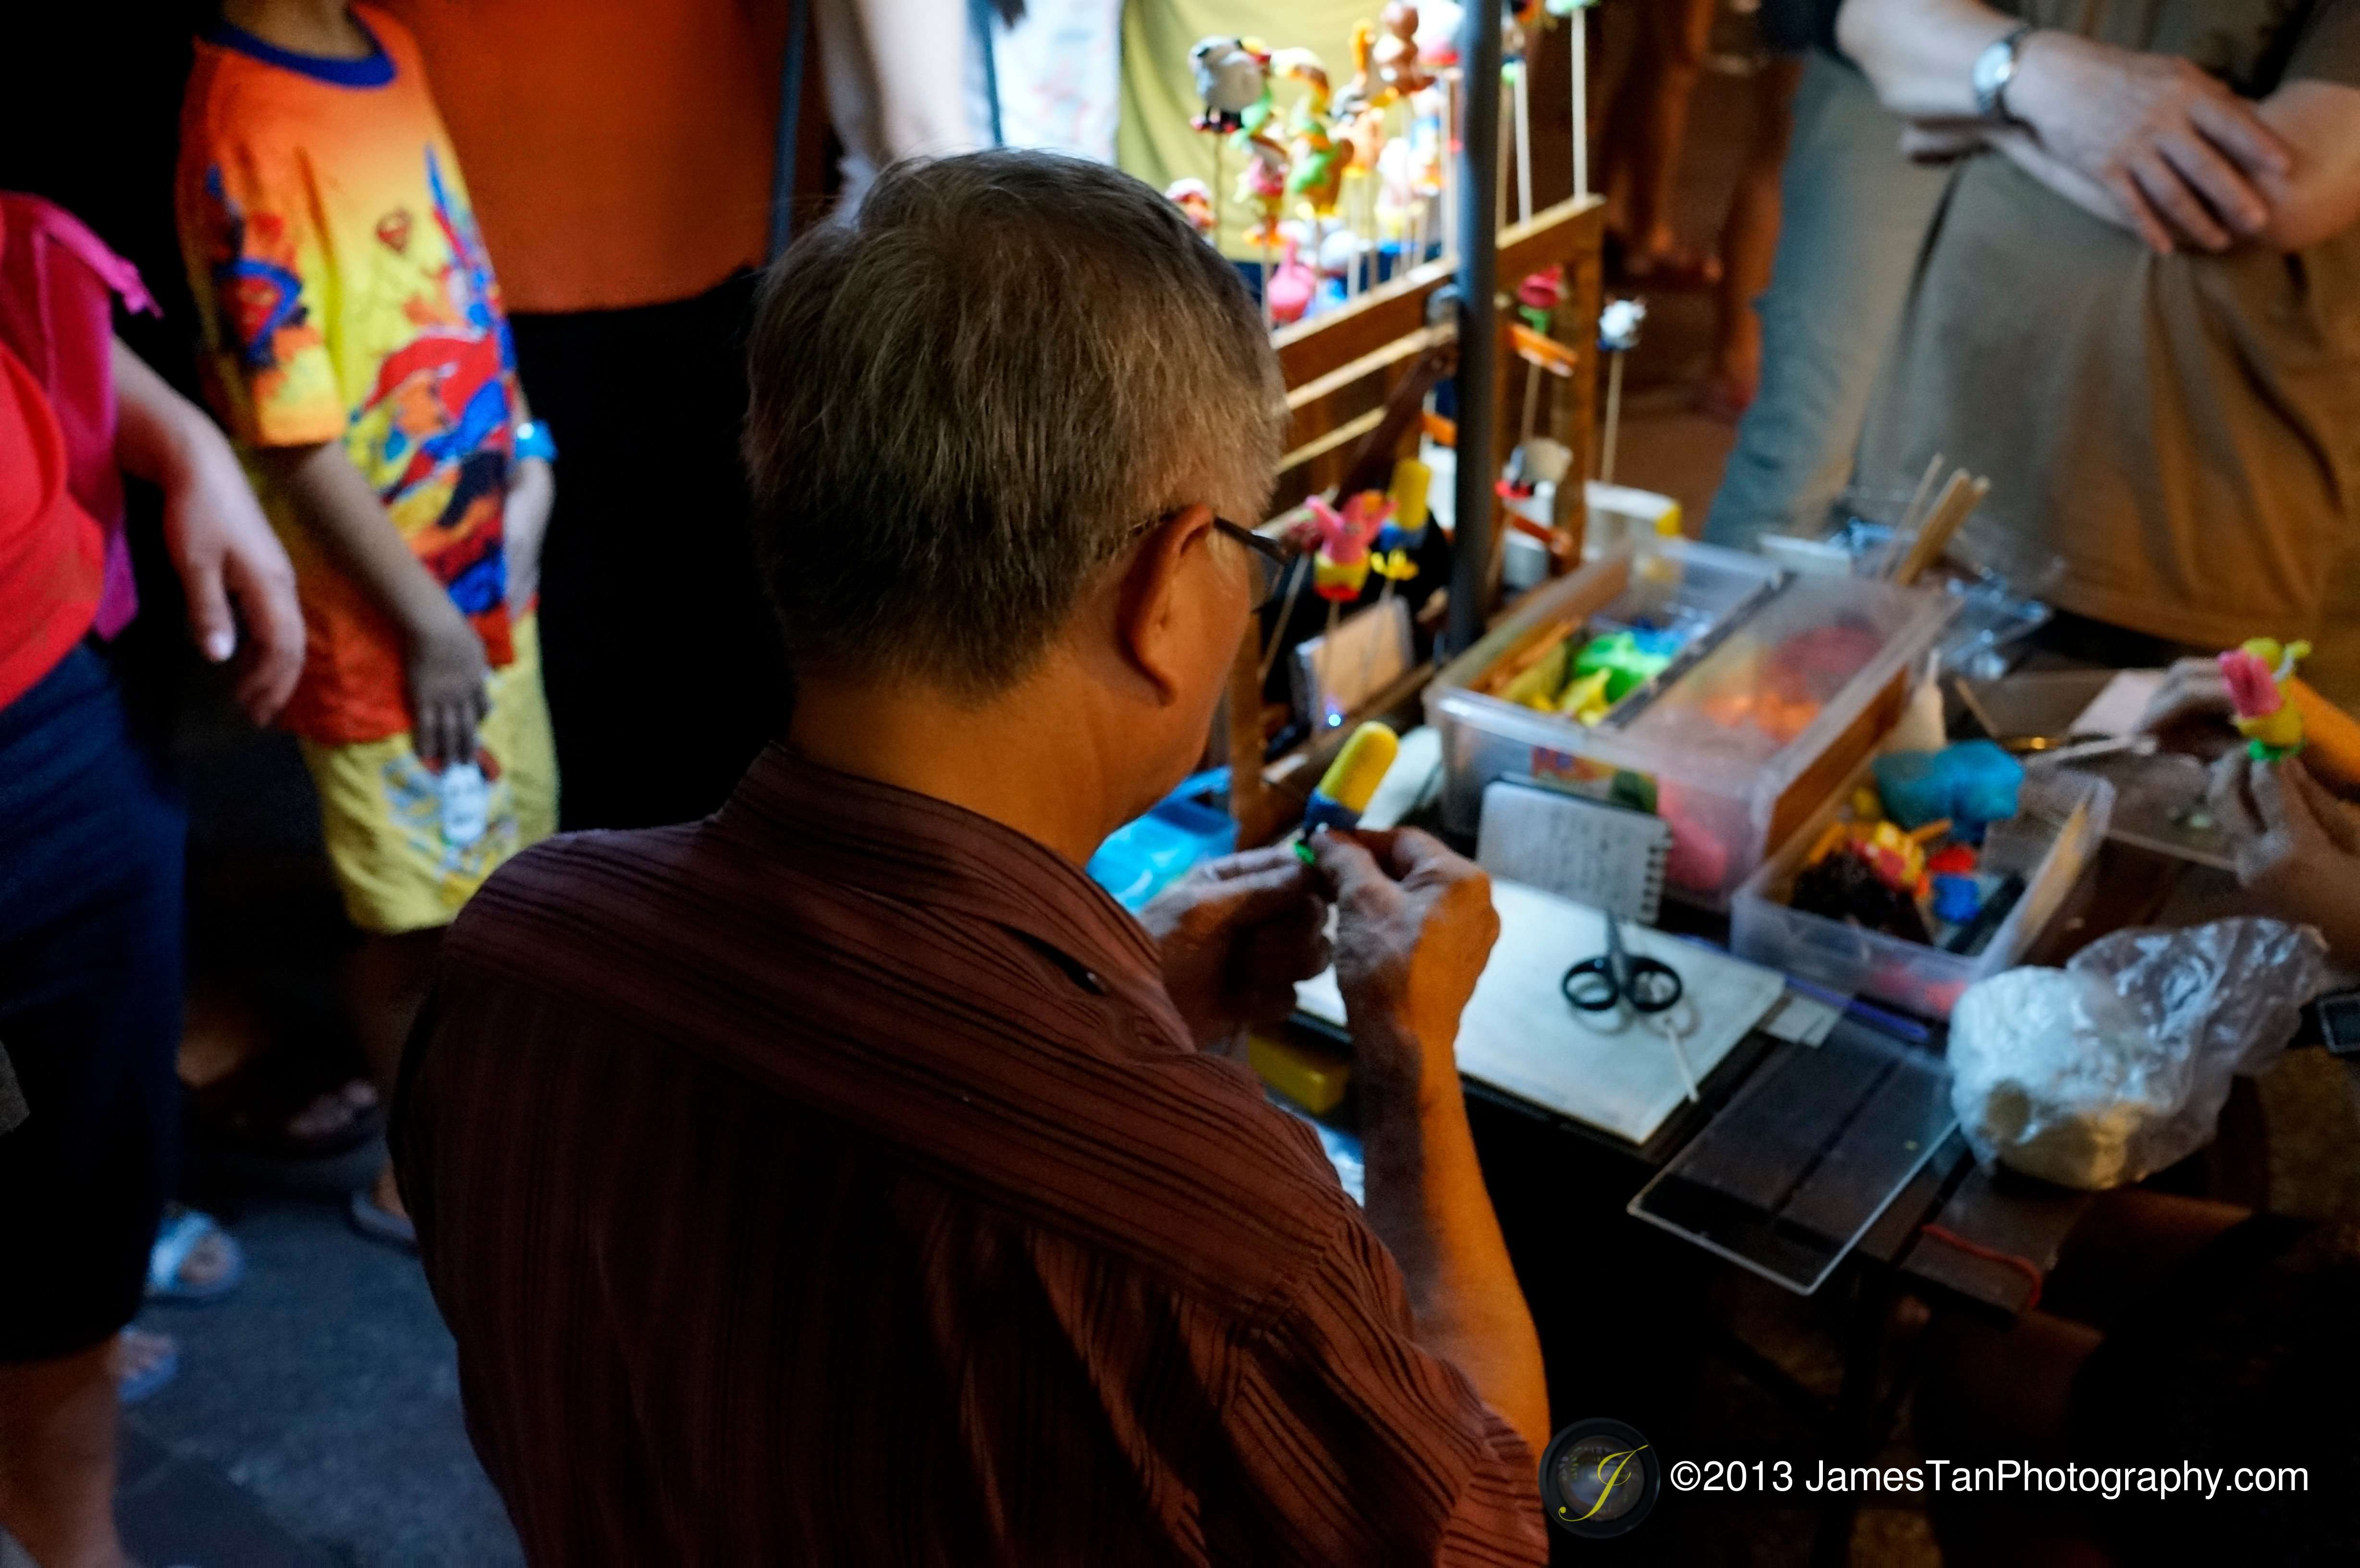
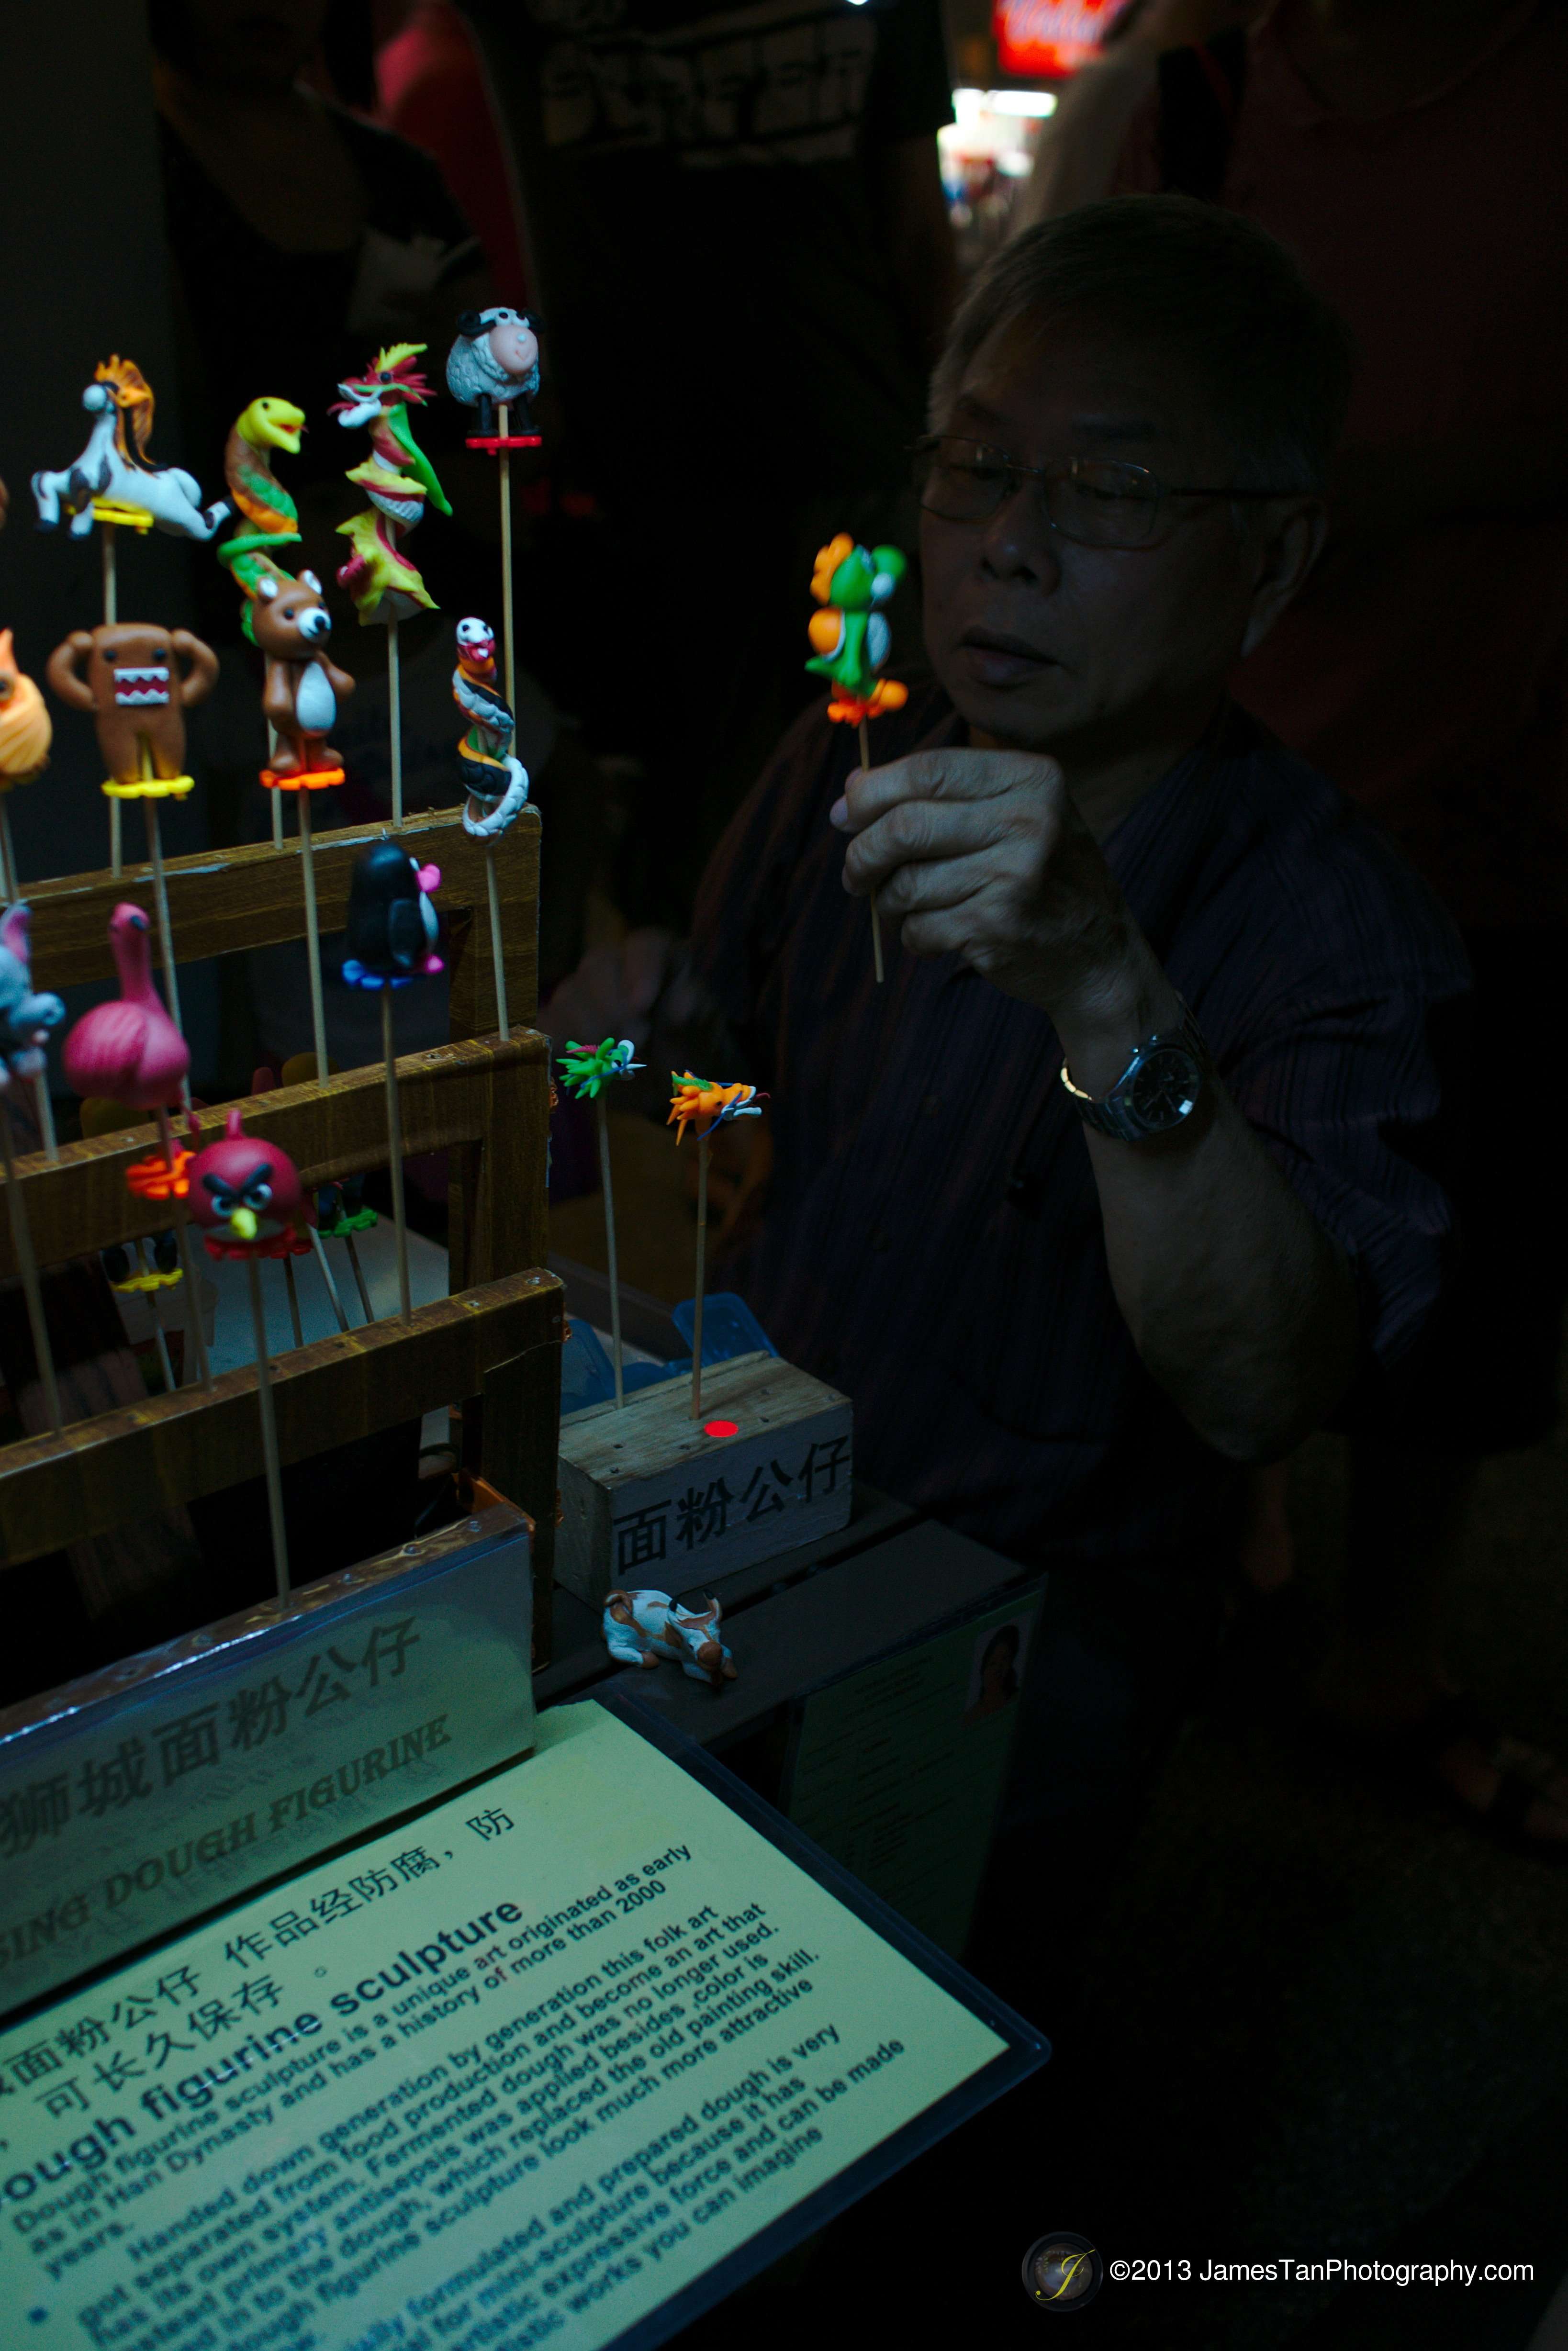
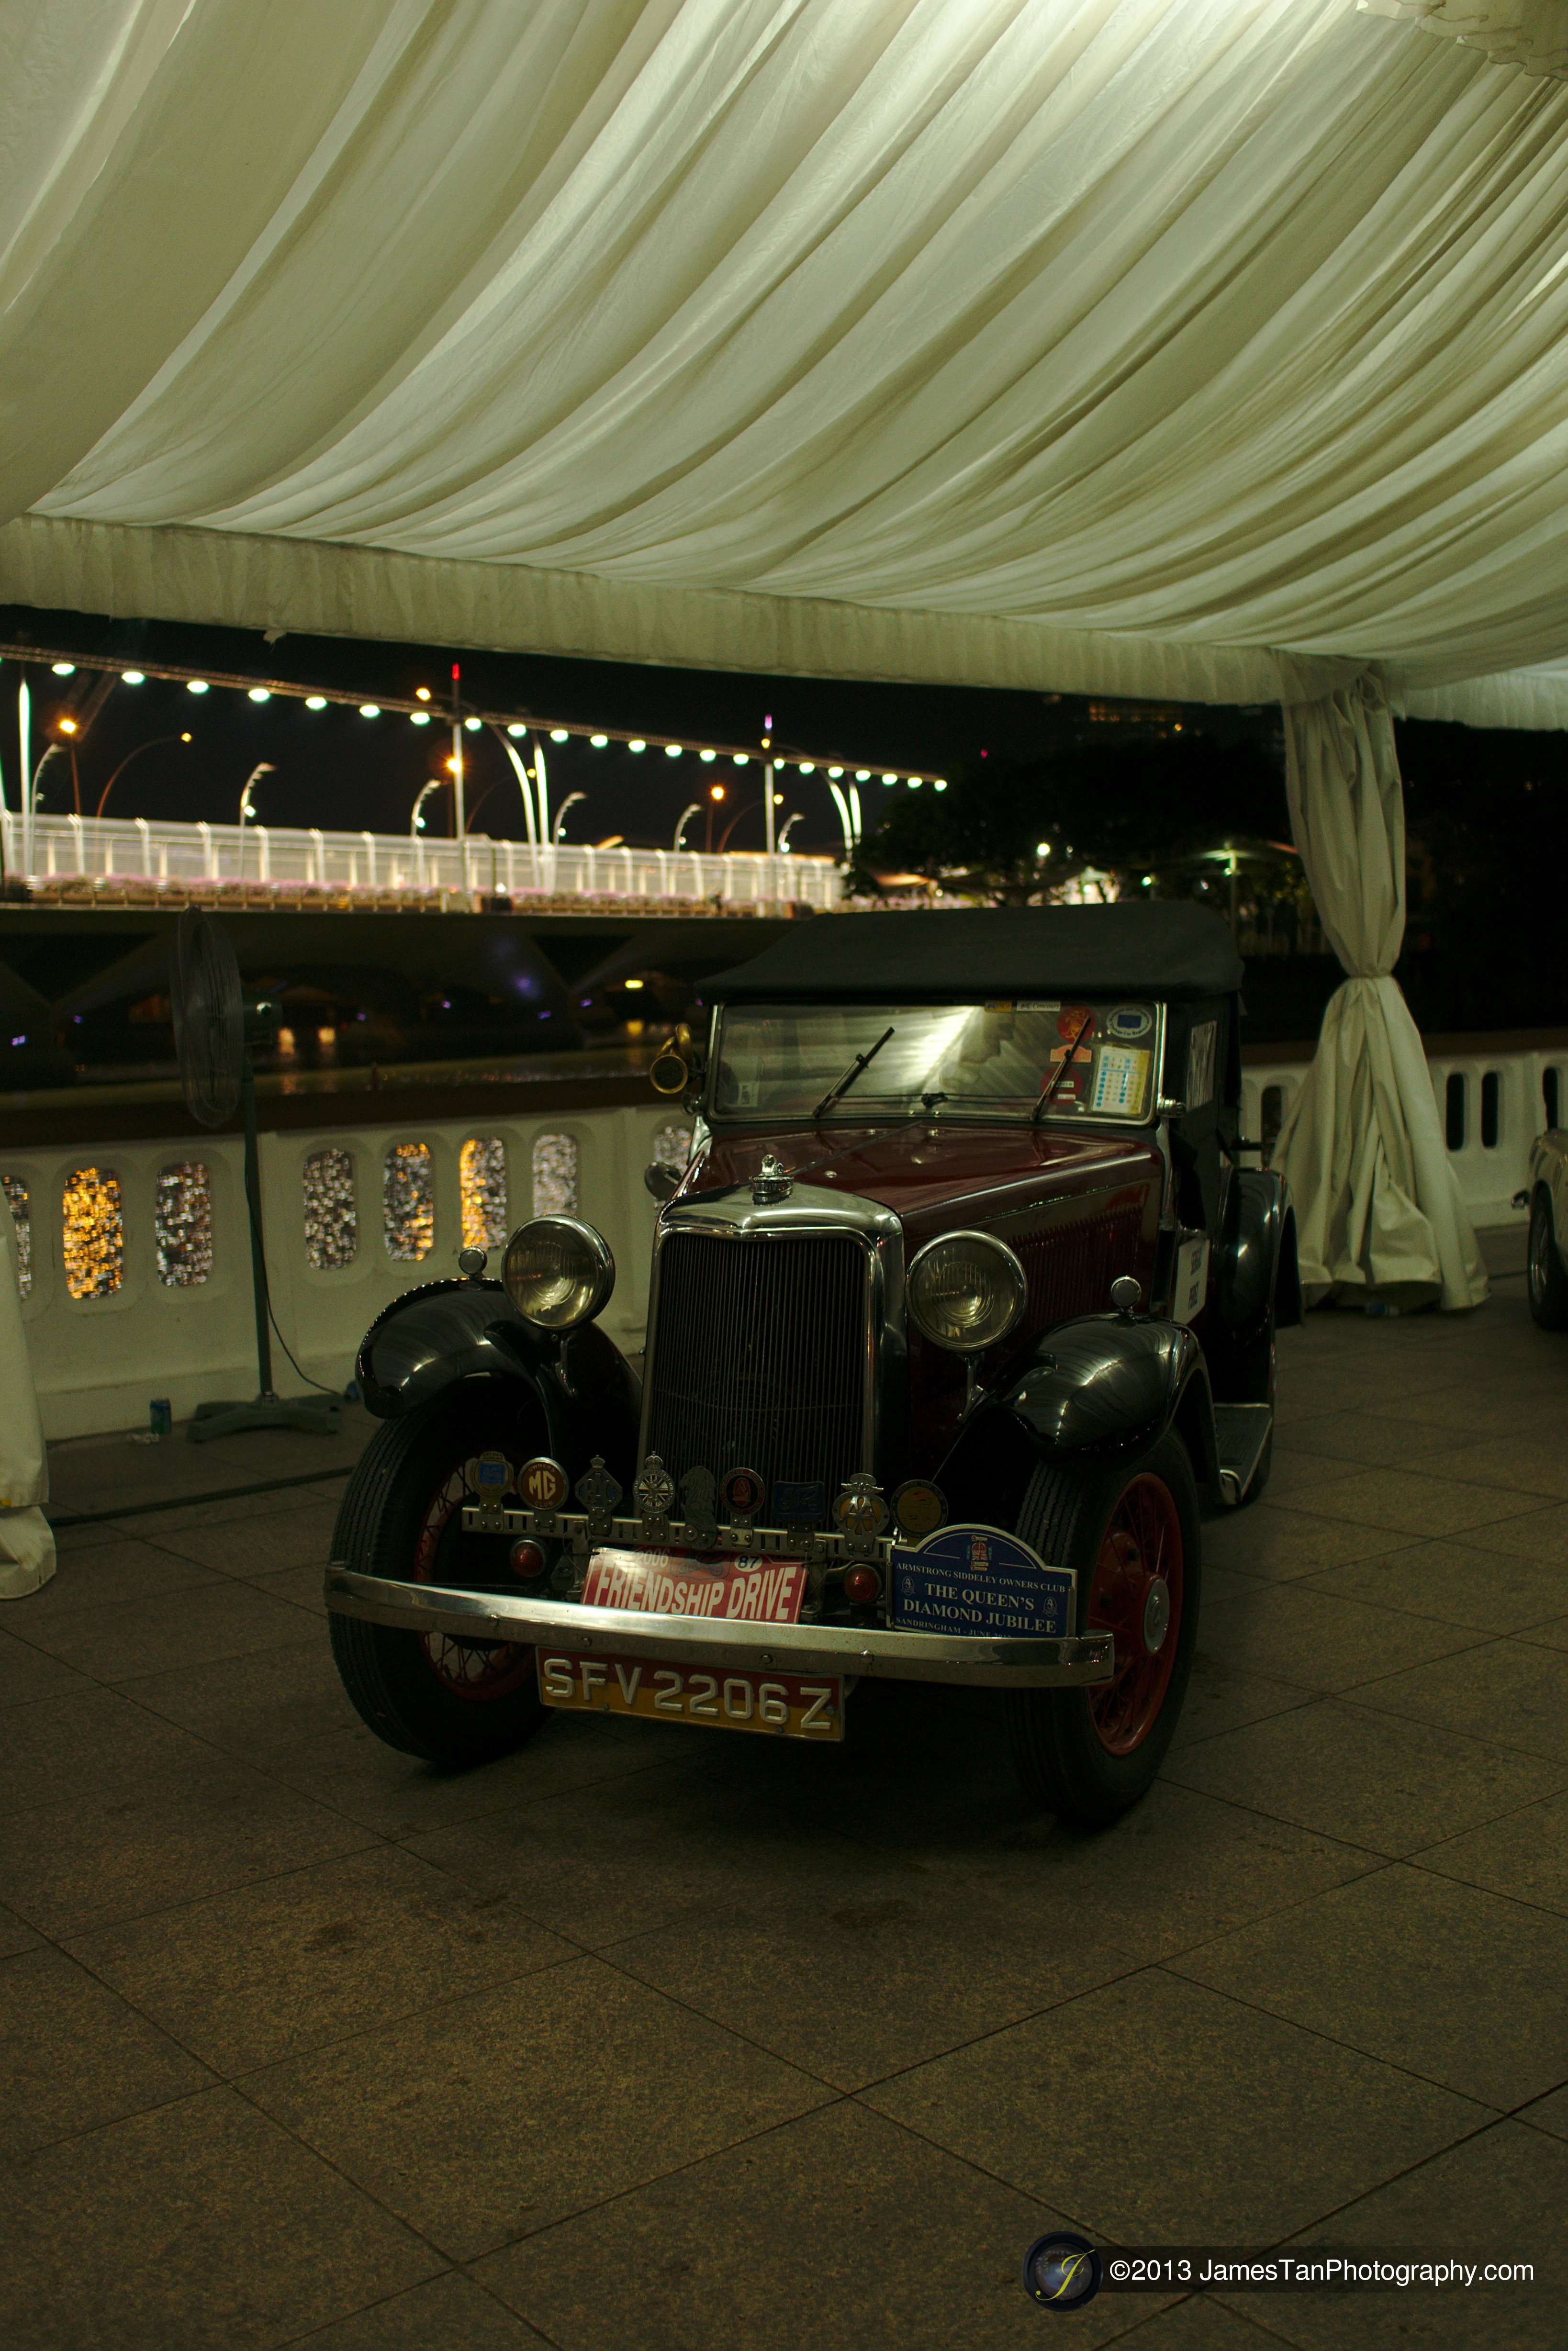
Before the end of today’s review, I had posted some shots from the SEL24F18Z below. Enjoy!

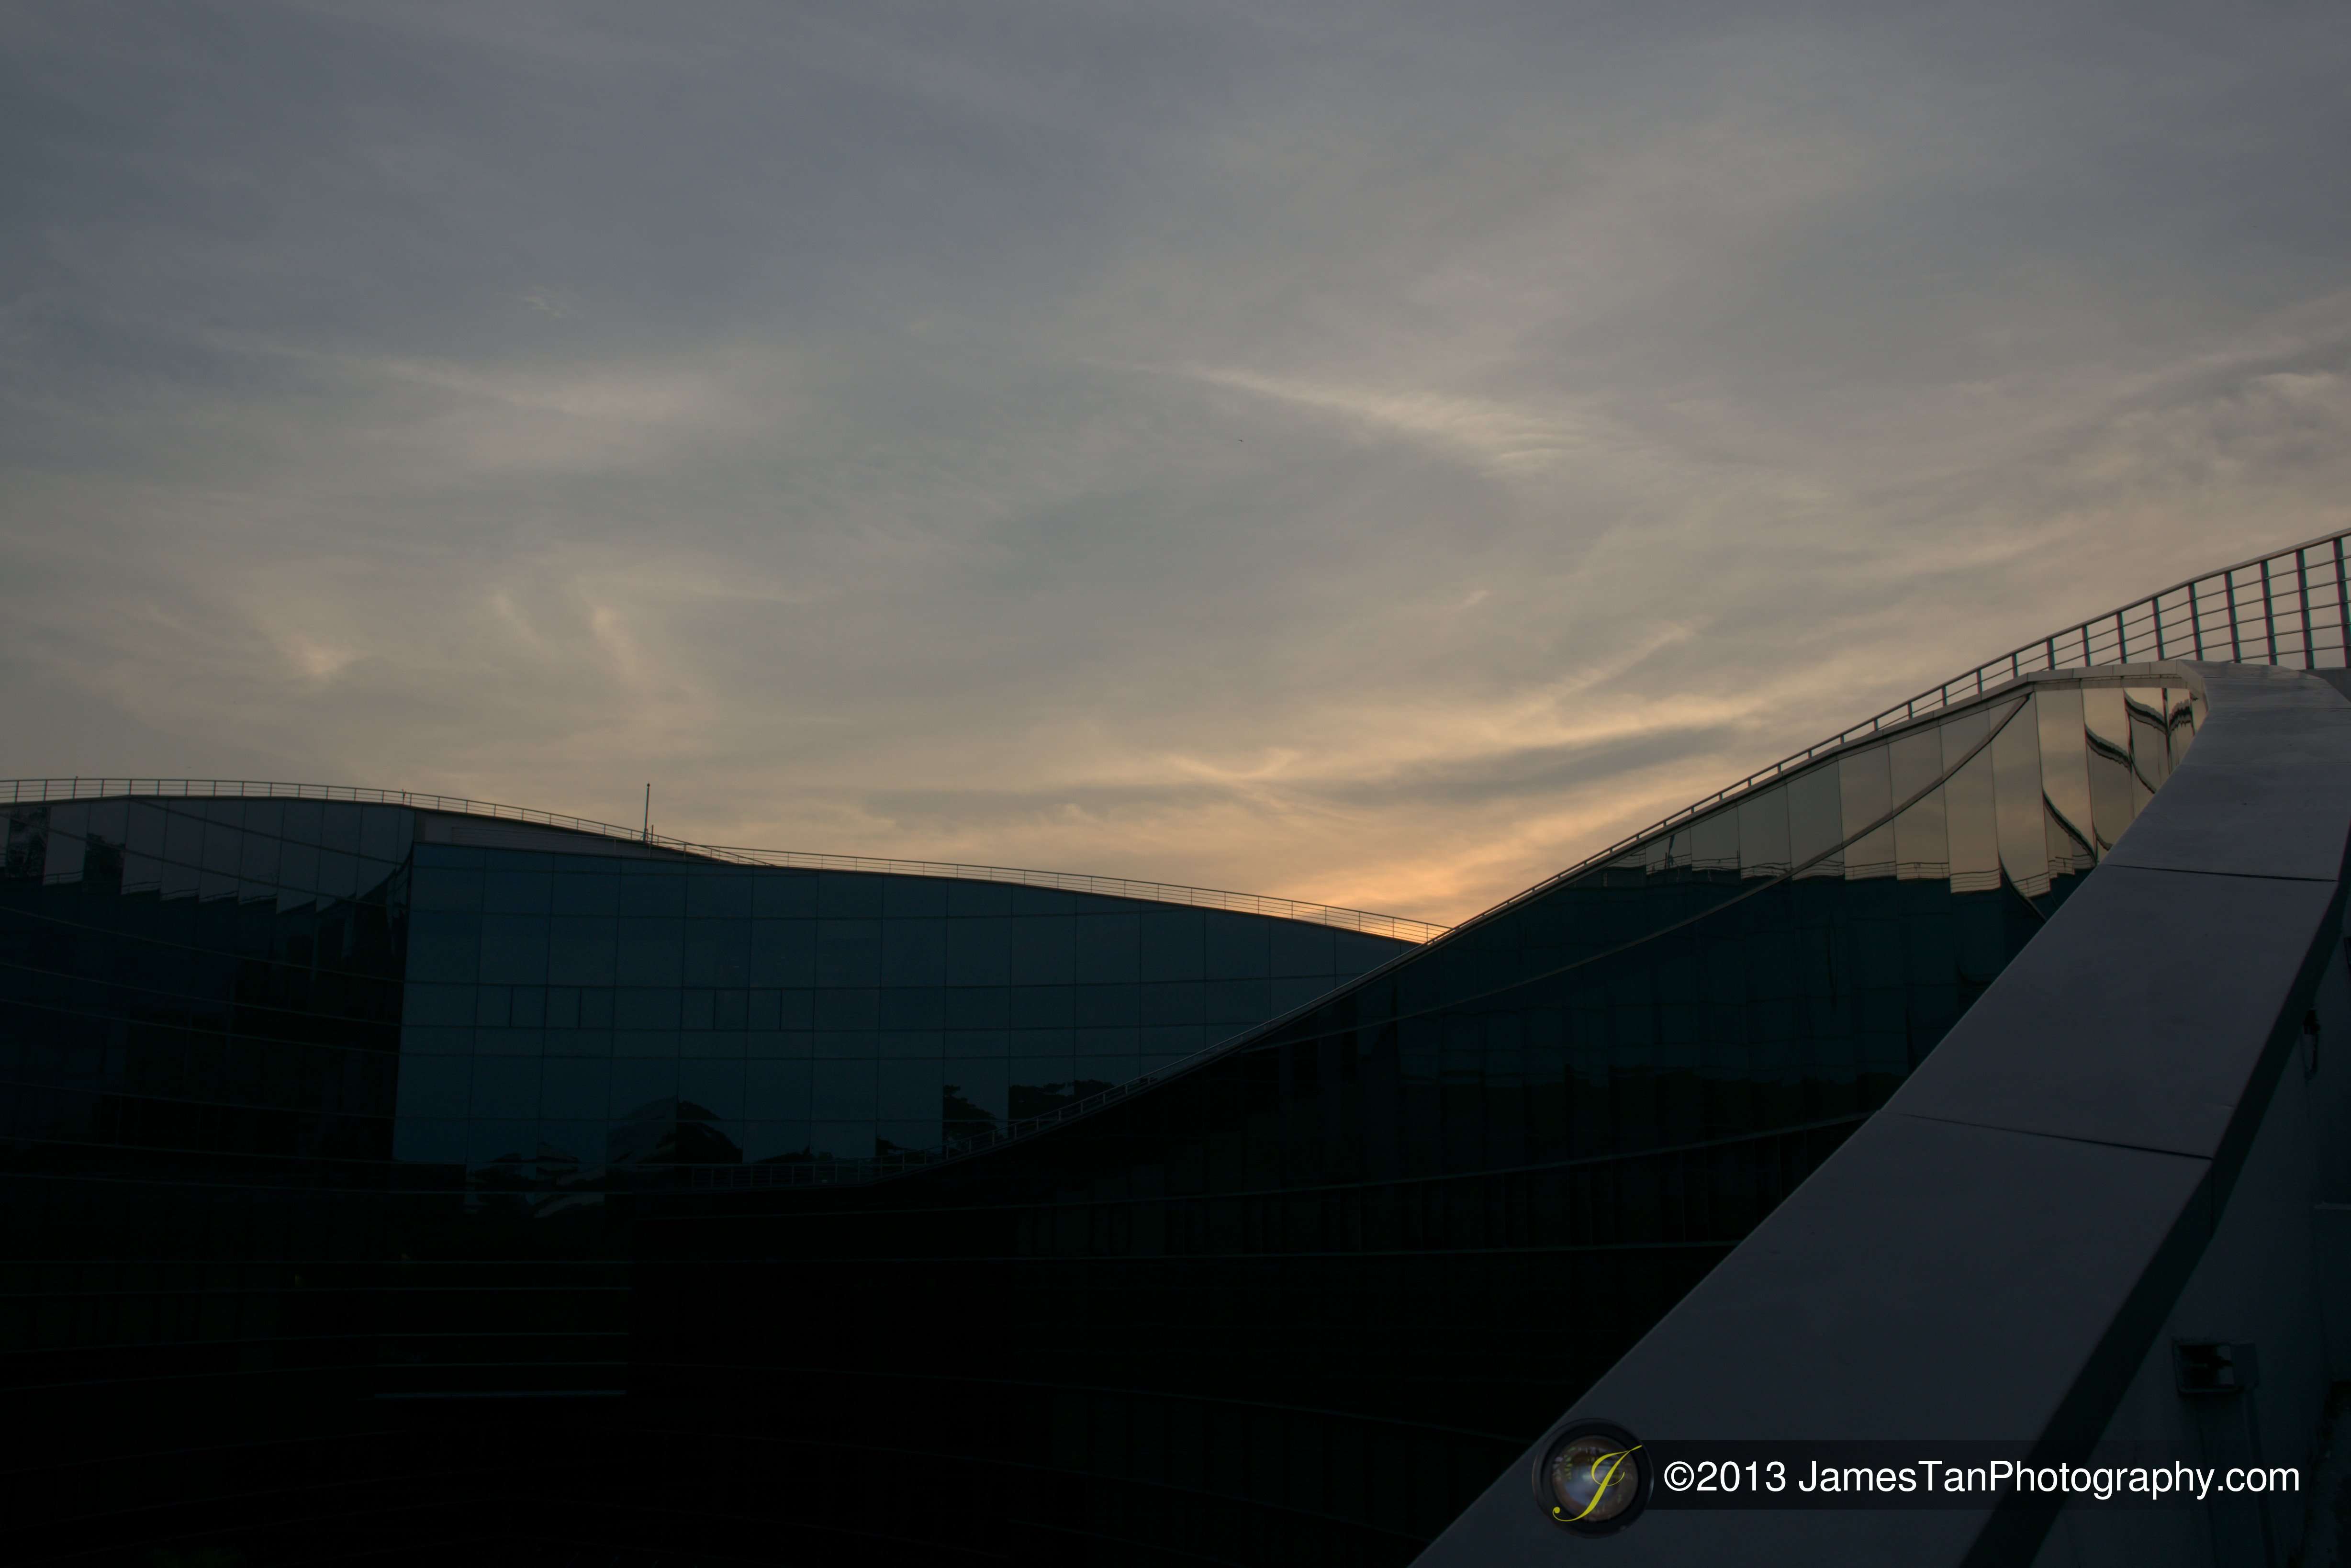
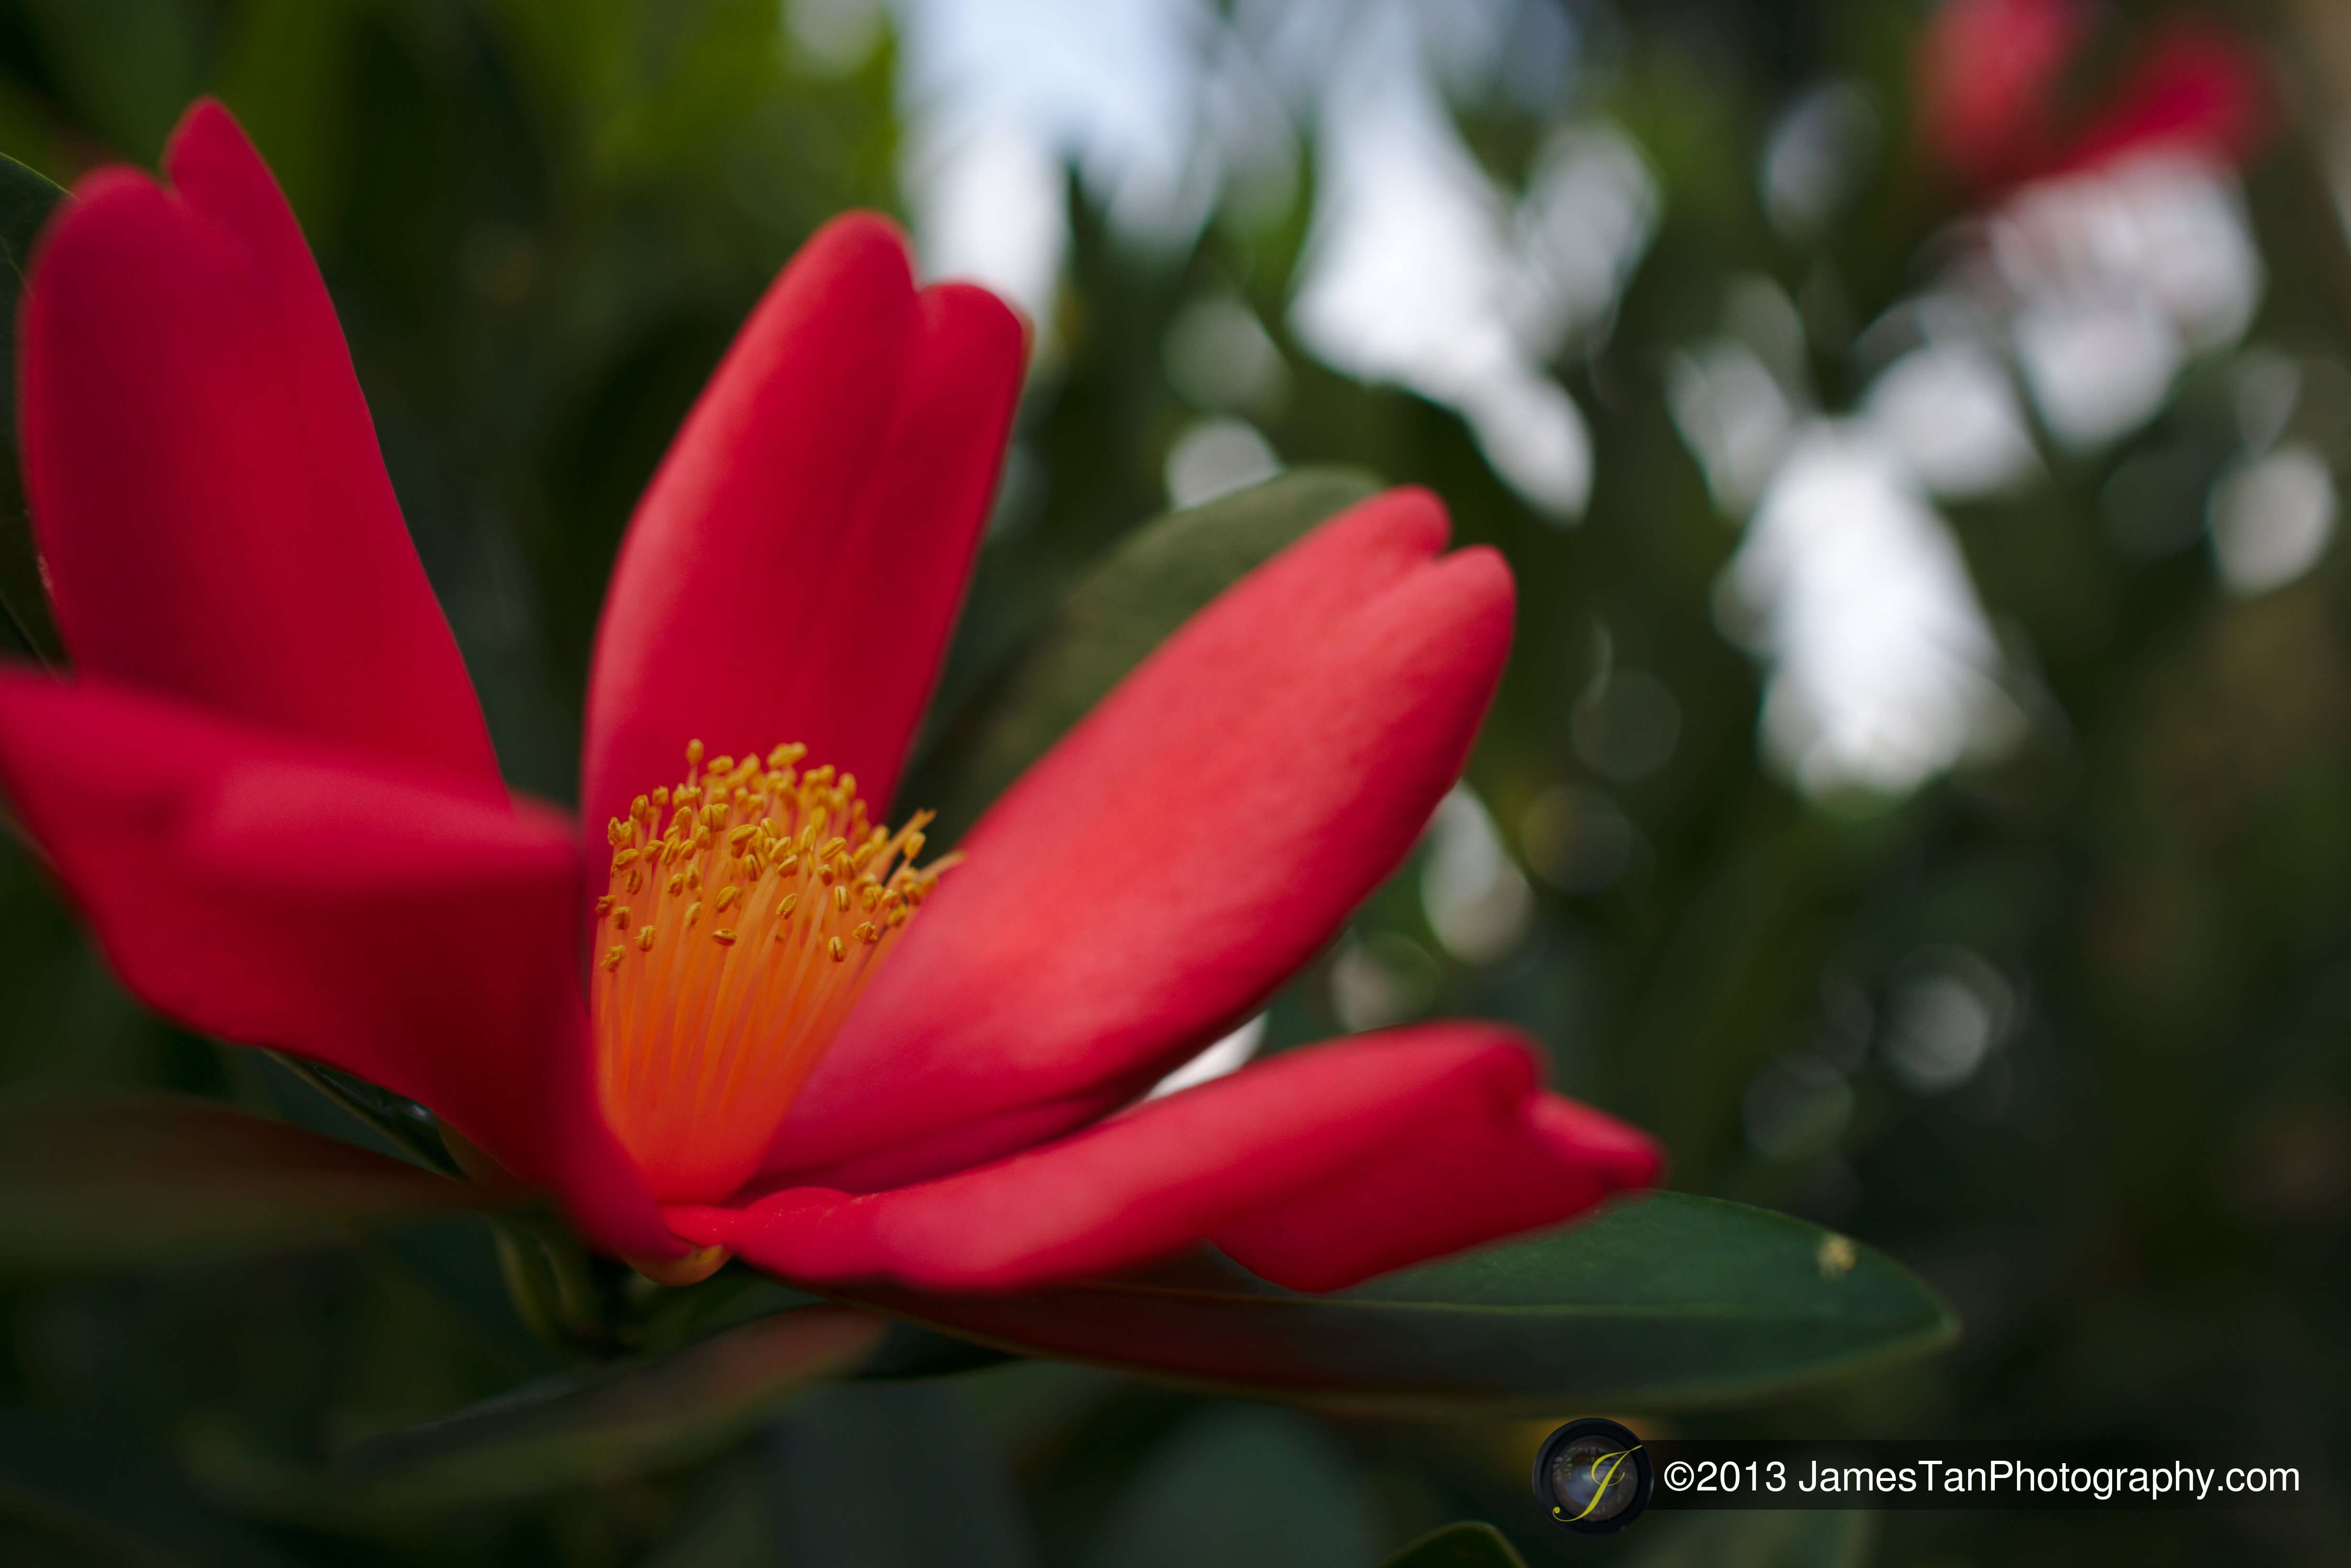
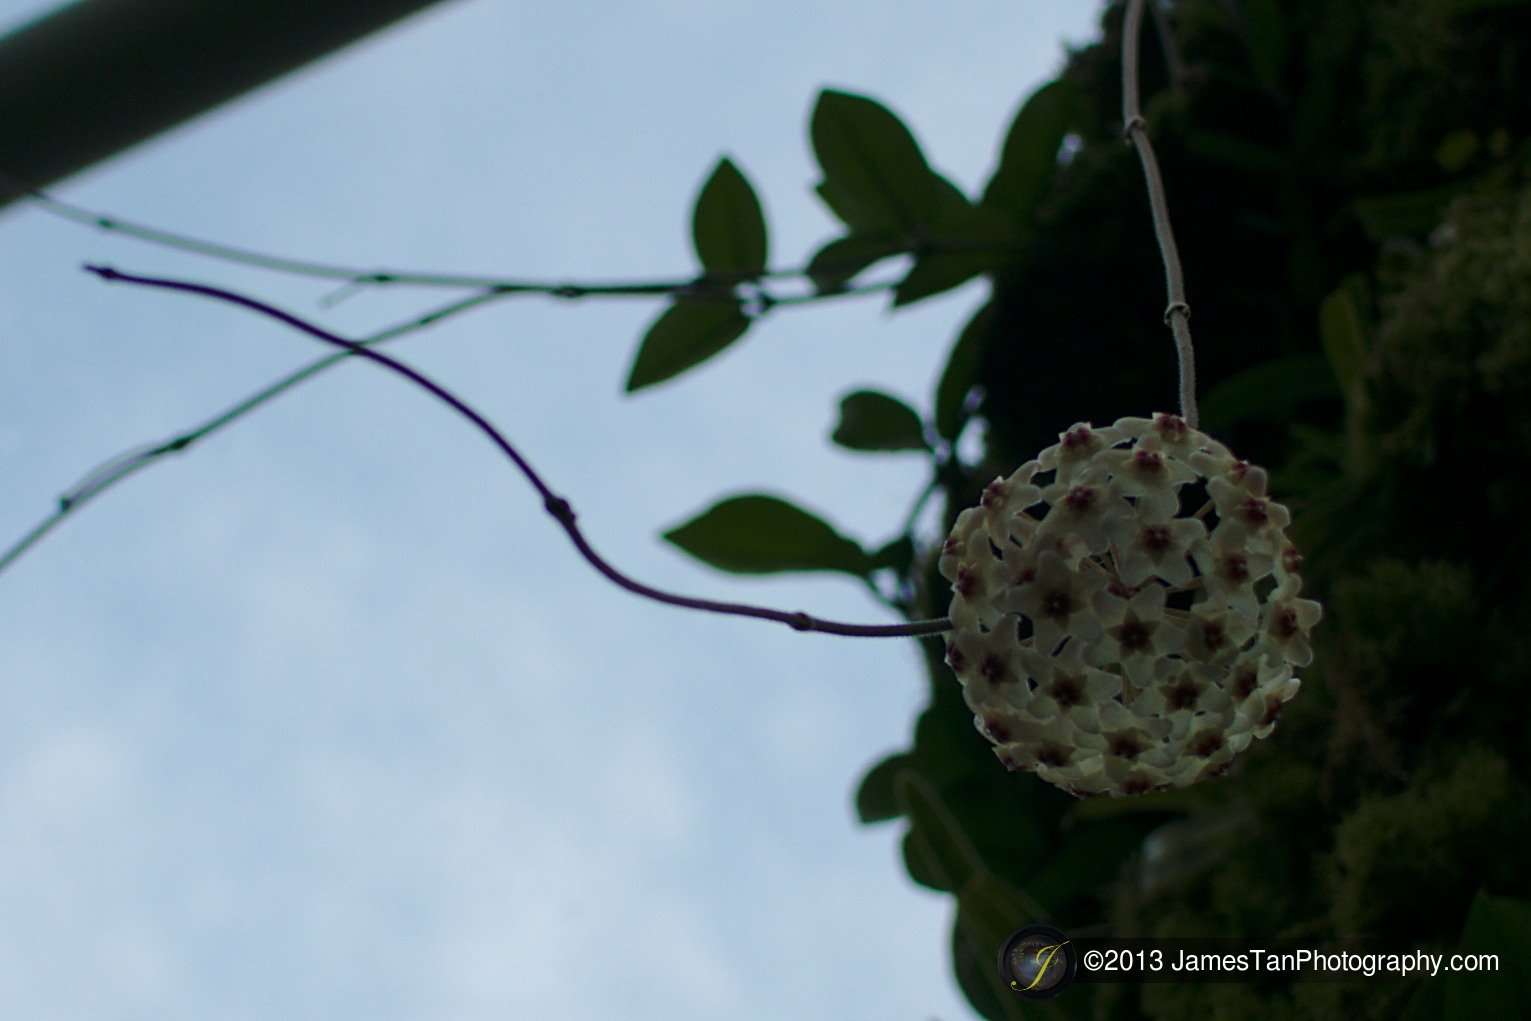
Ok. That’s all for today’s review. Welcome to share your thoughts or comment here. Thanks for reading, and I hope you enjoyed it!
Leave a Reply